
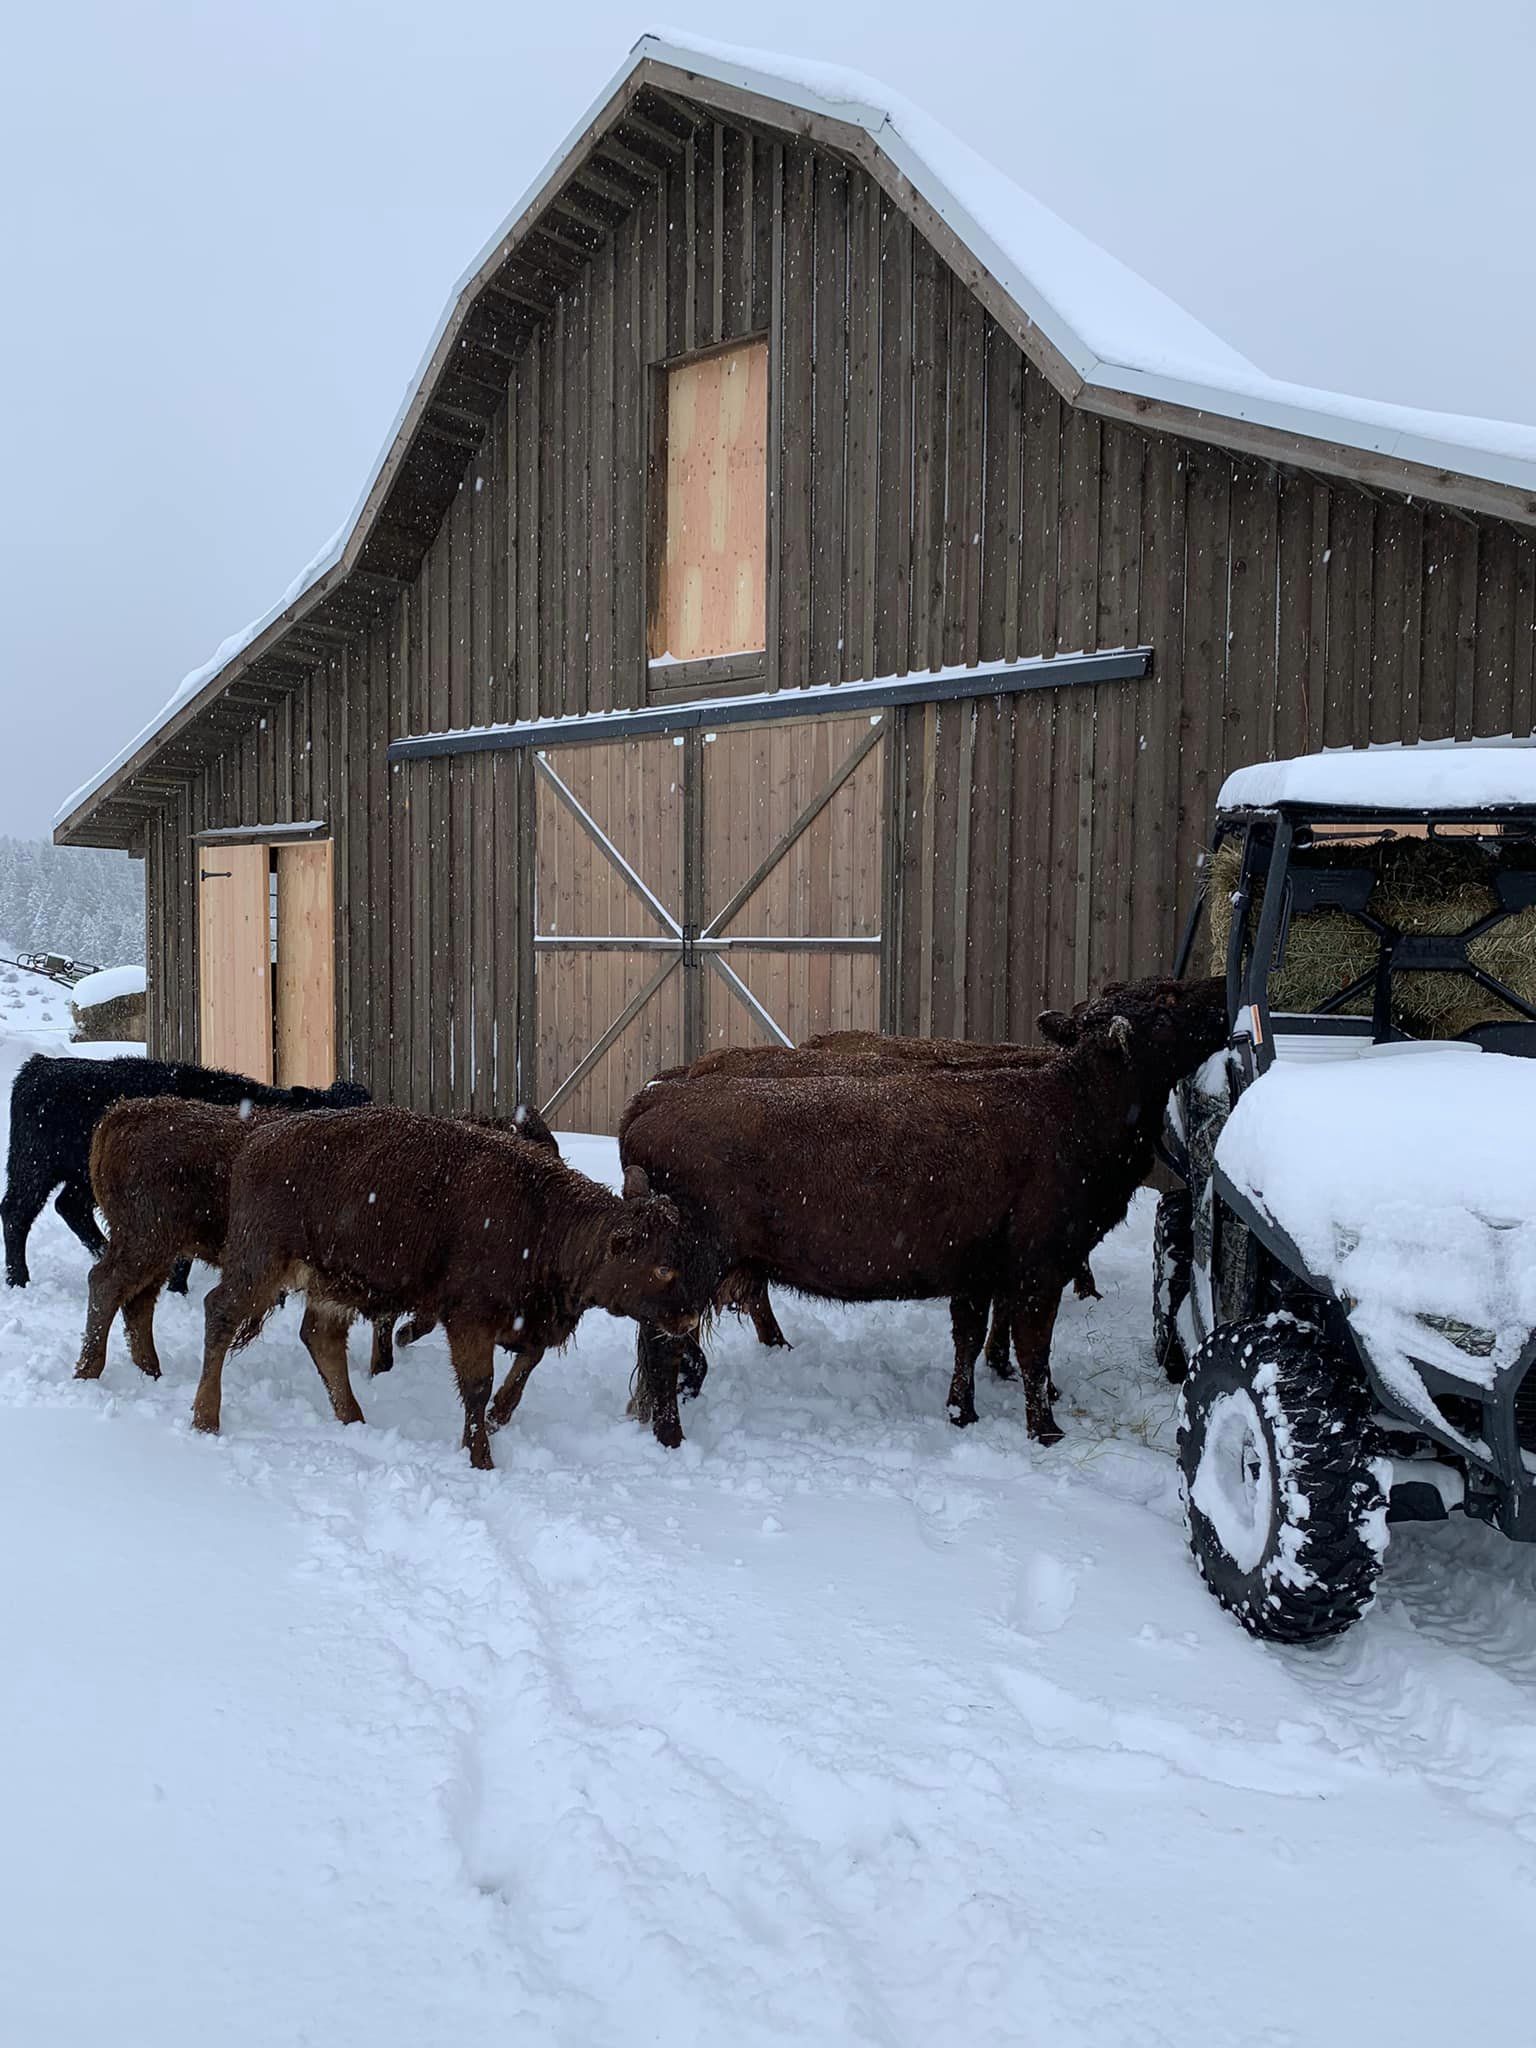
Building a Barn: A Step-by-Step Guide
Have you ever dreamed of having a quaint little barn in your backyard? Have you always wanted to have a spacious workshop? Building a barn is a great way to add huge amounts of value to your property, but the construction process can seem overwhelming. Don’t worry! You don’t have to be a skilled carpenter or contractor to build your own barn. In this step-by-step guide, we’ll show you how to turn your barn dreams into a real barn, just like your Grandpa would have done it on his farm. This article is packed with straightforward instructions and helpful tips. Even if you’re starting from scratch. We’ll cover all the basics, from selecting materials and obtaining building permits to putting the finishing touches on your new barn. So grab your tool belt and let’s get started!
Step 1: Choose a Site

Ready to take your first step building your barn? Exciting! But before you break ground, let’s make sure you’ve got the perfect spot picked out. Finding the ideal location is key to a successful build, and it’s all about finding that sweet spot that checks all the boxes. Accessibility, drainage, and utilities – these are just some of the things you need to think about when you’re scouting out the site. And don’t forget the most important part – making sure it’s level and spacious enough to house your dream barn. So download an aerial photo of your property, start exploring, and let’s get this barn-building journey underway!
Step 2: Choose a Plan

After locating the perfect site, it’s time to roll up your sleeves and create a plan for your dream barn, and that is where the fun begins. Take a look at all the resources on barngeek.com, this is where you can imagine every detail of your barn. What style doors are you going to have? How many stalls are you going to need? What kind of roofing material will you use? What about siding? Are you going to choose Steel, Wood, Vinyl, Fiber board, or T-11?
There are many choices but, don’t worry! If you’re feeling overwhelmed,we have your back. Our expert barn designers at barngeek.com have created a Library of top notch barn plans that are easy to follow and, come with a complete materials list. So, check out our Barn Plans Library (Options Below) and start building your dream barn today!
The Homesteader
- These Plans that are well suited for the small homesteader with a small amount of livestock.
- Limited to our Barn Plans under 1,000 square feet.
- Chicken Coop Plans Library
- Timer Frame Shed Plans Library
- How to Build a Barn Course
- Chicken Coop Course
- 10% Discount on Hardware and Screws
Most Popular: The D-I-Yer
- Our Complete Library of Barn Plans
- Chicken Coop Plans Library
- Timer Frame Shed Plans Library
- How to Build a Barn Course
- Chicken Coop Course
- 10% Discount on Hardware and Screws
Pro
If you are ready to build ASAP- Unlimited Phone consultation with Aaron The Barngeek
- Our Complete Library of Barn Plans
- Member-only project walkthroughs
- Priority access to custom design services
- Insider techniques to make your build faster, safer, and stronger
- Chicken Coop Plans Library
- Timer Frame Shed Plans Library
- How to Build a Barn Course
- Chicken Coop Course
- 10% Discount on Hardware and Screws
Step 3: Obtain Permits
Ah, the thrill of building a barn! But wait, before you dive in, fire up that saw, and get those hammers swinging, make sure you have all the proper paperwork in order. Yes, we’re talking about those essential permits and approvals from your local authorities. Don’t let a simple oversight put the brakes on your barn building dreams. Get ahead of the game and make sure you’ve got your building permit, zoning approval, and any necessary environmental permits all sorted and ready to go. Trust us, it’ll make the building process run smoother and be one less thing to worry about!
Step 4: Prepare the Foundation

Now that you have your permits in place and a plan in hand, it’s time to lay the foundation for your barn. Whether you prefer the stability of a concrete slab, the height of a raised platform, or the rustic charm of stone, the choice is yours! But one thing’s for sure, you want to make sure your foundation is level, strong, and secure. Ready to support the weight of your dream barn. Don’t skimp on the foundation, after all, it’s the foundation of your future memories! So, grab a shovel, call in a professional, or gather your supplies and let’s get to building!
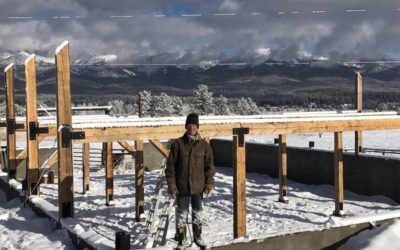
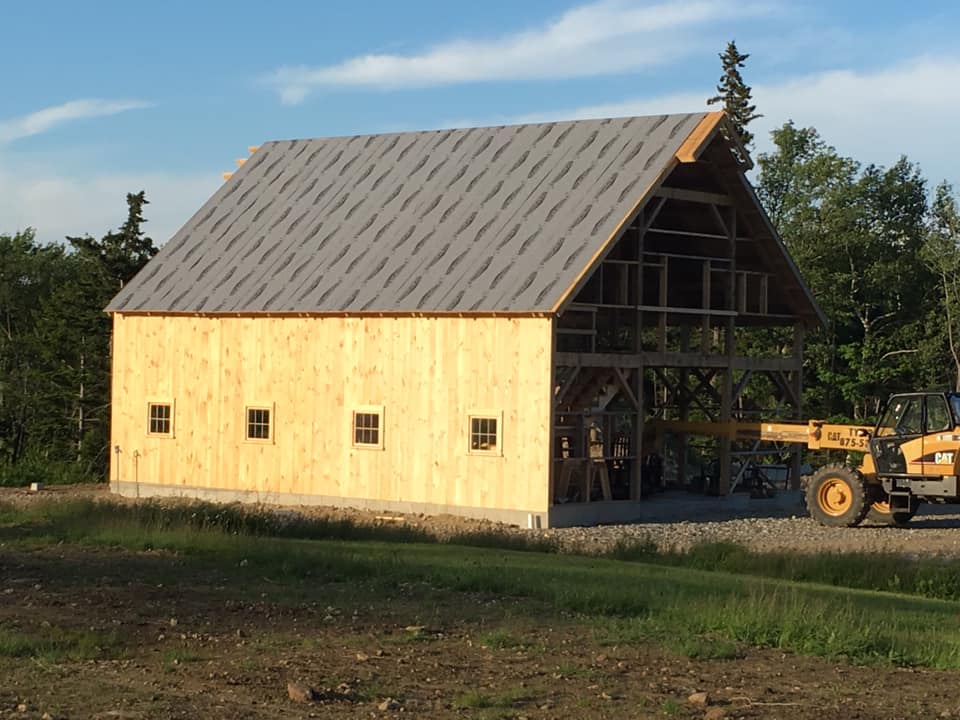
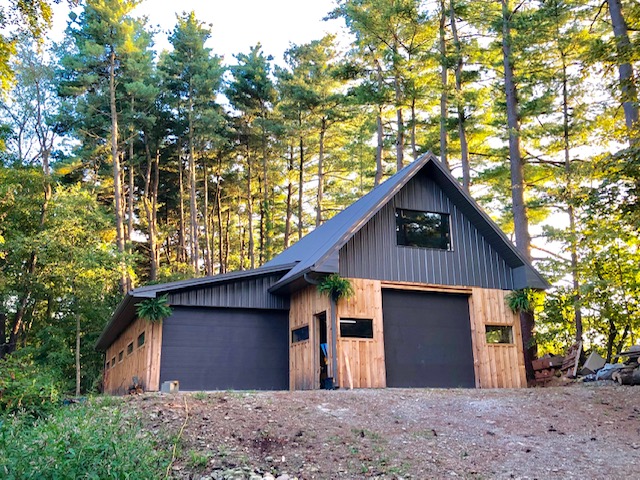
Step 5: Construct the Frame

Get ready to get your hard hat on, because it’s time to bring that barn frame to life! But before you break out the hammer and nails, let’s talk construction method. Are you all about that classic rustic charm? Then a post and beam barn might be just your style. Or maybe you’re a fan of sleek and modern? Steel or concrete frame might be for you. Whatever your preference, the frame will be the backbone of your barn, providing sturdy support for all the adventures to come.
If it’s Post and Beam, you are in the right place. BarnGeek.com is all about post and beam barns.
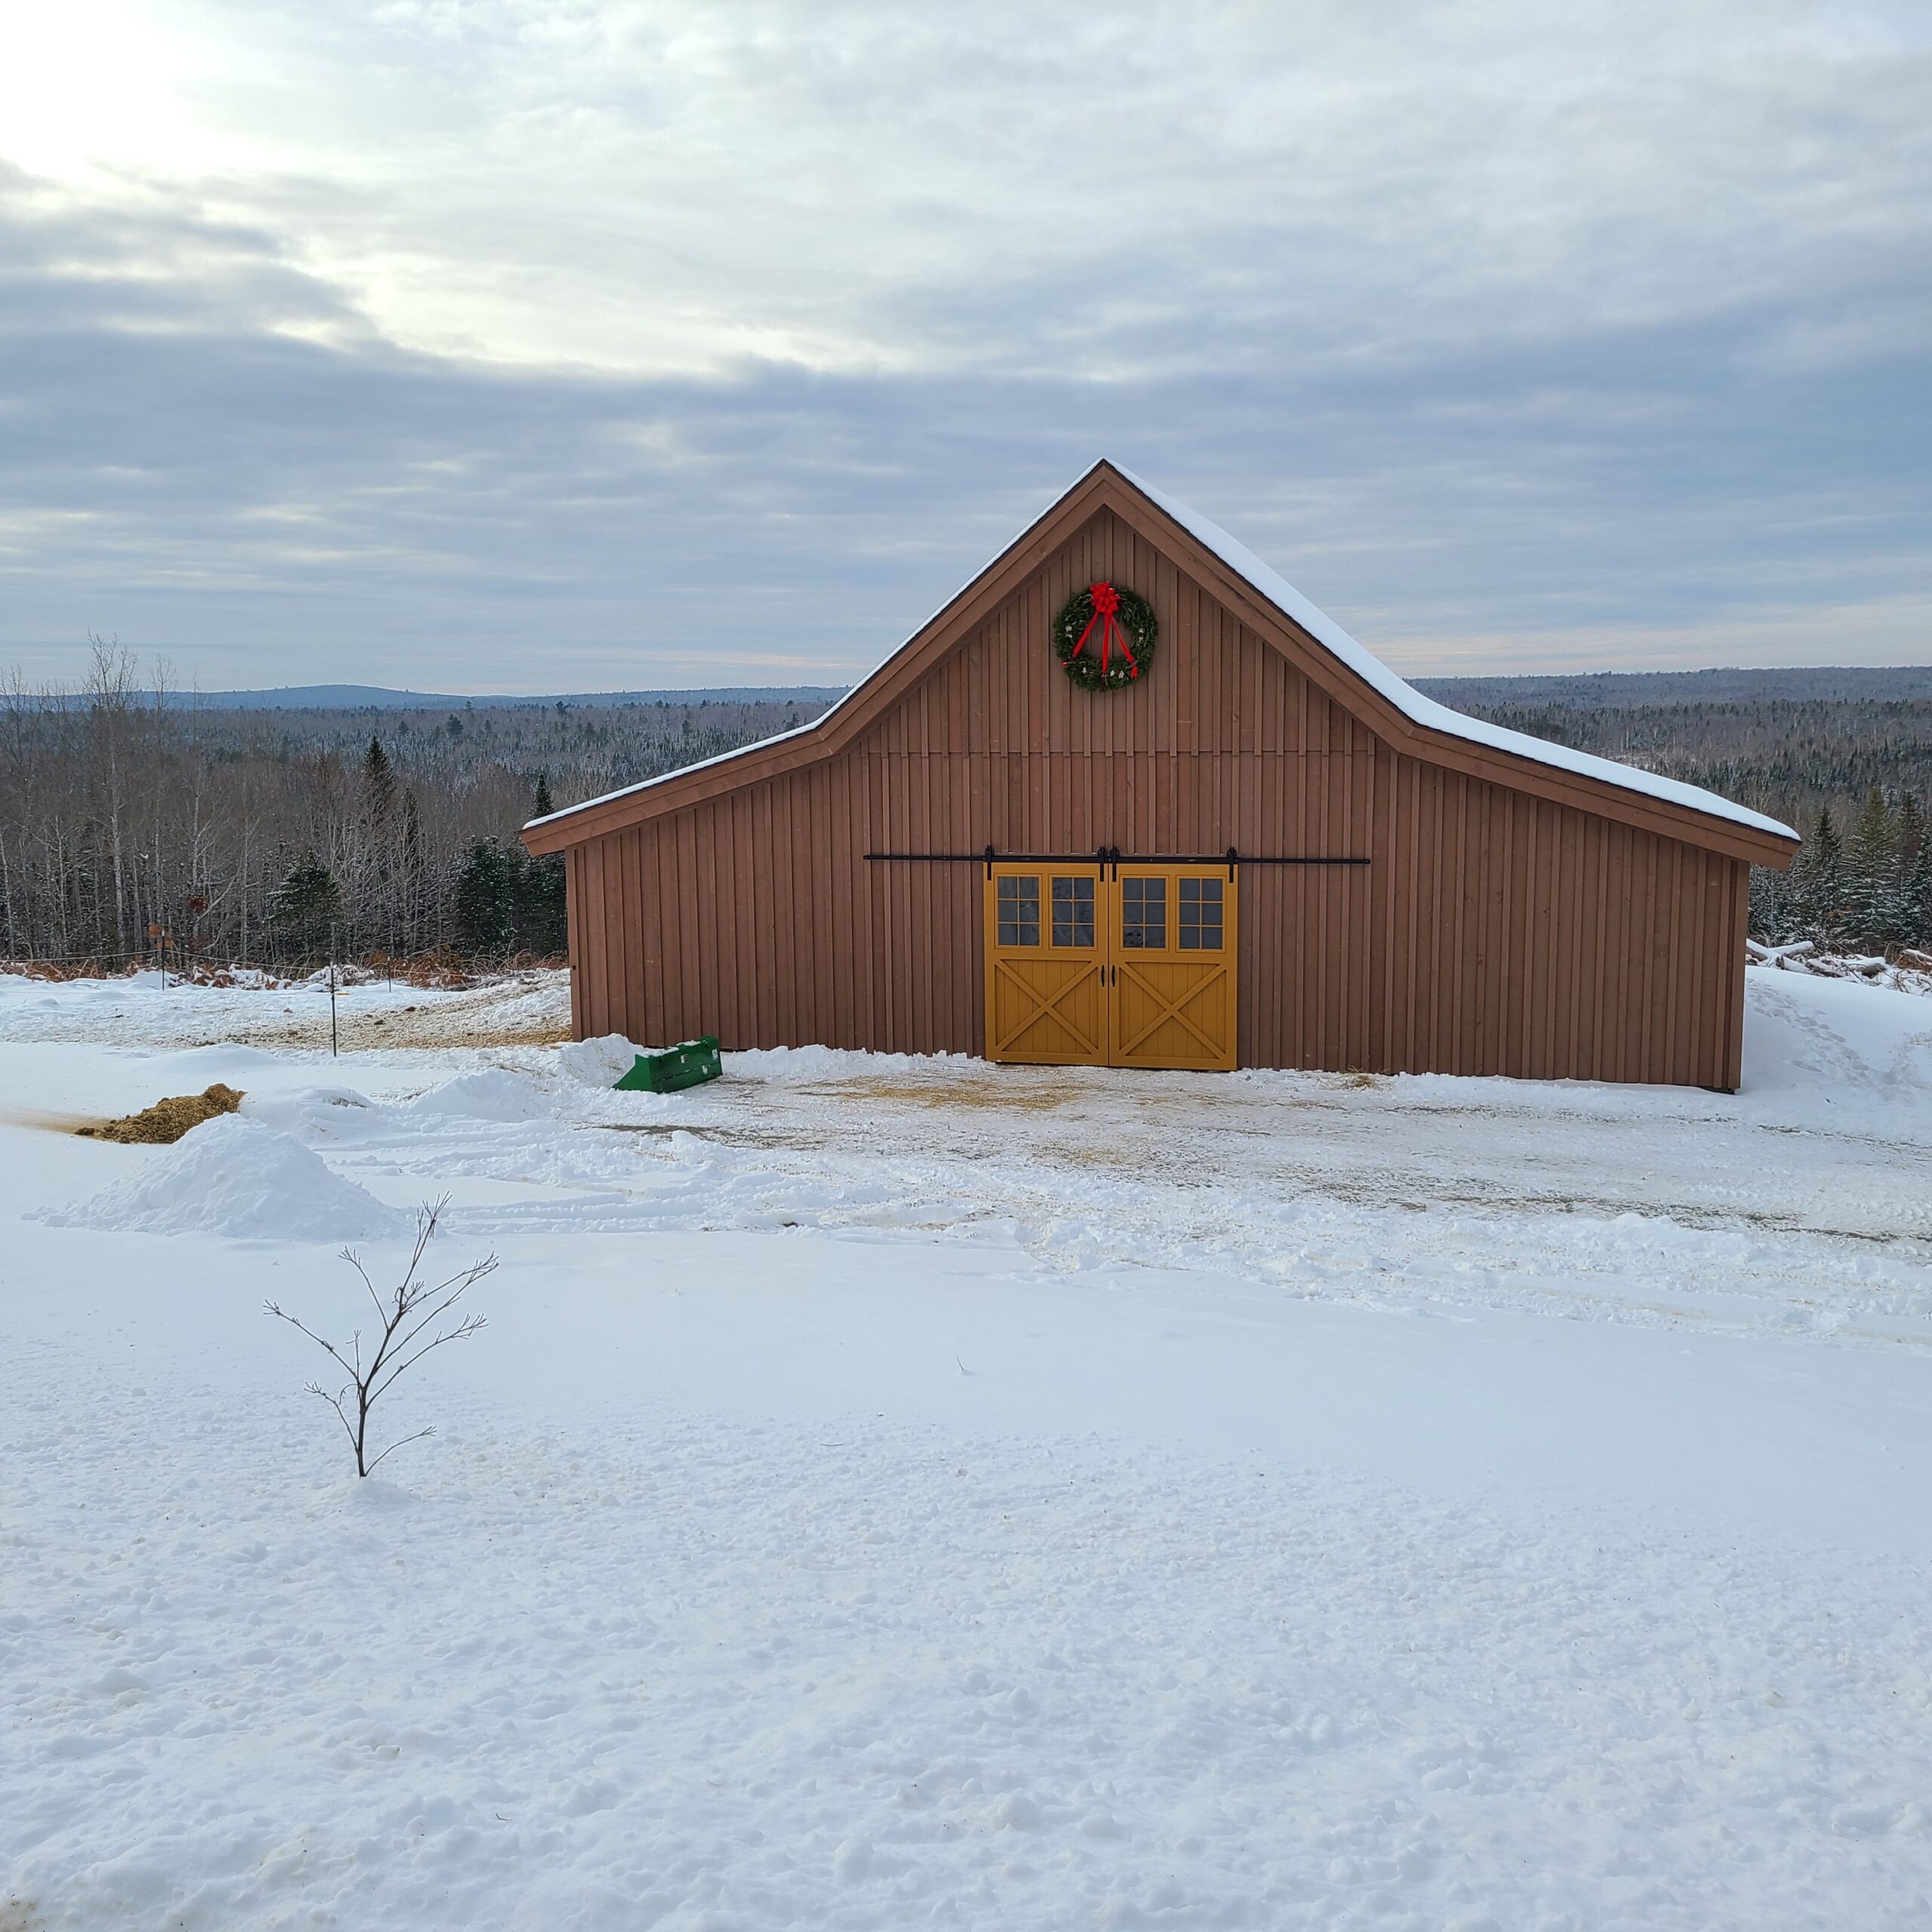
Step 6: Install the Roof

Now for the roof. This is the crowning jewel of your barn. But, what type of roof should you choose? Shingles or metal? Both have their pros and cons, so it’s essential to weigh the options carefully. Shingles offer a classic look and might blend seamlessly with your home, if you can find shingles to match. Metal roofs are known for their durability, longevity, and energy efficiency. But, not everyone wants that pole barn steel look, so maybe standing seam would be better for you, just know that standing seam typically comes with a stiffer price tag.
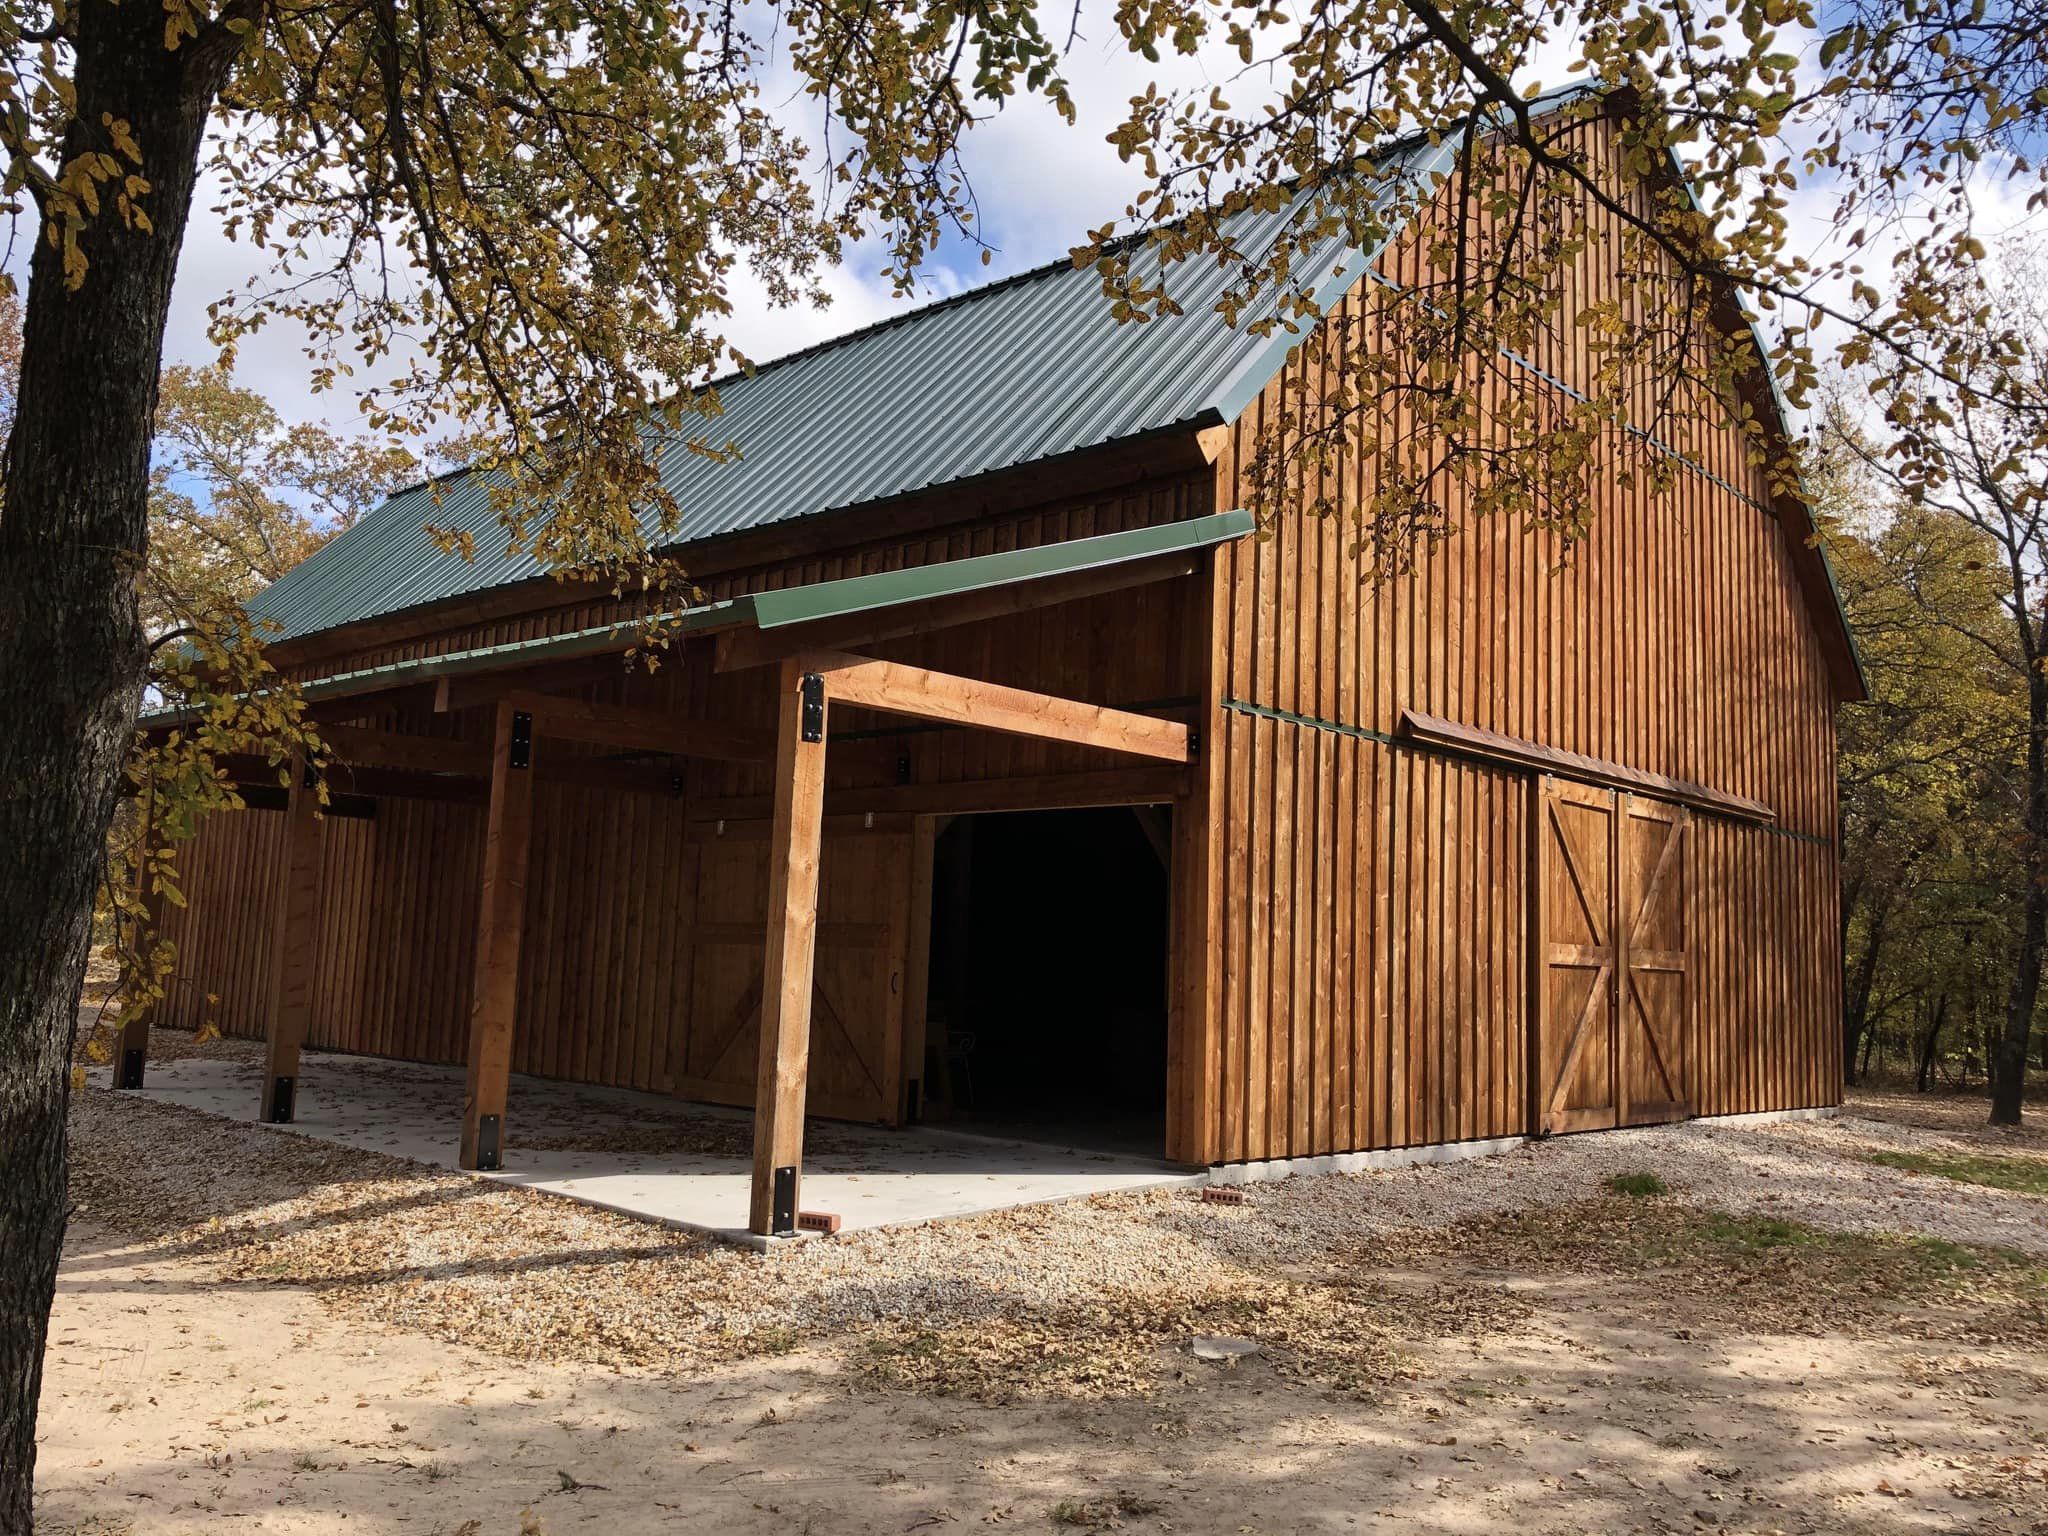
Step 7: Install the Siding

Now, It’s time to give your barn with some stylish siding! With so many options to choose from, you’ll have to decide which one is the best fit for your barn’s personality. Board and batten gives a classic, rustic vibe, steel adds a touch of industrial strength, and vinyl provides a modern appearance. It’s important to choose a durable material here if you want your barn to stand the test of time.
Board and Batten can give you a traditional look will last a lifetime if properly maintained. It is by far the lowest maintenance choice. It doesn’t require painting, it sheds water very well, it is inexpensive, it doesn’t require washing, and it doesn’t fade. As time goes by it gains more and more beauty.
Steel can also last a lifetime, but over time it can fade and require repainting, it also doesn’t breathe as well as wood, and can trap moisture inside your barn. My favorite siding system is a two stage system, with steel along the bottom of board and batten, to protect the wood from splash up. This option gives you the best of both worlds. When you do have to repaint the steel, you won’t have to get on a ladder to do it.
I can’t imagine many cases where I would recommend vinyl siding. It requires some sort of wood underlayment, it’s not stiff enough to stand on it’s own. This is the hidden cost of vinyl, that nobody talks about. Secondly it is very susceptible to ultraviolet break down, damage by heat, and color fade. I’ve seen some vinyl siding fade so much in one year that it wouldn’t color match siding from the same batch that had been in the box! It get’s dingy quickly and seems to be a mildew magnet, which requires frequent washing. When it fades, you can’t really do anything to fix it except replace it. You can’t really paint it, unless you get expensive specialty paint, and then it doesn’t last very long. On top of all that! It isn’t renewable or sustainable.
Step 8: Finish the Interior

Here comes, the exciting part of building your new barn! You’re inching closer to the finish line and the barn of your dreams is finally coming to life! It’s time to turn the bones of your structure into a functional home for your livestock, your new dream shop, or just a place to squirrel away your treasures.
It’s time to add all the bells and whistles, the interior features that will make your barn truly yours. You get to choose between cozy stalls for your critters, an efficient workspace, or organized storage areas. Get ready to make your barn truly your own!
Step 9: Throw a Party!

And finally, the moment you’ve been waiting for – it’s time to celebrate your beautiful new barn! You’ve taken the time to choose the perfect site, you planned out every detail, you built a solid foundation, constructed a sturdy frame, and finished the interior with all the bells and whistles, you had dreamed of.
Now it’s time to throw a barn-raising party! Invite all your friends and family to enjoy this fantastic new space, and all your hard work with you. Bust open the stalls, have a hoedown under the open cathedral, and raise a toast to your hard work and determination. After all, what’s a barn without a little celebration? So go ahead and let the good times roll!
Ready for the next step? In order to design a firm foundation for your barndominium you need a good set of construction plans..
Choose the option Below to Get these Plans!
The Homesteader
- These Plans that are well suited for the small homesteader with a small amount of livestock.
- Limited to our Barn Plans under 1,000 square feet.
- Chicken Coop Plans Library
- Timer Frame Shed Plans Library
- How to Build a Barn Course
- Chicken Coop Course
- 10% Discount on Hardware and Screws
Most Popular: The D-I-Yer
- Our Complete Library of Barn Plans
- Chicken Coop Plans Library
- Timer Frame Shed Plans Library
- How to Build a Barn Course
- Chicken Coop Course
- 10% Discount on Hardware and Screws
Pro
If you are ready to build ASAP- Unlimited Phone consultation with Aaron The Barngeek
- Our Complete Library of Barn Plans
- Member-only project walkthroughs
- Priority access to custom design services
- Insider techniques to make your build faster, safer, and stronger
- Chicken Coop Plans Library
- Timer Frame Shed Plans Library
- How to Build a Barn Course
- Chicken Coop Course
- 10% Discount on Hardware and Screws
Read More about Post and Beam Barn Kits below.
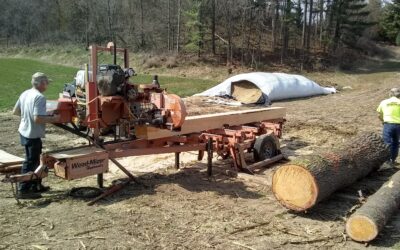
Is it worth while to have a local sawmill cut some or all of my Barn Lumber or even do it myself?
We have a LOT of eastern red cedars, Tulip Poplars, among other species. If I have a local sawmill cut our pieces for us, would you expect a significant savings overall?
Pride and Accomplishment in Having Built a Barn Myself
Besides the utility of having a barn and the value it adds to our property, having built the barn myself has given me a sense of pride and accomplishment that’s hard to place a value upon.
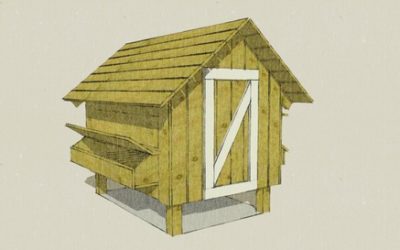
Free Chicken Coop Plans
You can build this hen house with these free chicken coop plans. It is easy to do. All you need is some rough cut lumber, a hammer, nails, and a circular saw. You can even build one with regular dimensional lumber from your local lumber yard. I built one like this for...
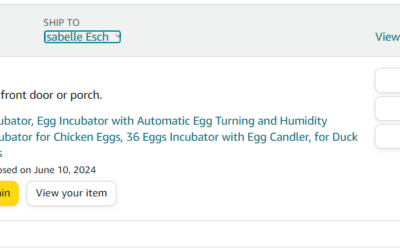
36 egg incubator reveiw. Trying an incubator from amazon.
In may of 2024 my husband and I decided to purchase an incubator in the hopes of hatching some cute silkie chicks for our son to enjoy. We bought eggs from local breeders to hatch along with sticking some layer mixes from our own farm in. As a busy family with my...
Best exterior coating for a barn?
Question asked in the BarnGeeks Facebook Group 4/21/24 Does anybody have any recommendations of the best exterior coating for a 40x60 gambrel? Unfortunately the wood is not rough cut so it won't absorb as well as all of the beams and the frame. I used iron oxide mixed...
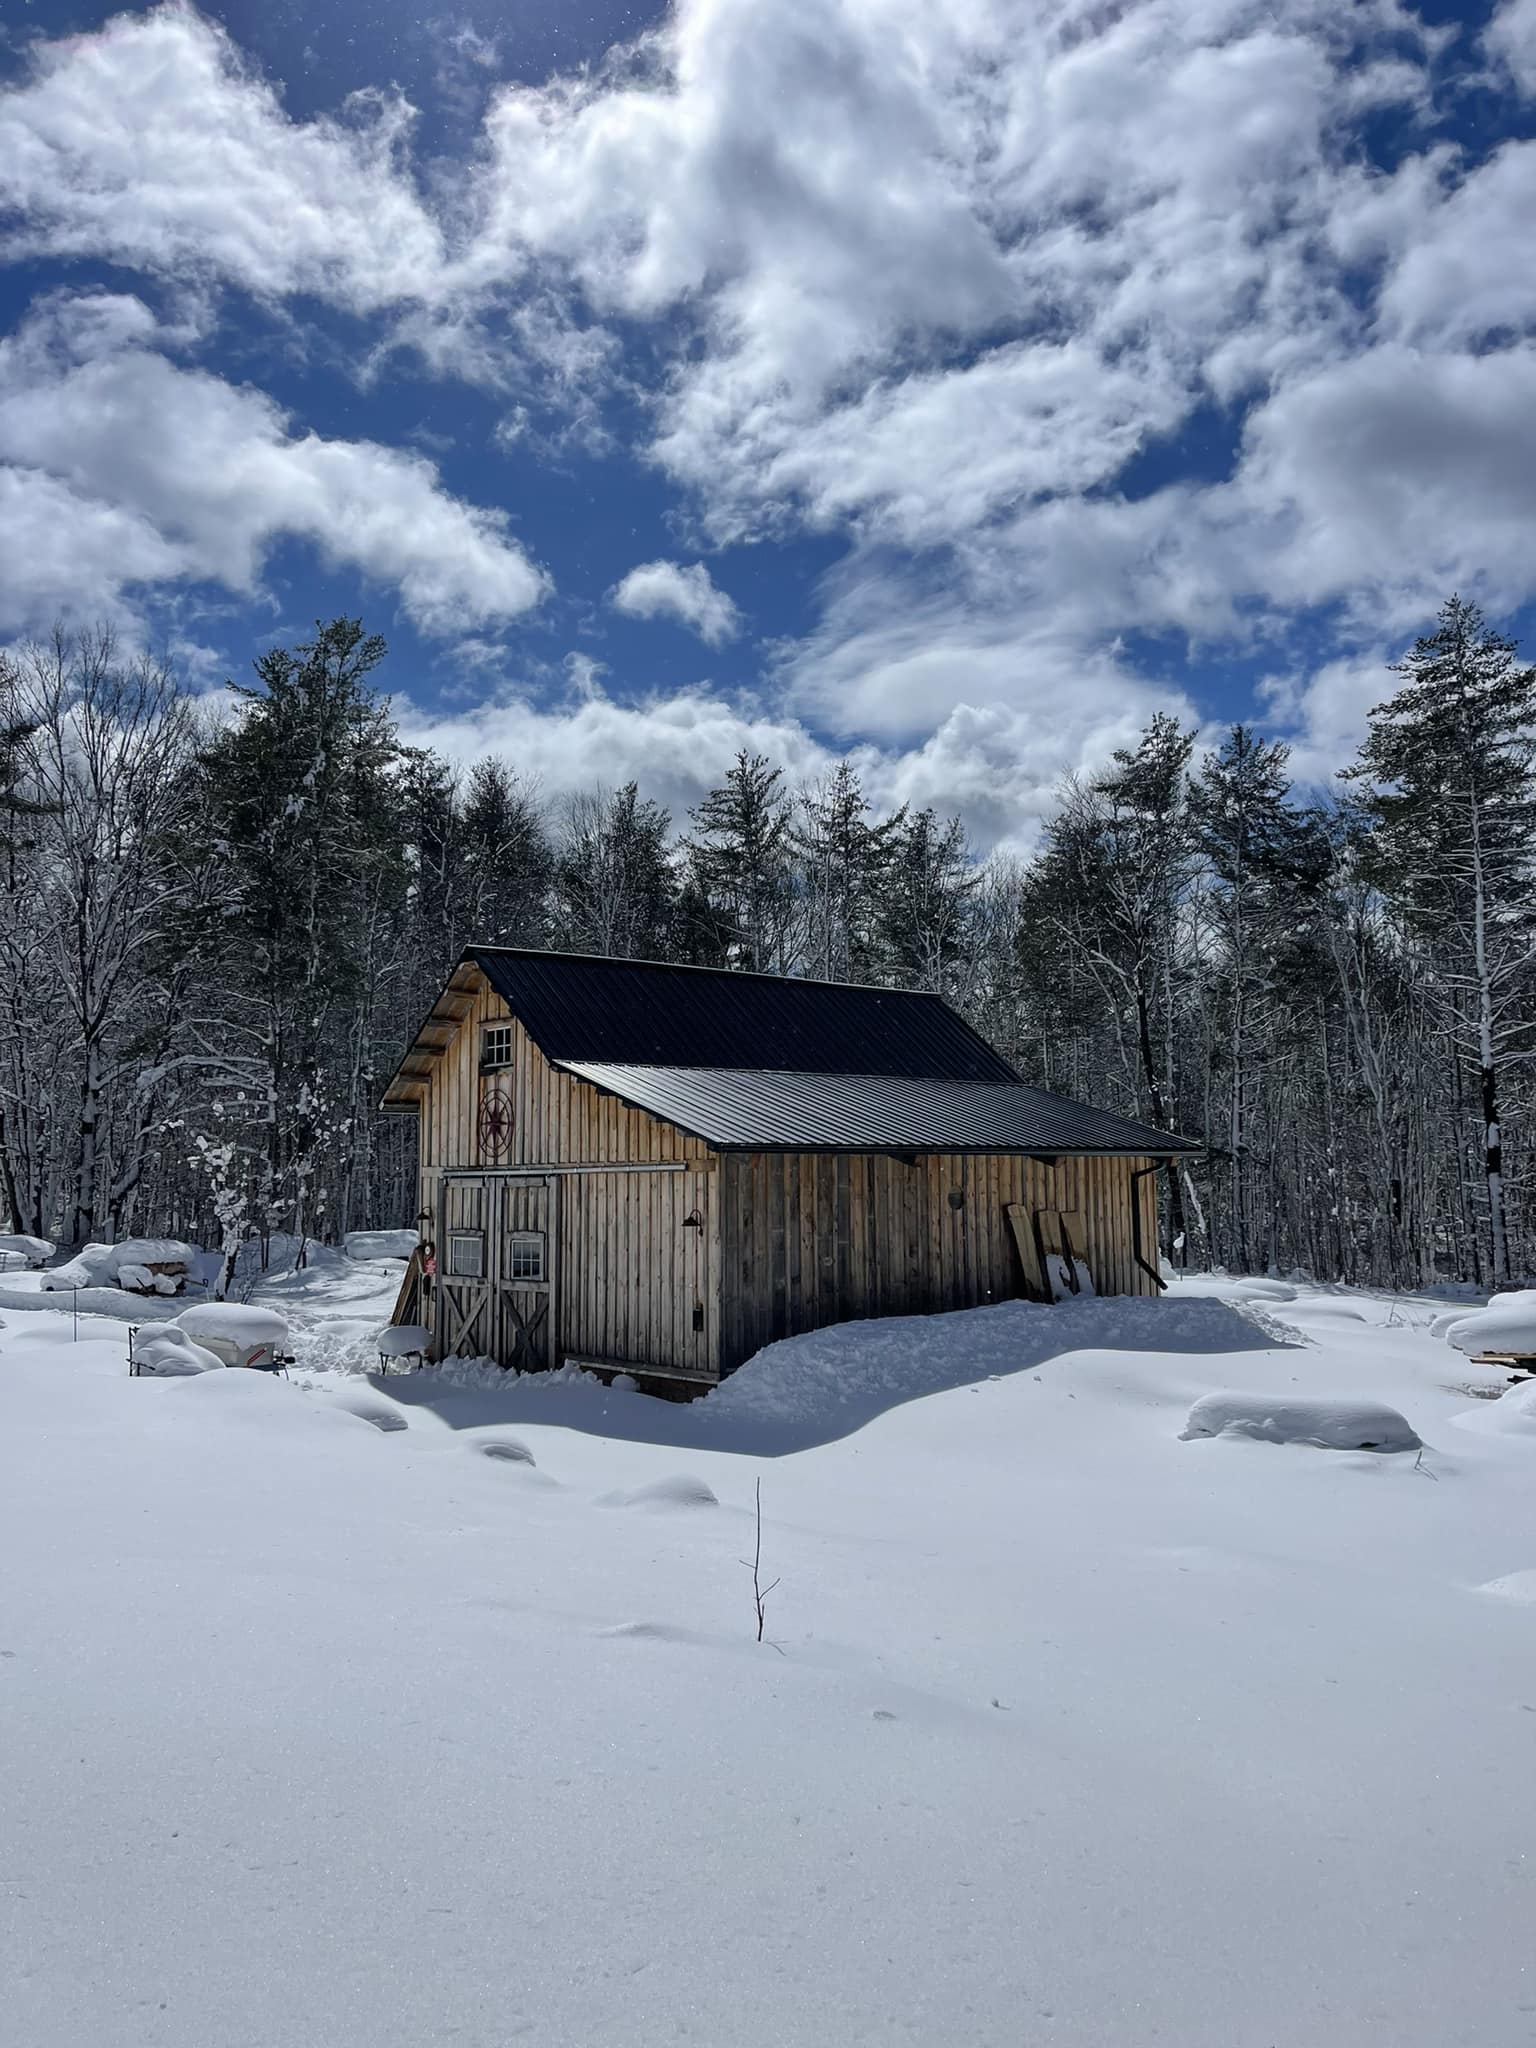
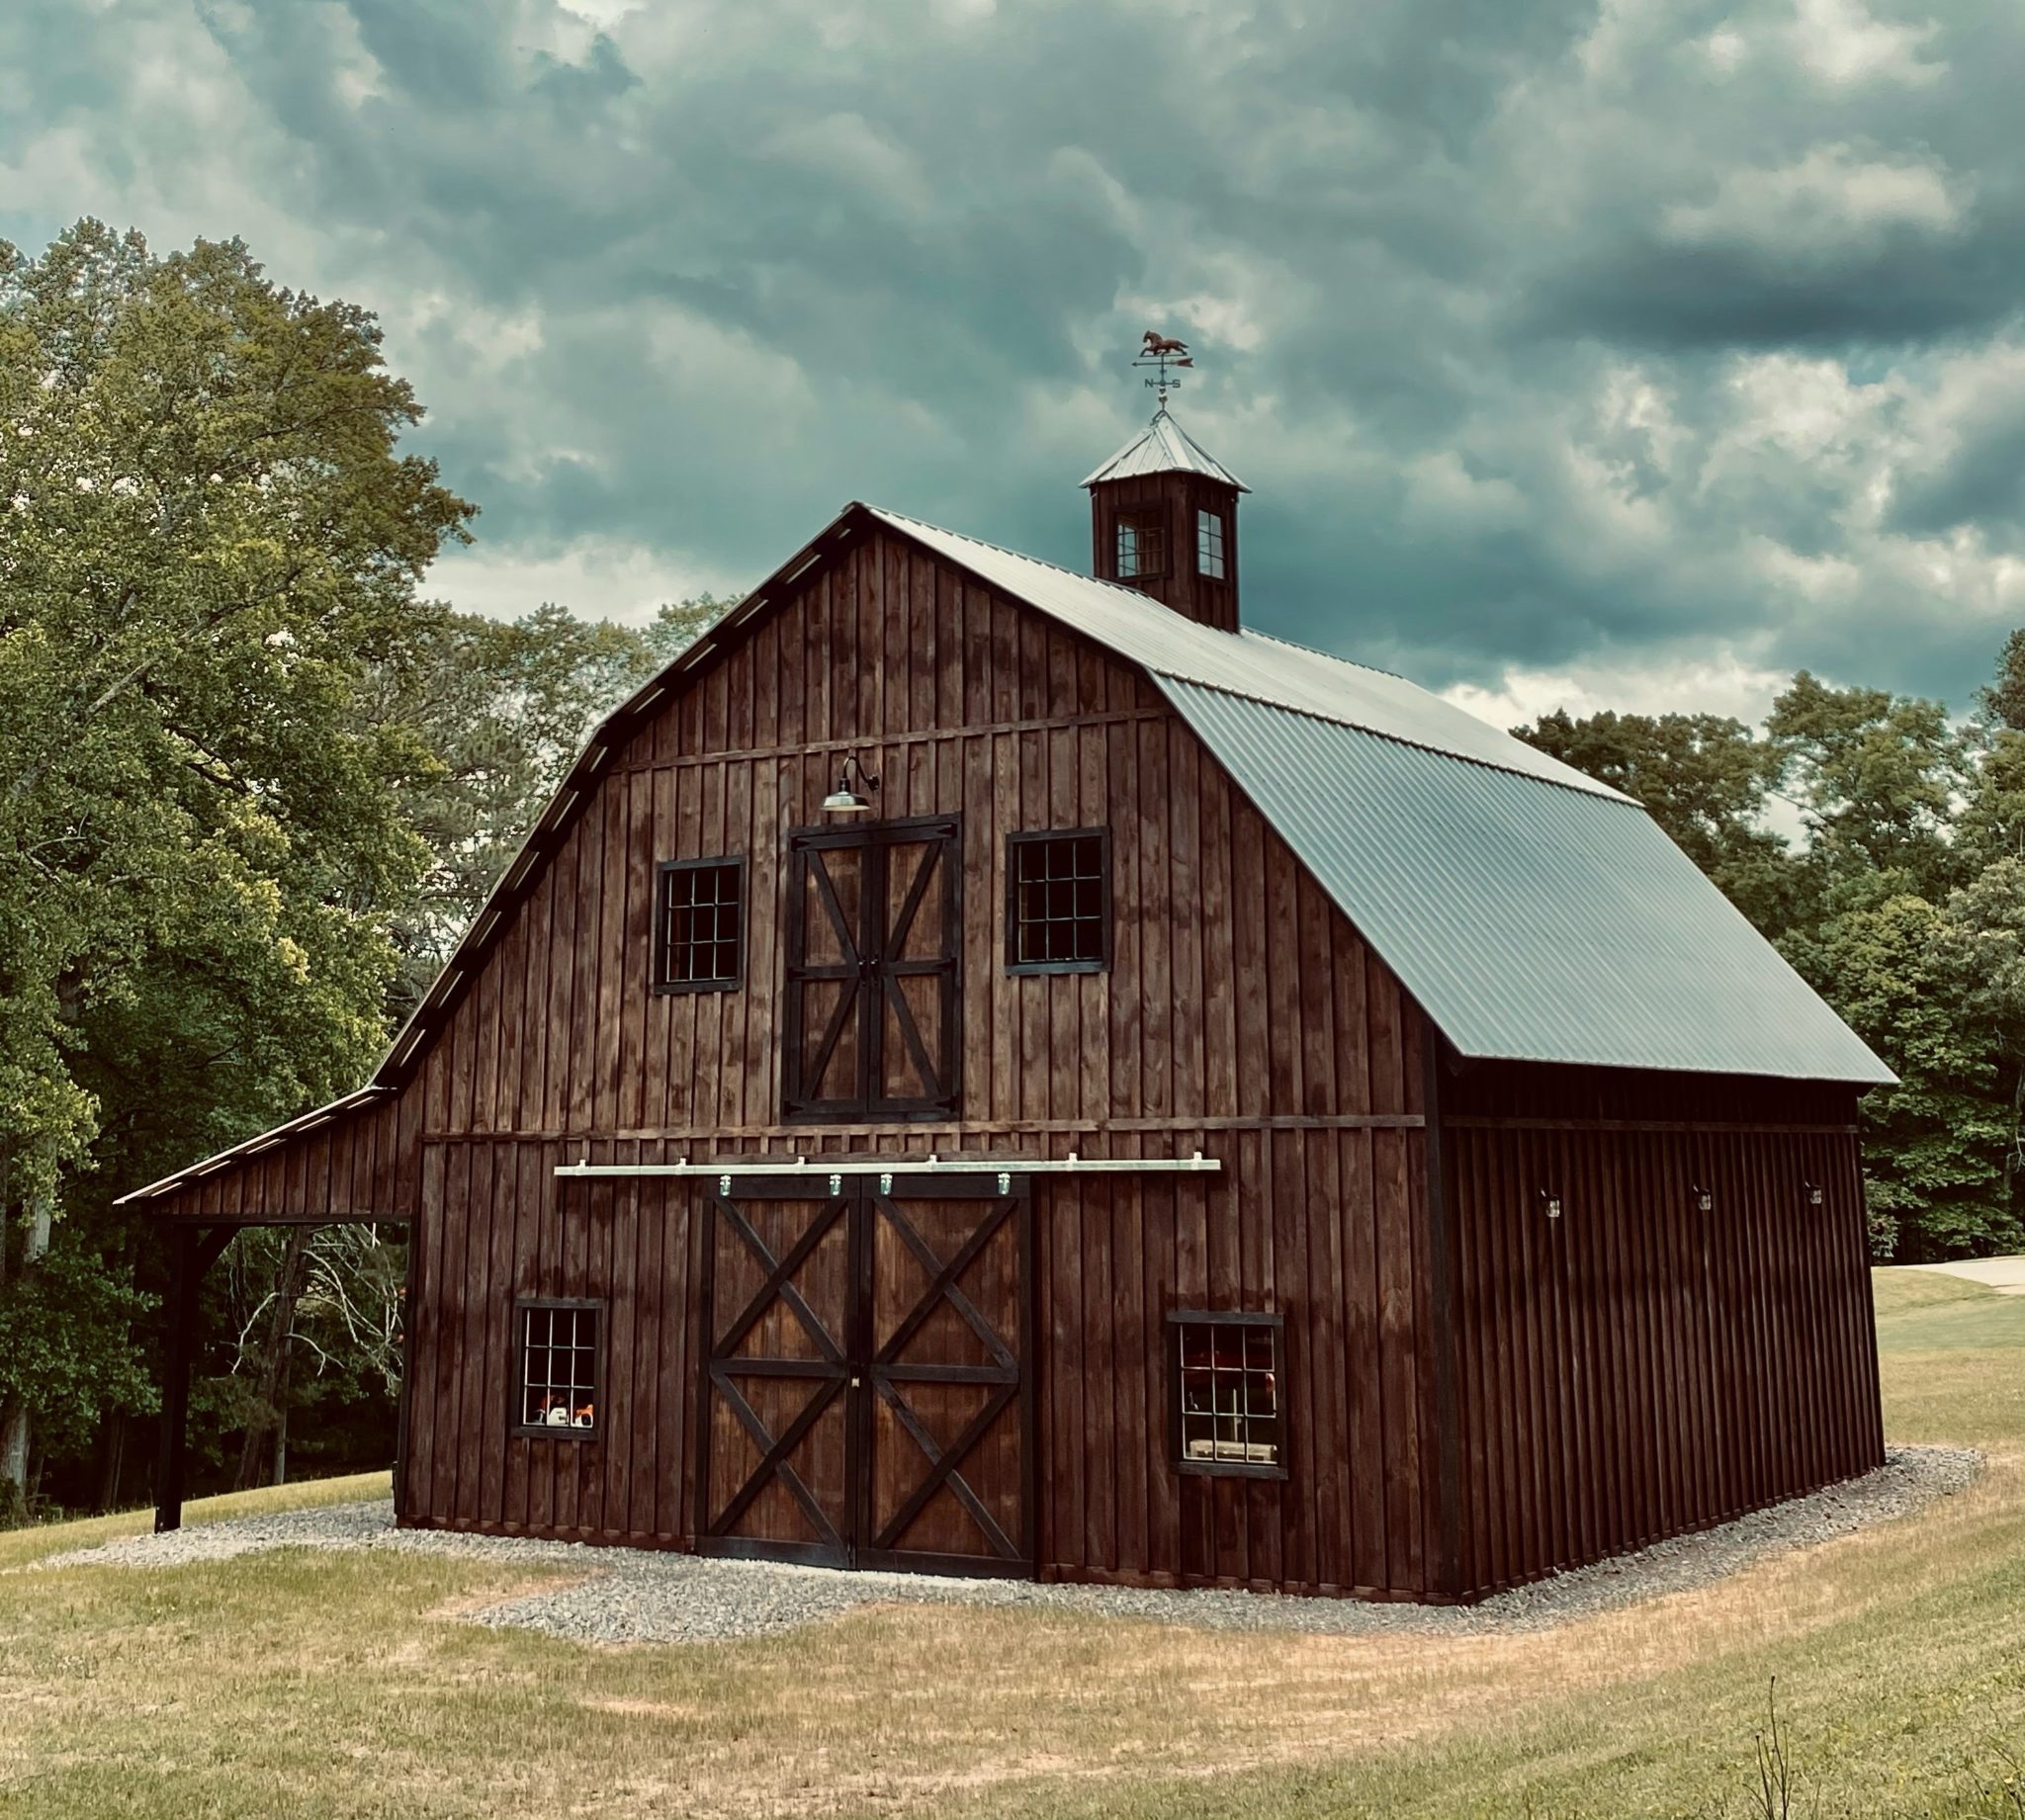
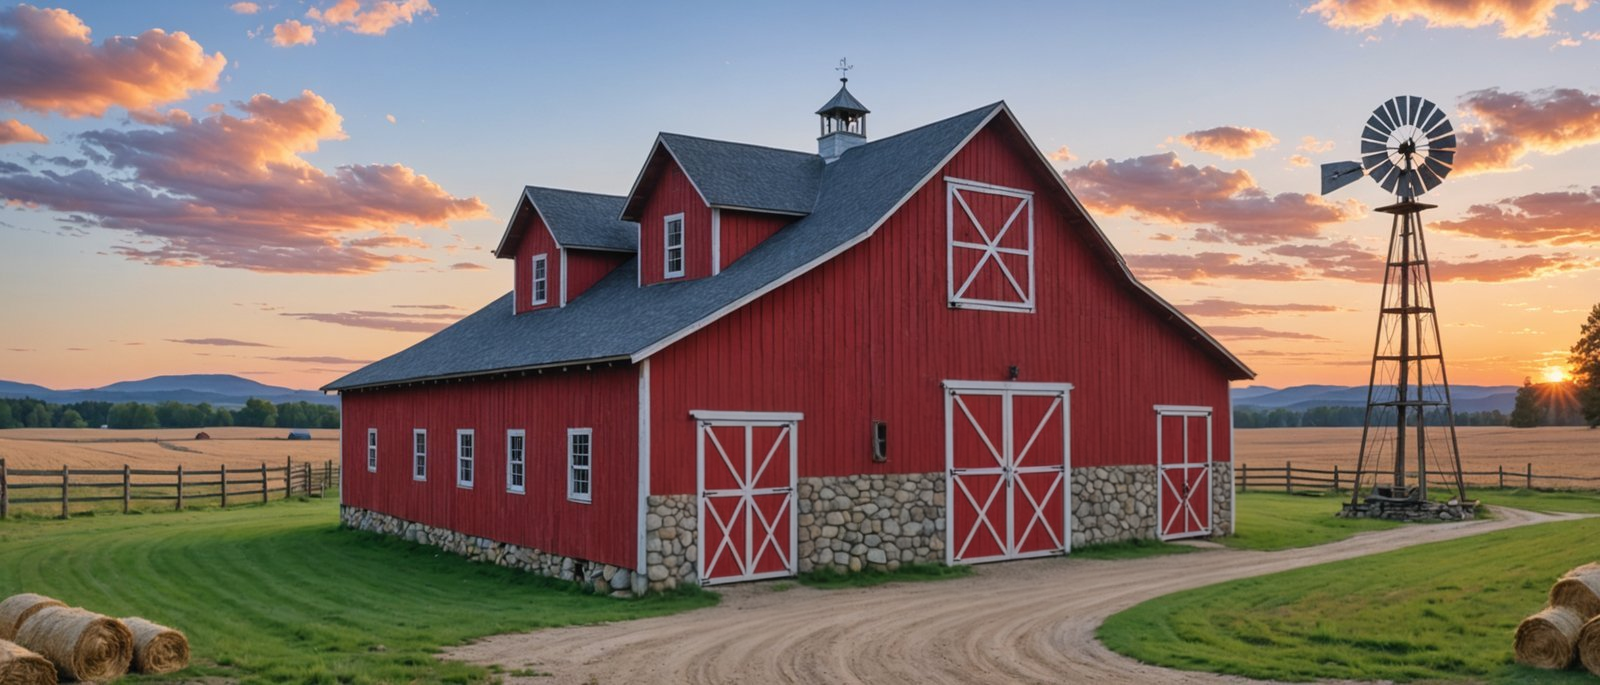
Rebuilding Tradition: A Family’s Journey with BarnGeek’s Gambrel Timber Frame Barn
The old 40 x 60 barn my grandfather built in the forties collapsed in a snowstorm in 2015. I wanted to replace it with a similar style so I chose the 40 x 60 gambrel.
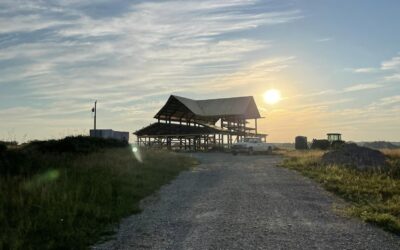
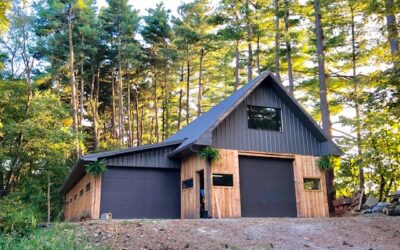
Fall 2019 to Now: The Story of Our 44×60 BarnGeek Barndominium!
We are thrilled to share an inspiring story from one of our Barn Plans Library members. This family embarked on a remarkable journey to transform our BarnGeek 40x50 plan into their dream home. Back in the fall of 2019, they decided to mix a couple of our plans,...
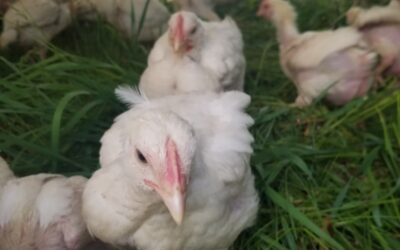
The Best Treats for Your Chickens this Summer
What are the best treats for my chickens? What can I safely feed my chickens? Let's look at some common chicken treats and what makes them good for you (your wallet) and your chickens! 1. Food scraps Low waste, low cost, and tons of fun! What could be better? Chickens...

Barn Kits Available Now!
Full Barn Kits are Back! Have you thought to yourself, “I would sure love to build one of those BarnGeek Barns but I just wish I could get everything I need to build it in one all inclusive kit!” Well, today is your lucky day! We are proud to announce...


Recent Comments