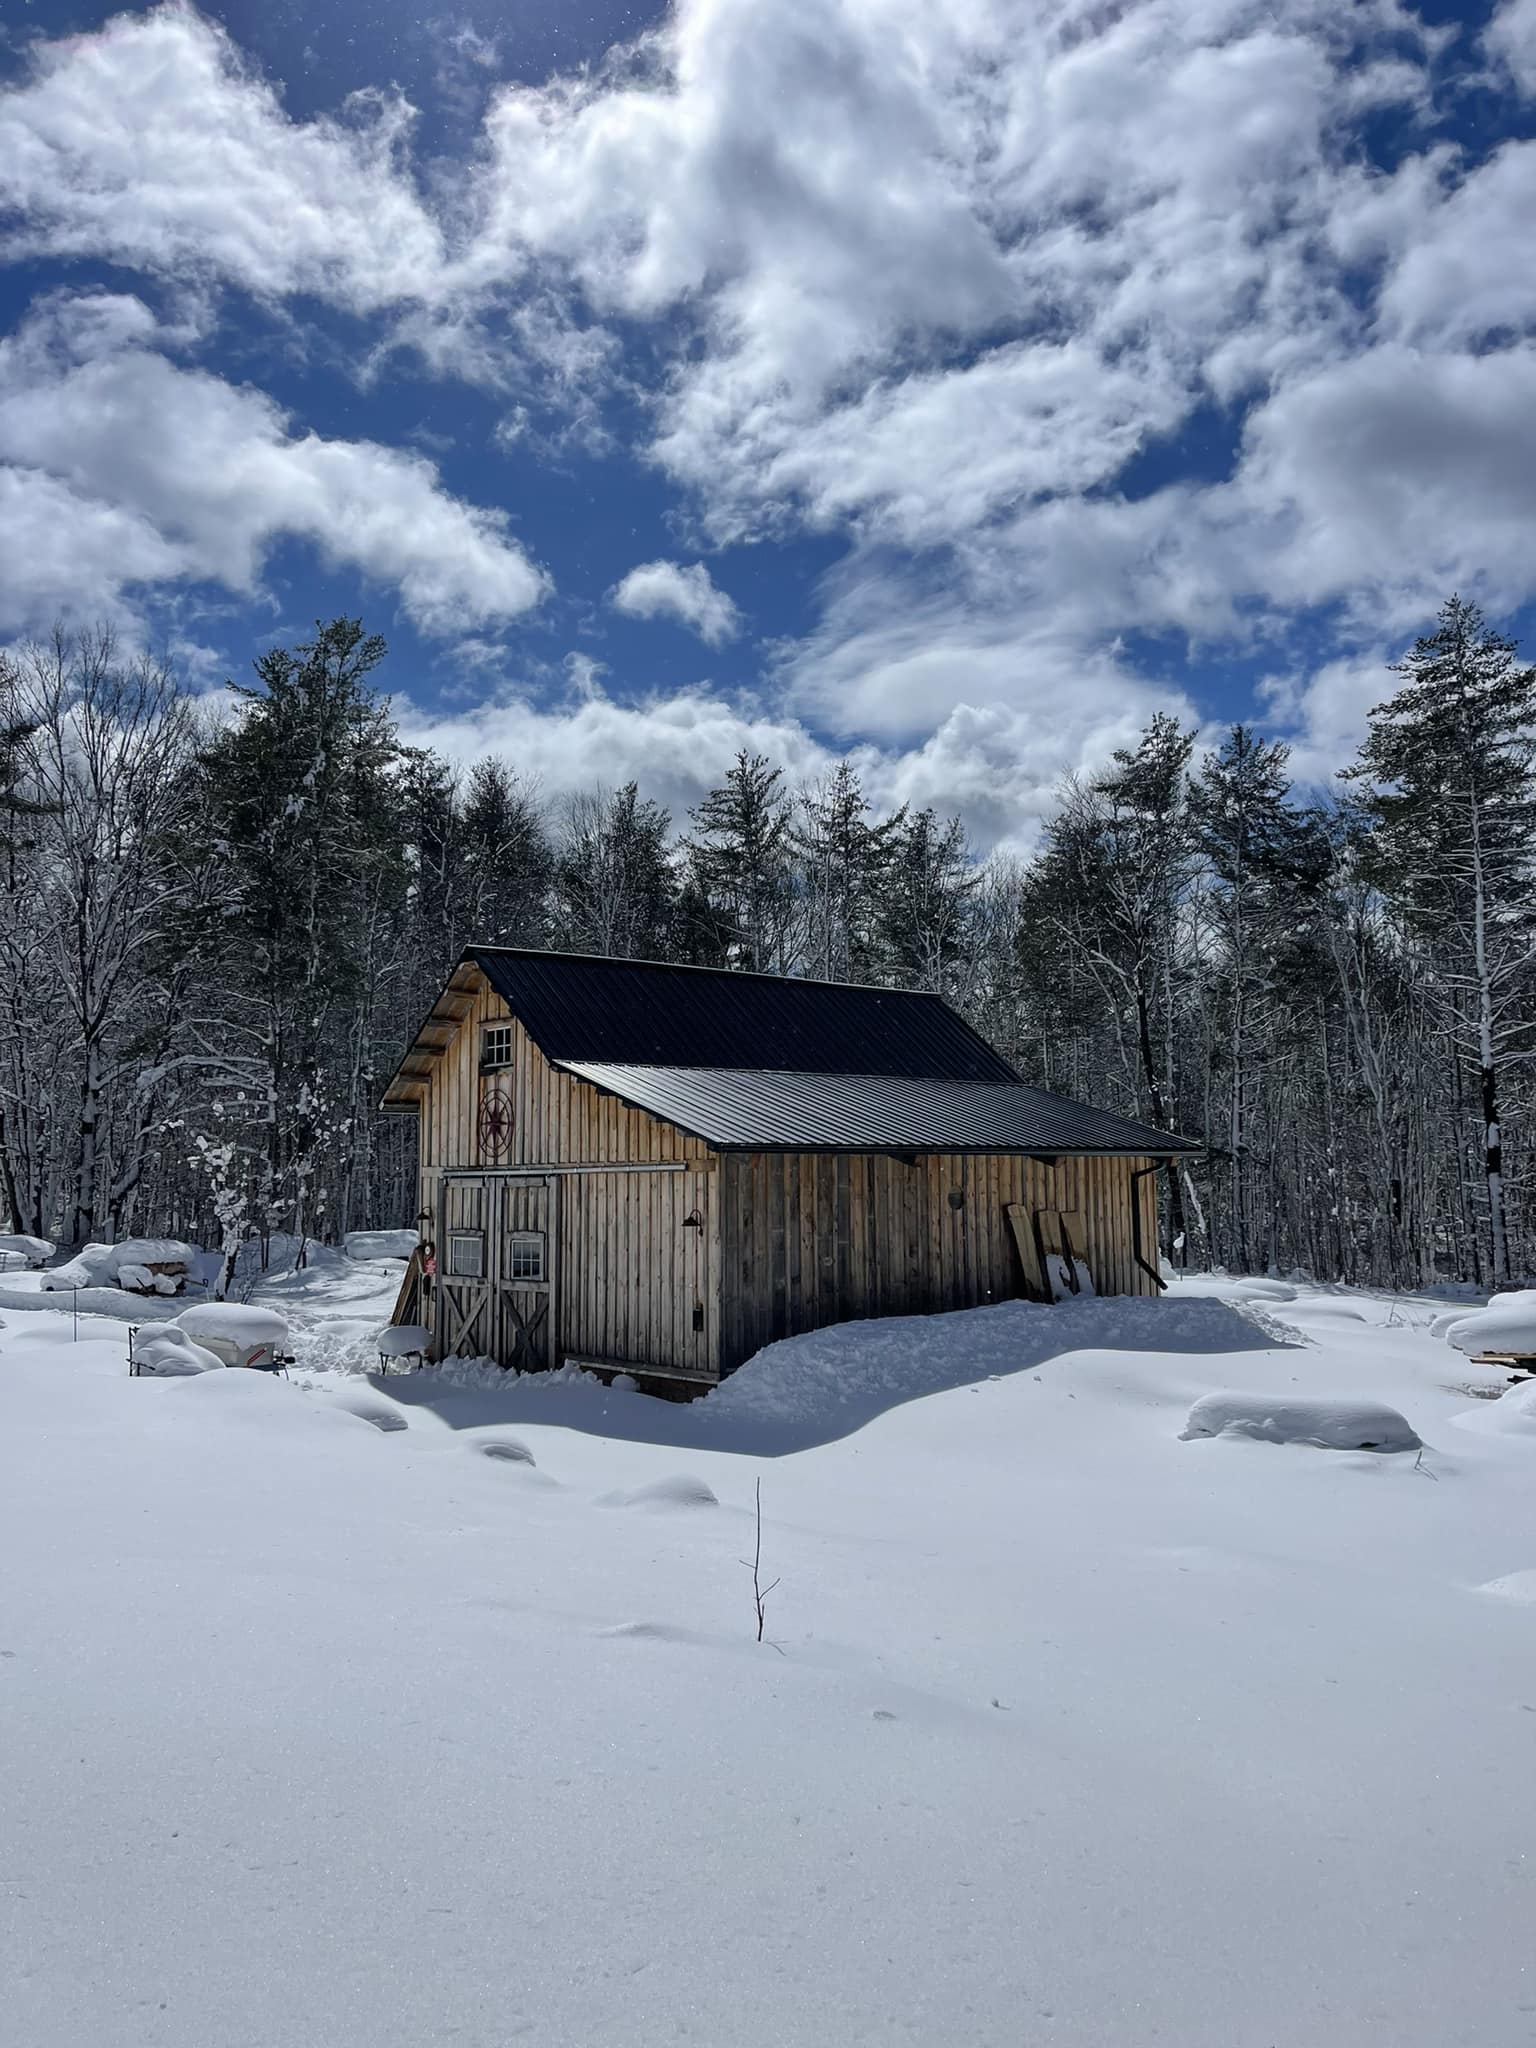
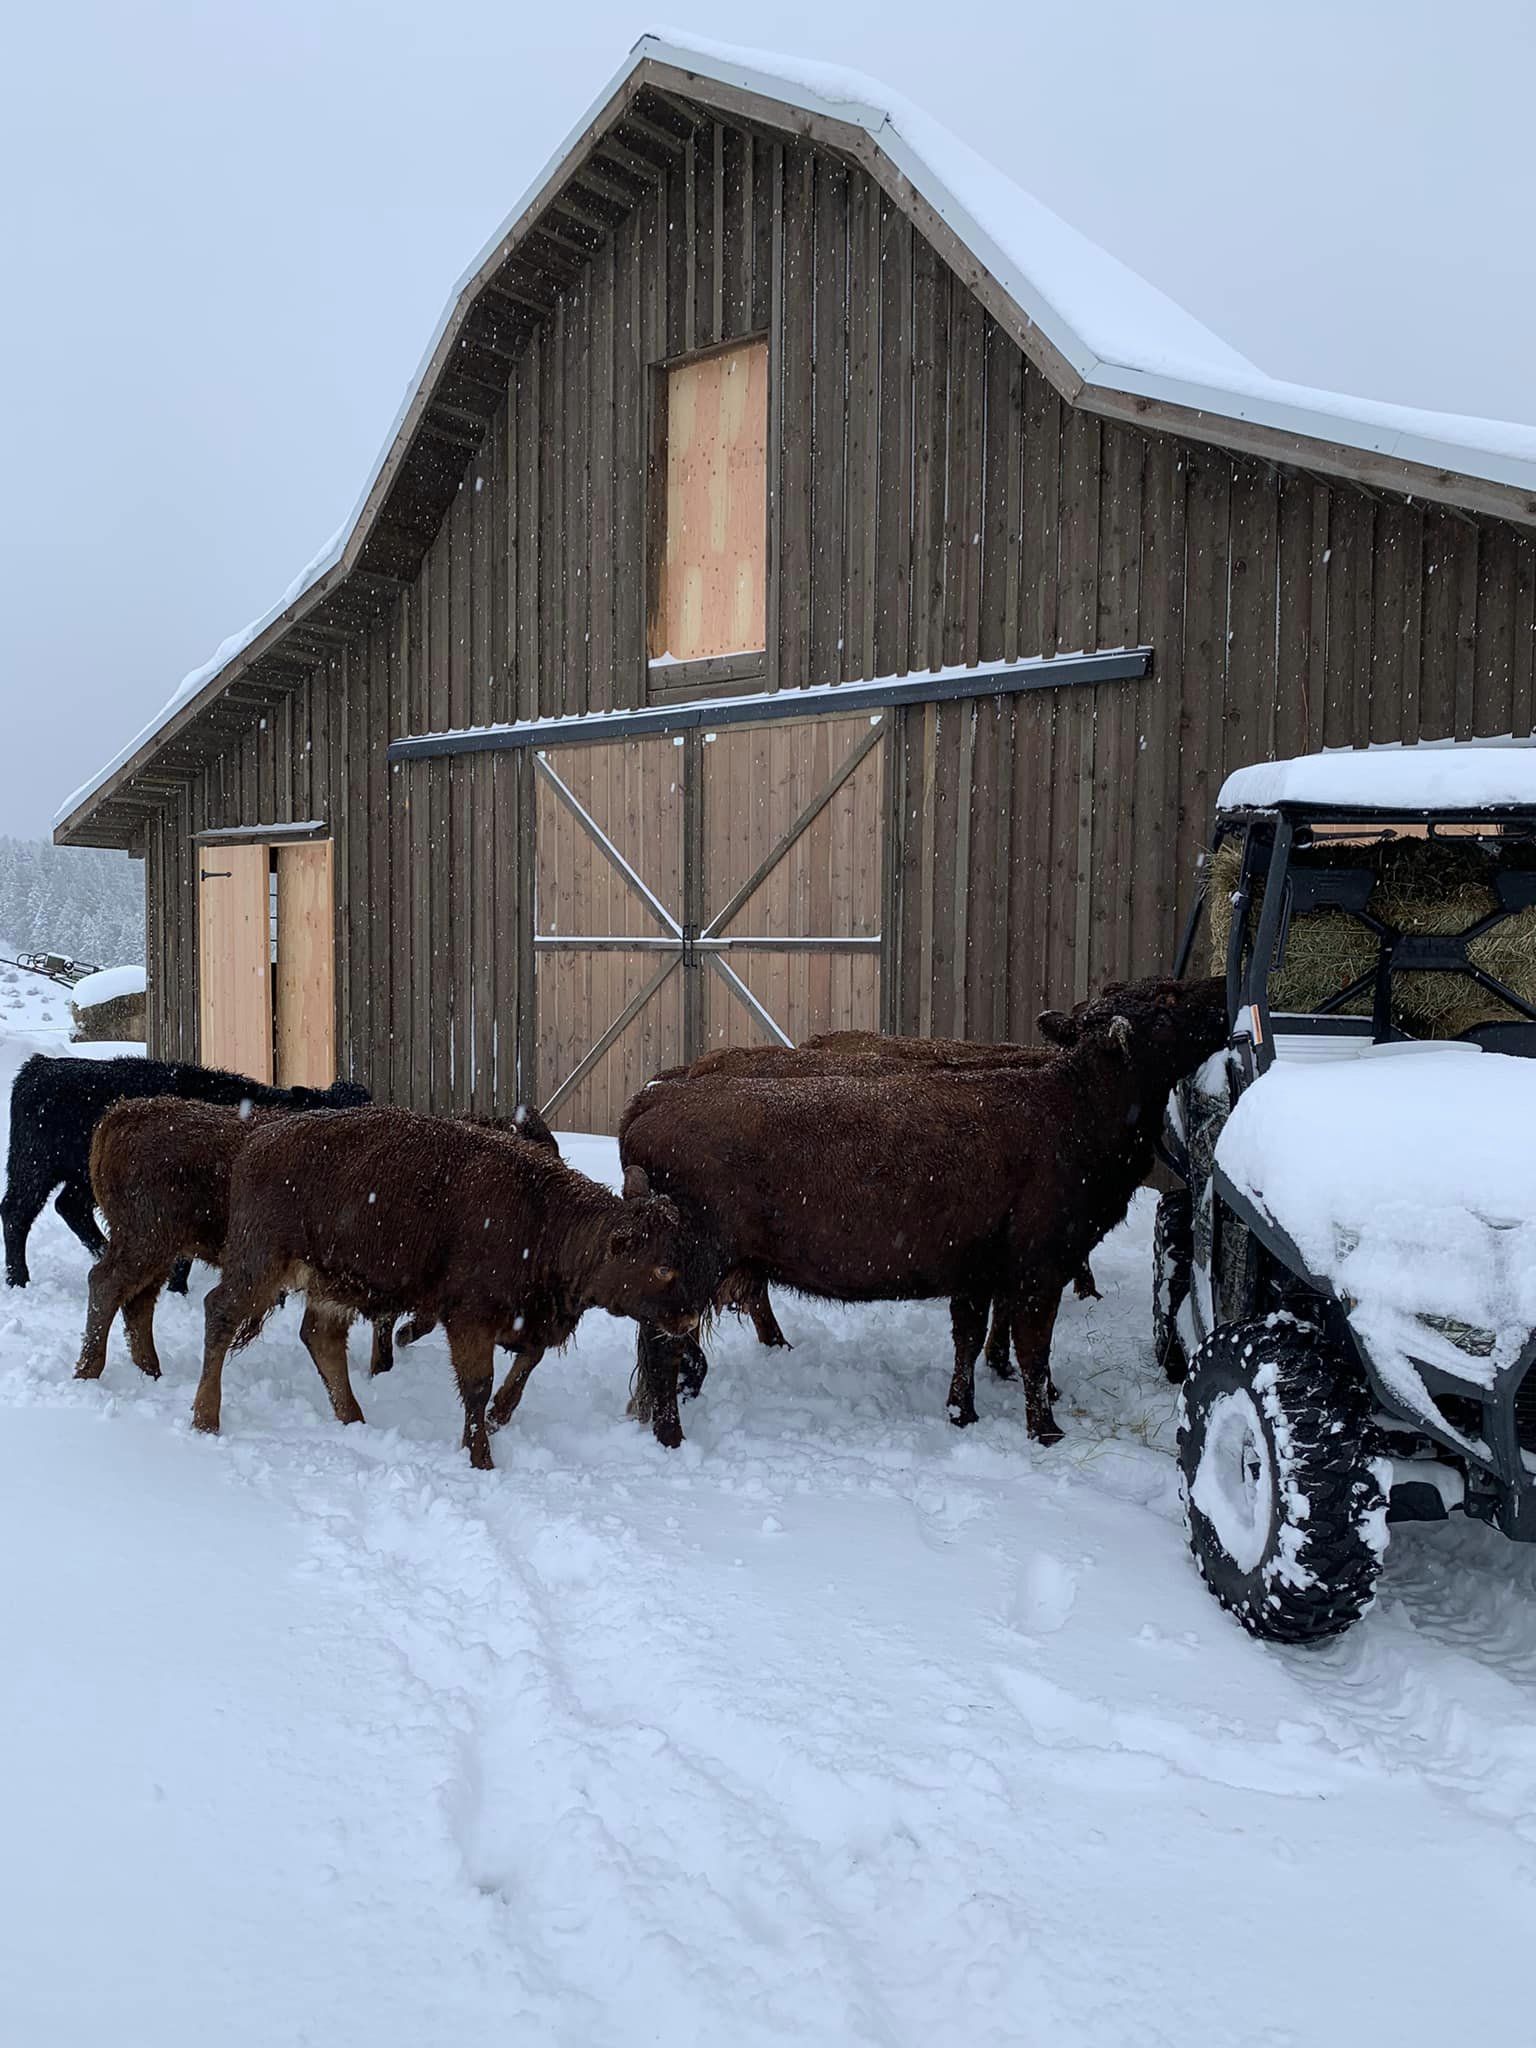
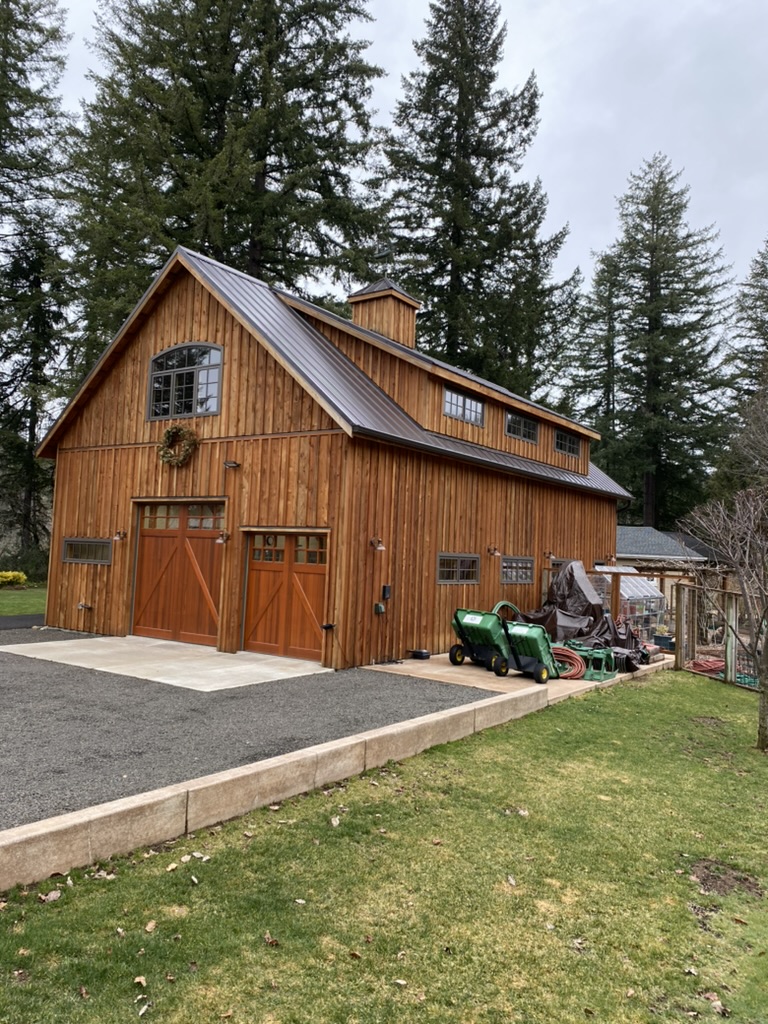
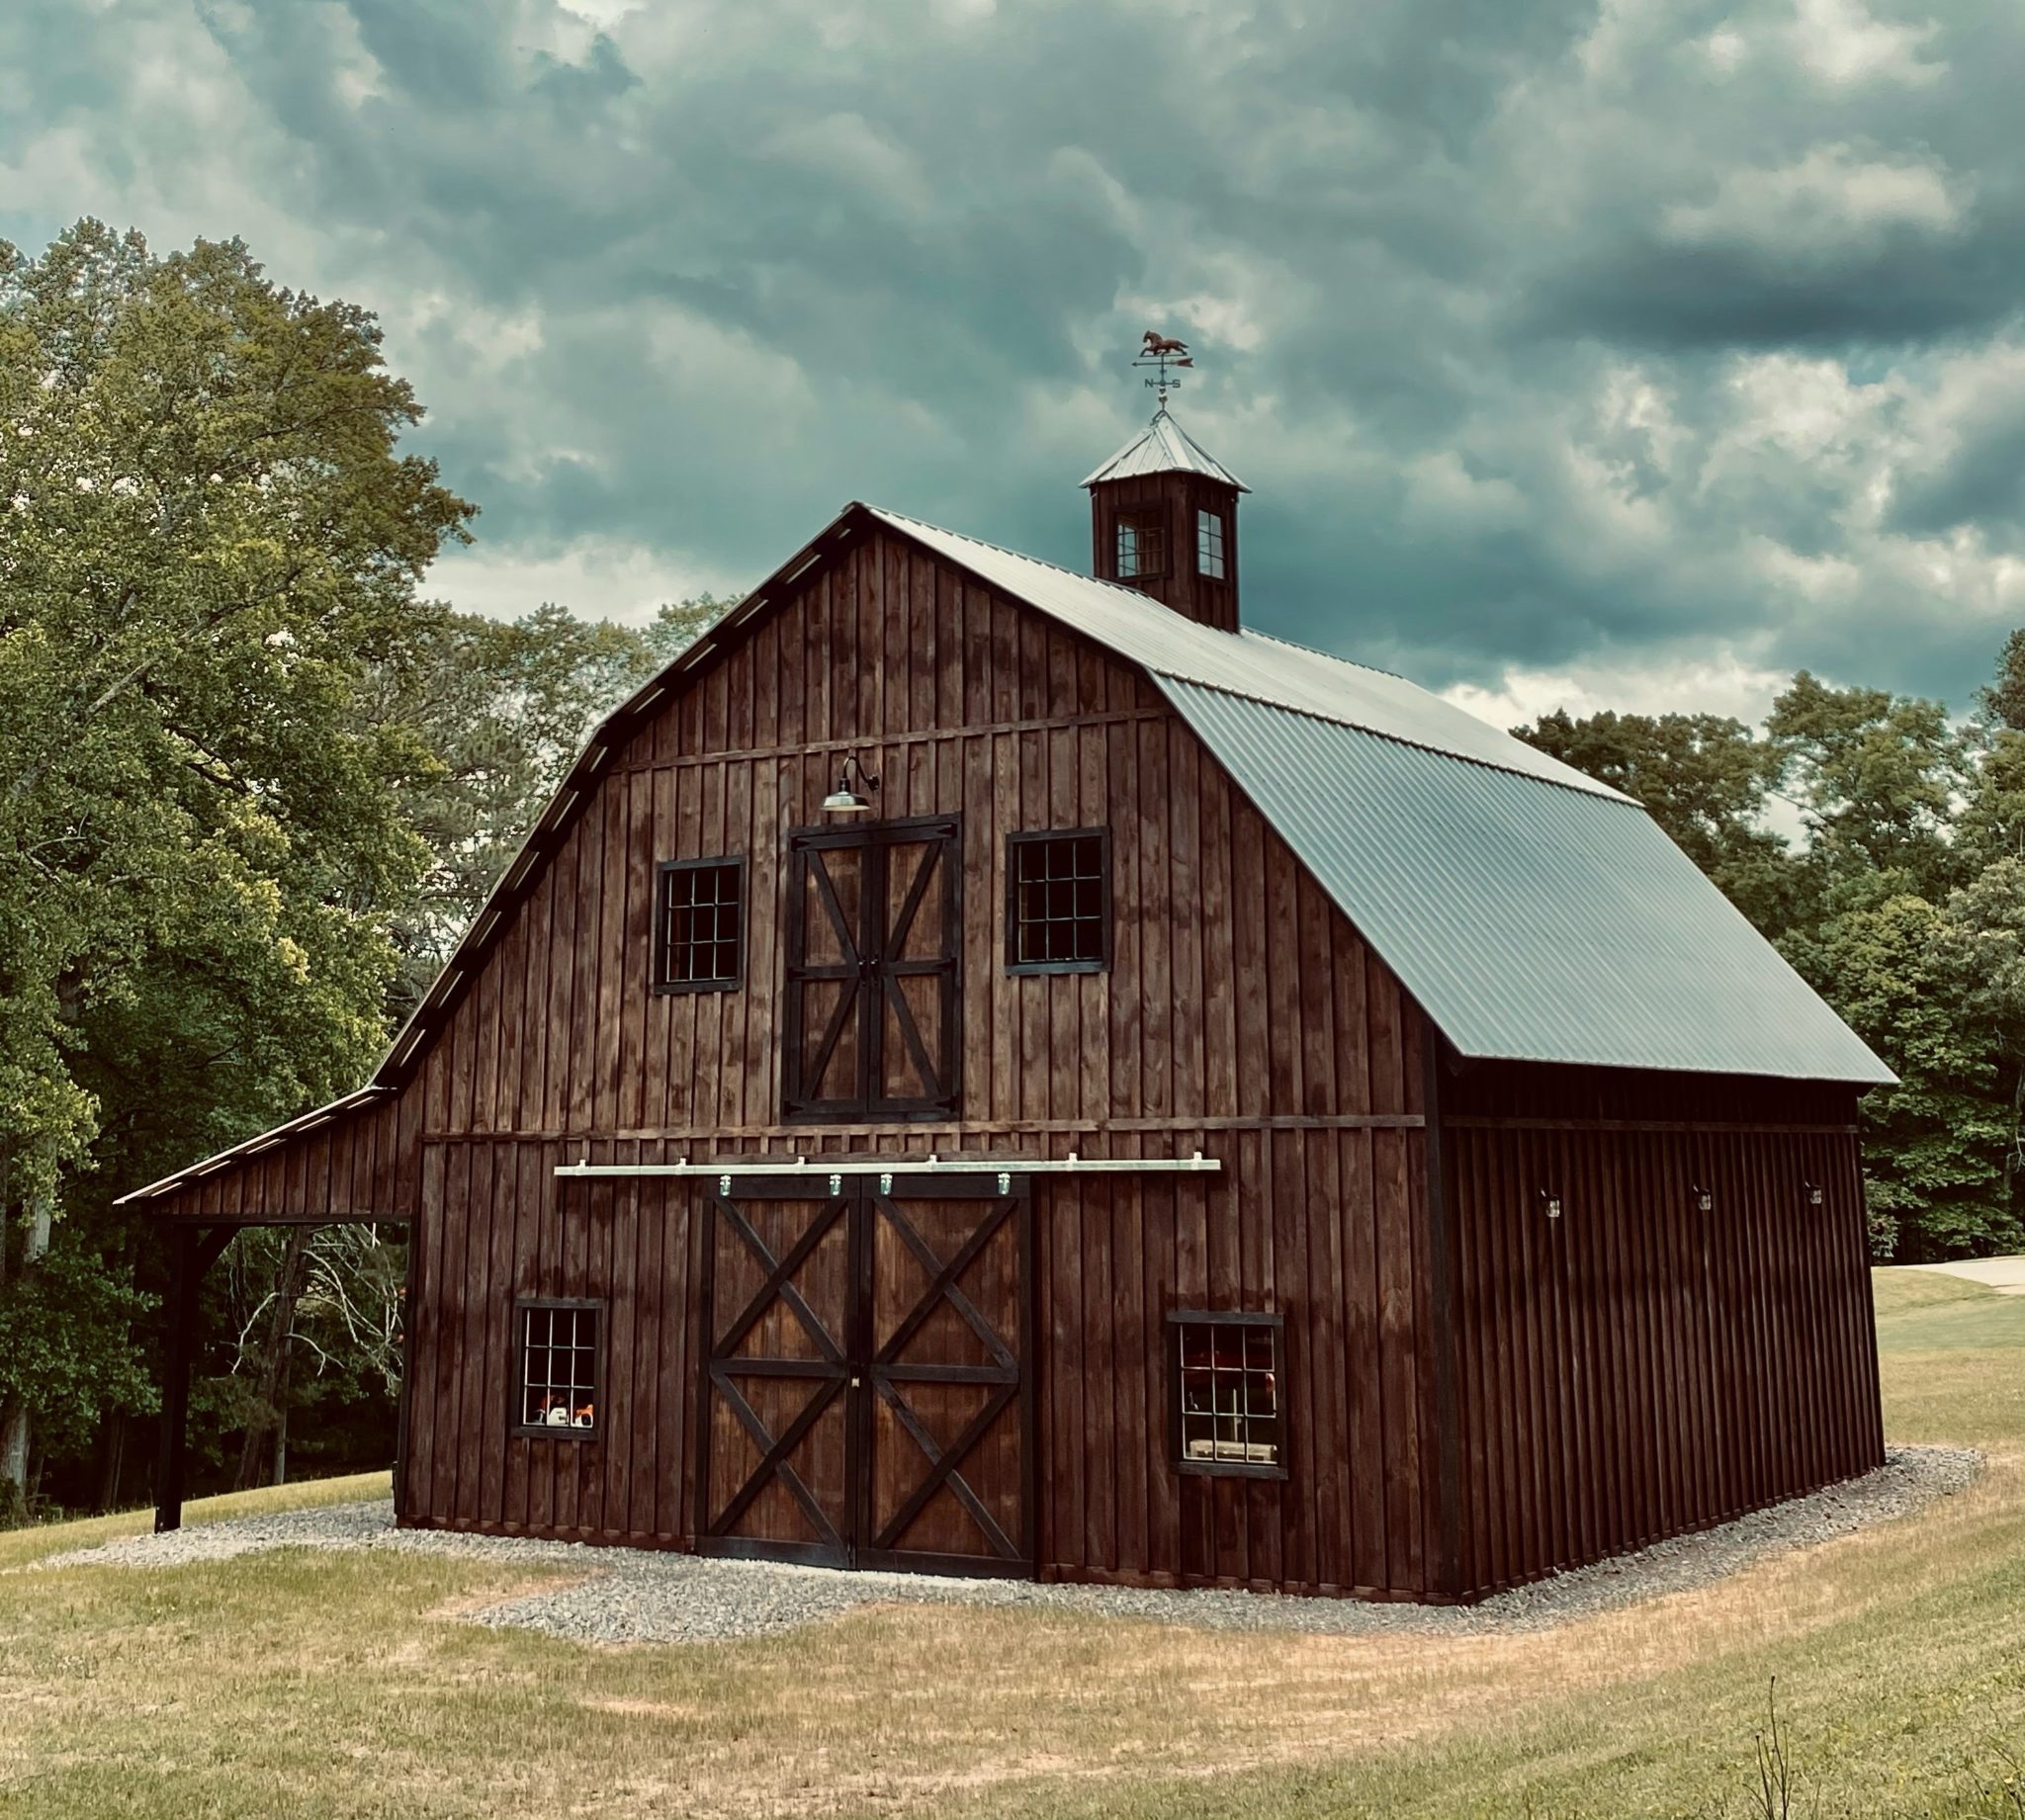
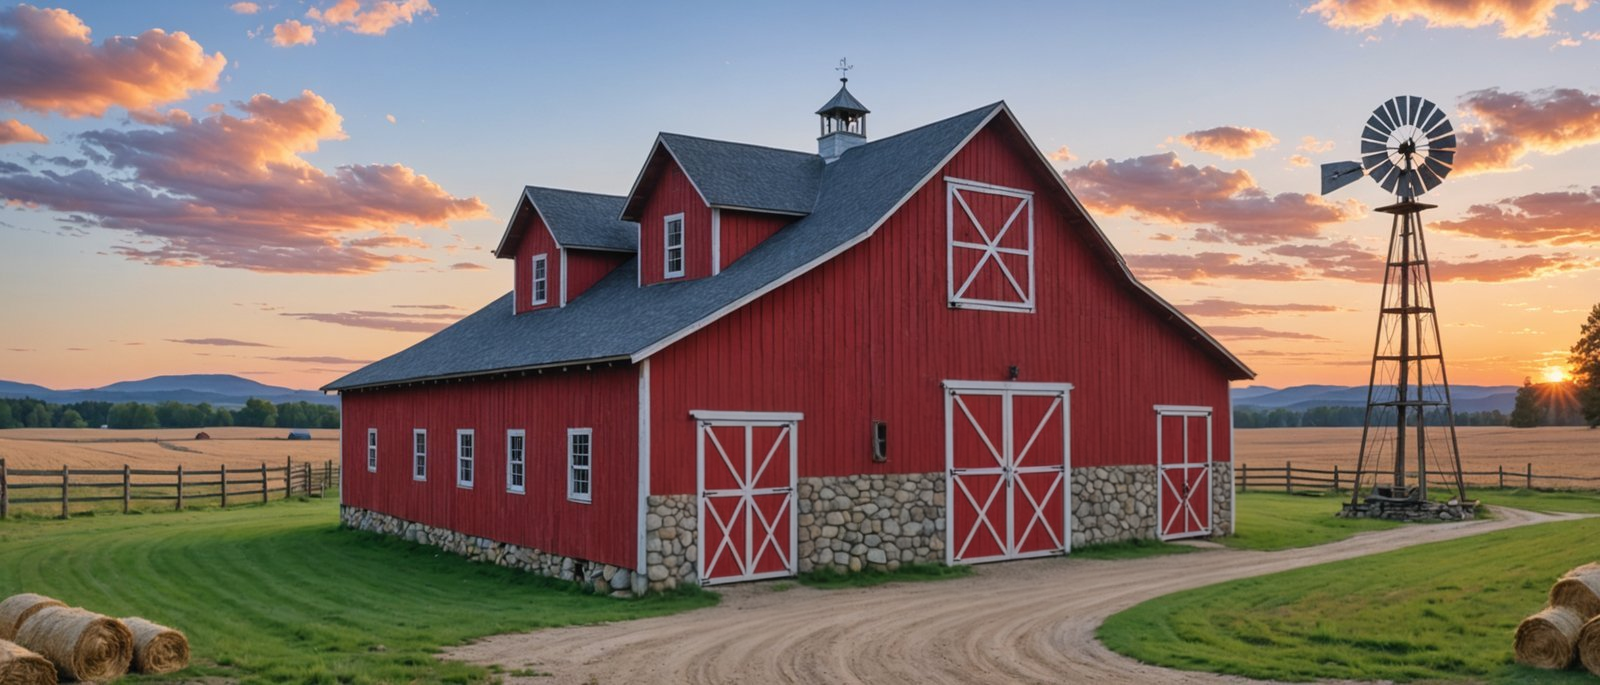
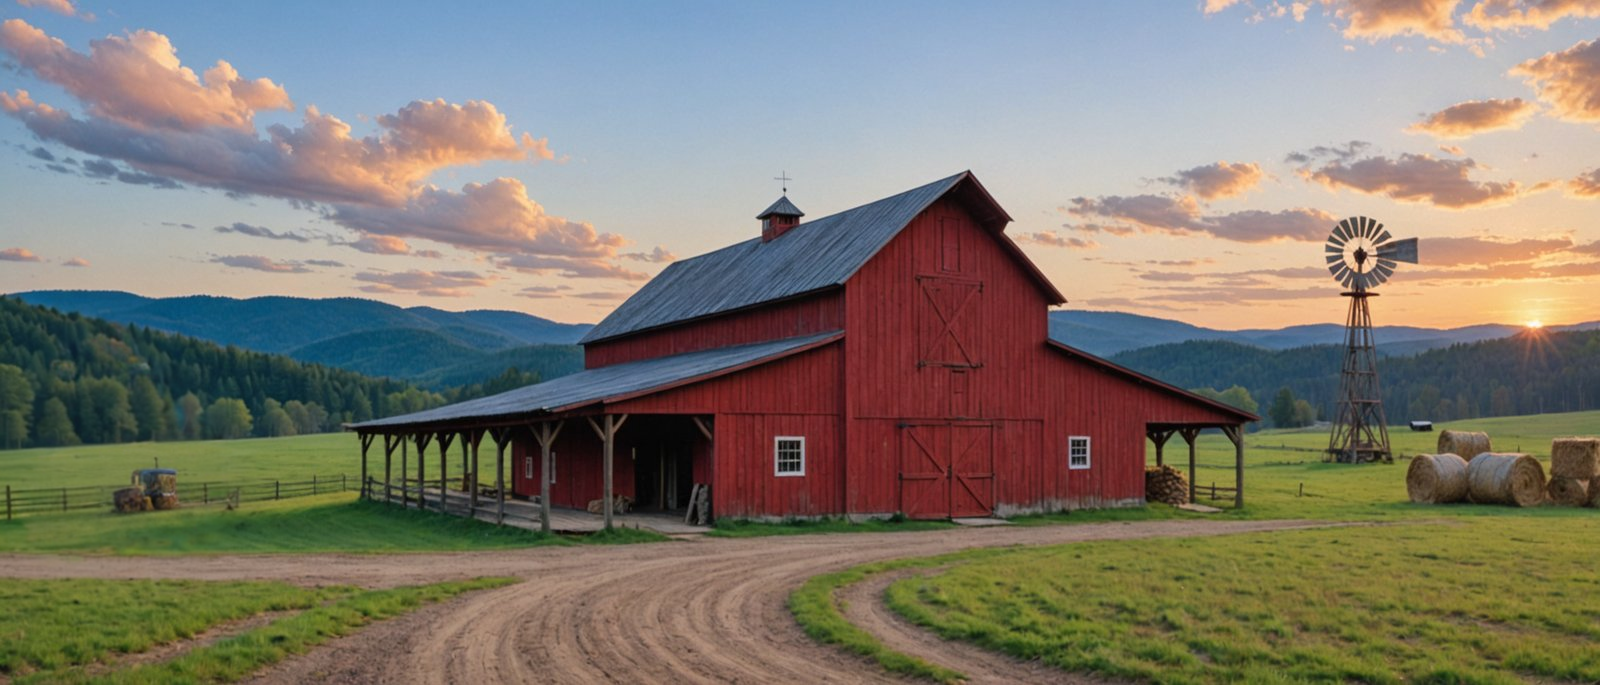
How to build your own pole barn kit or post and beam barn kit.
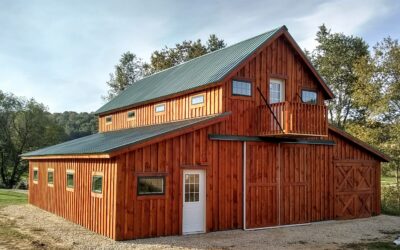
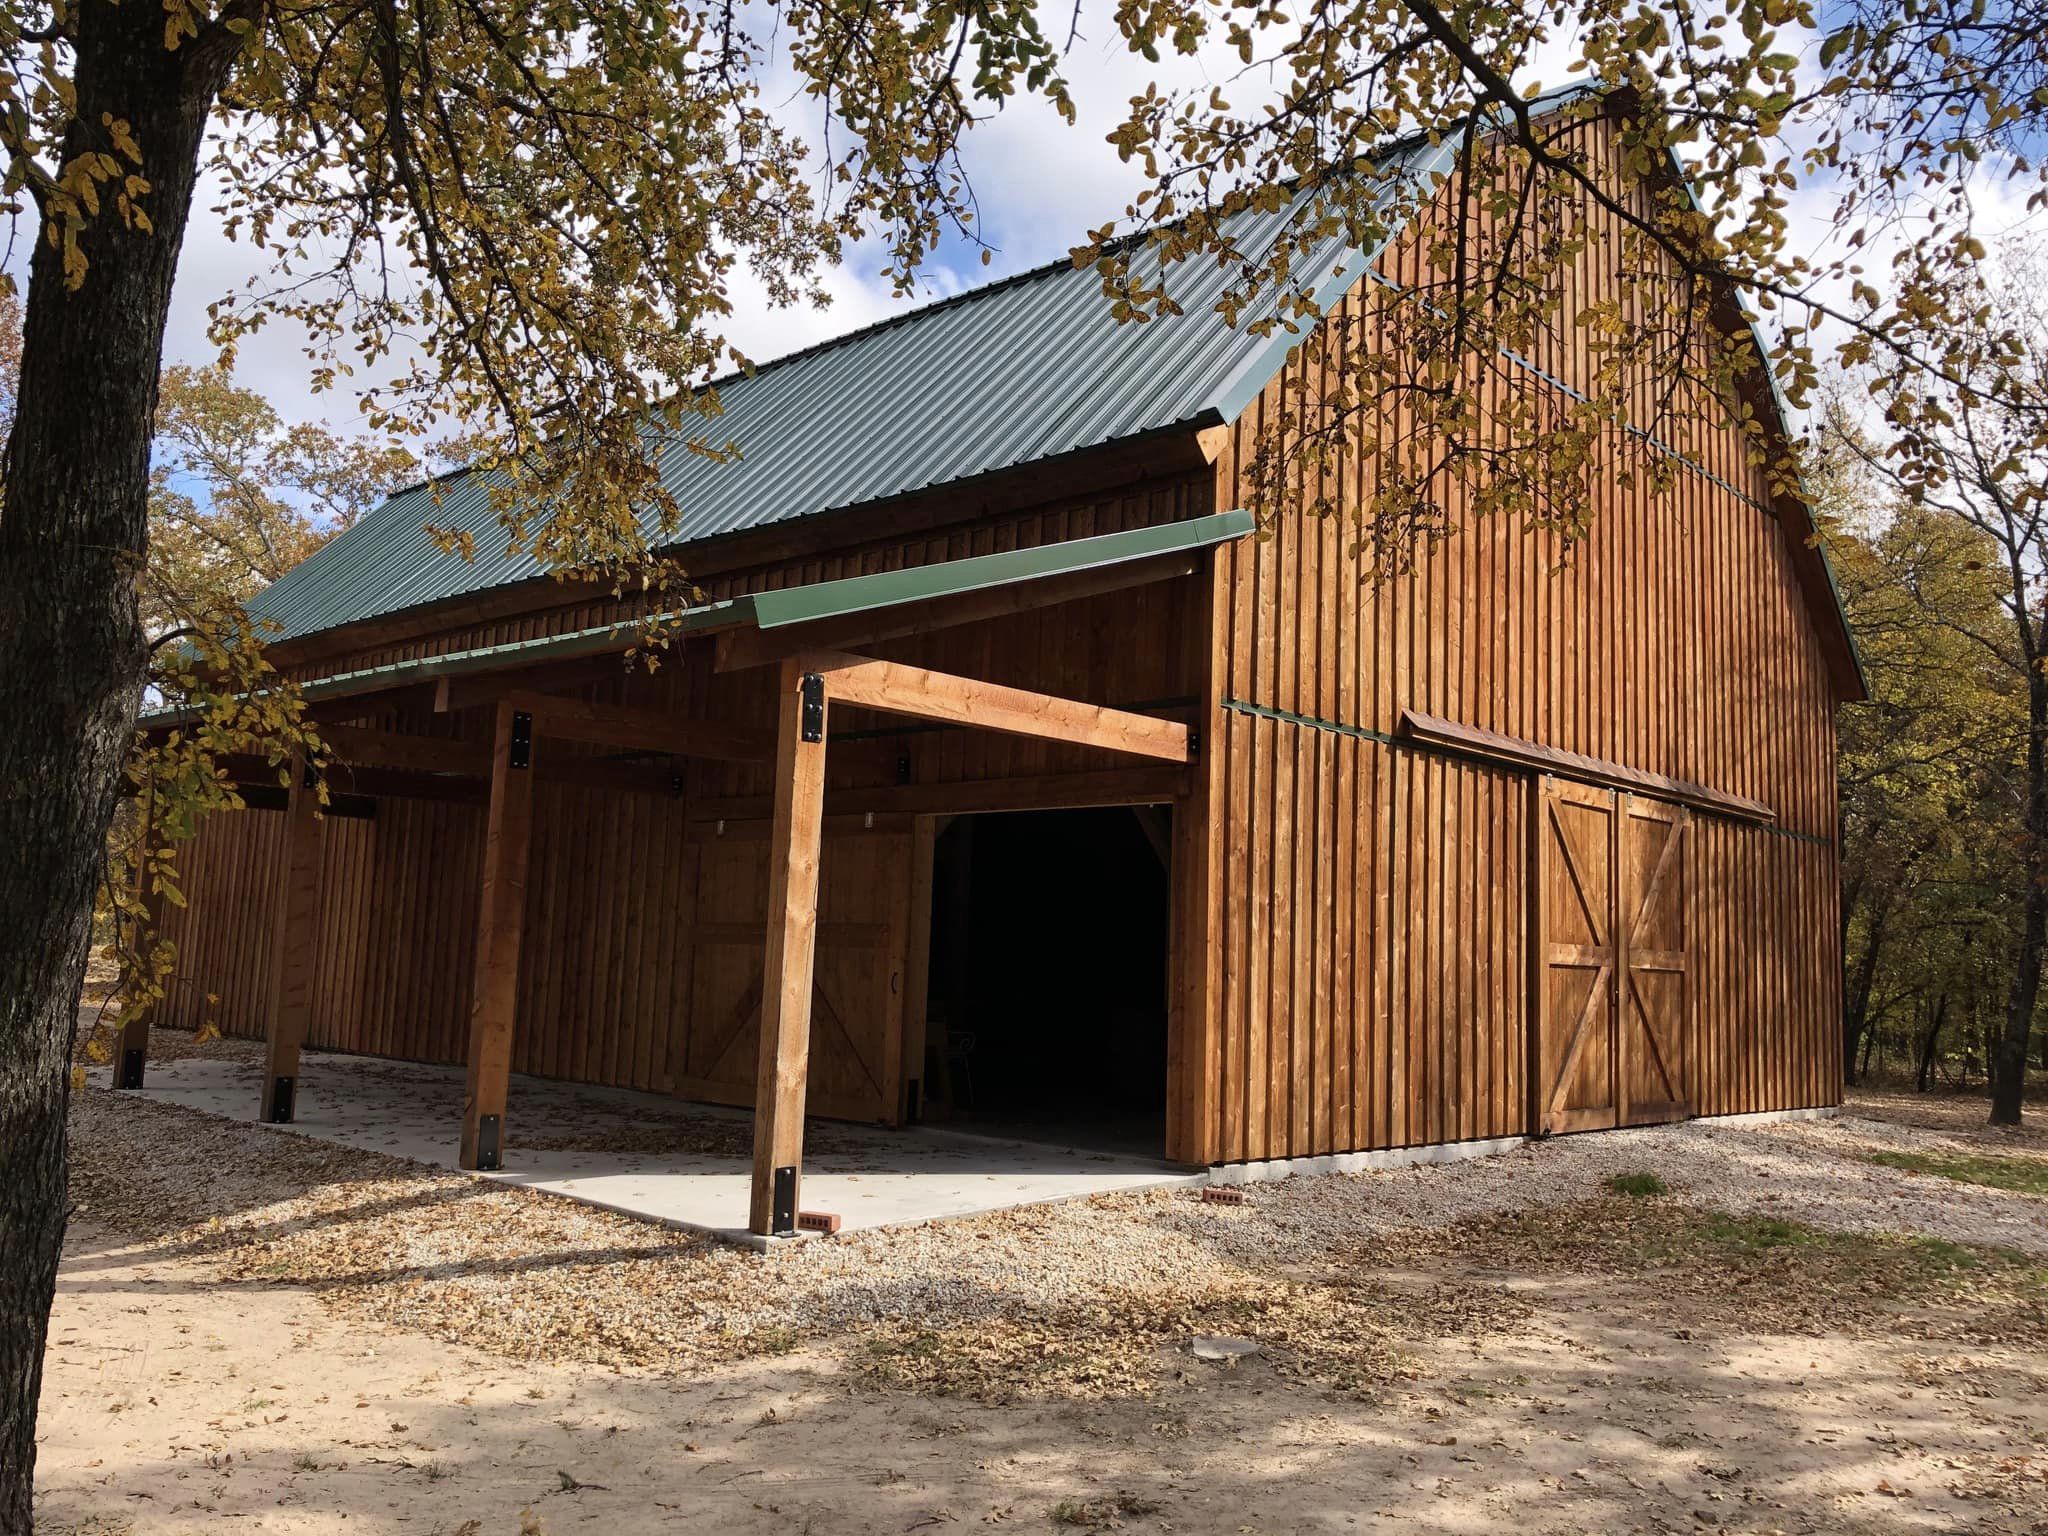
This isn’t your everyday, average pole barn kit. This is a traditional style post and beam barn kit. This is about how to build something your neighbor doesn’t have. Something unique that reflects your style, not a cookie cutter barn, but a real eye pleasing timber frame barn.
So let’s get into the nuts and bolts of building your own post and beam barn.
Here is how it works, step by step.
You will see just how easy it is to build your own traditional barn. These steps assume that you already have your foundation done and are ready to start building. These steps are designed to show you just how easy it is to construct your barn.
Step One
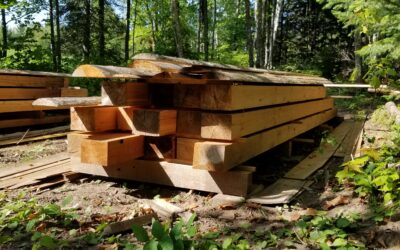
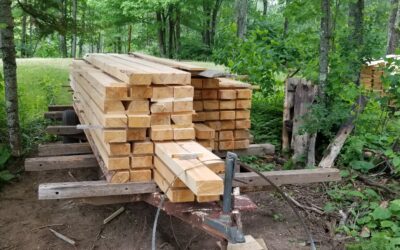
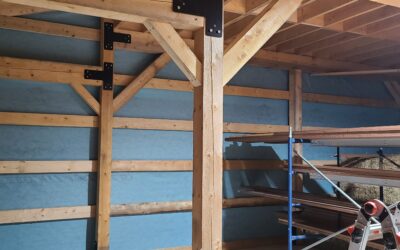
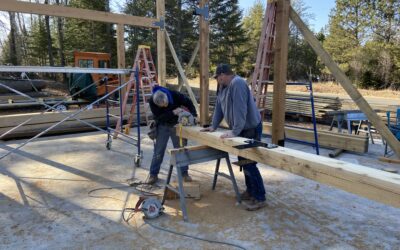
Assemble your bents(the frame of your barn). This is simple to do. First look at your plans and determine which timbers need to be placed where. The timbers are all clearly labeled and the plans show where they go in the framework of your barn. Using a fork lift place all your timbers in there proper locations according to the plans. Lay them out on a level surface and bolt them together with the bolts and steel plates.

Step Two
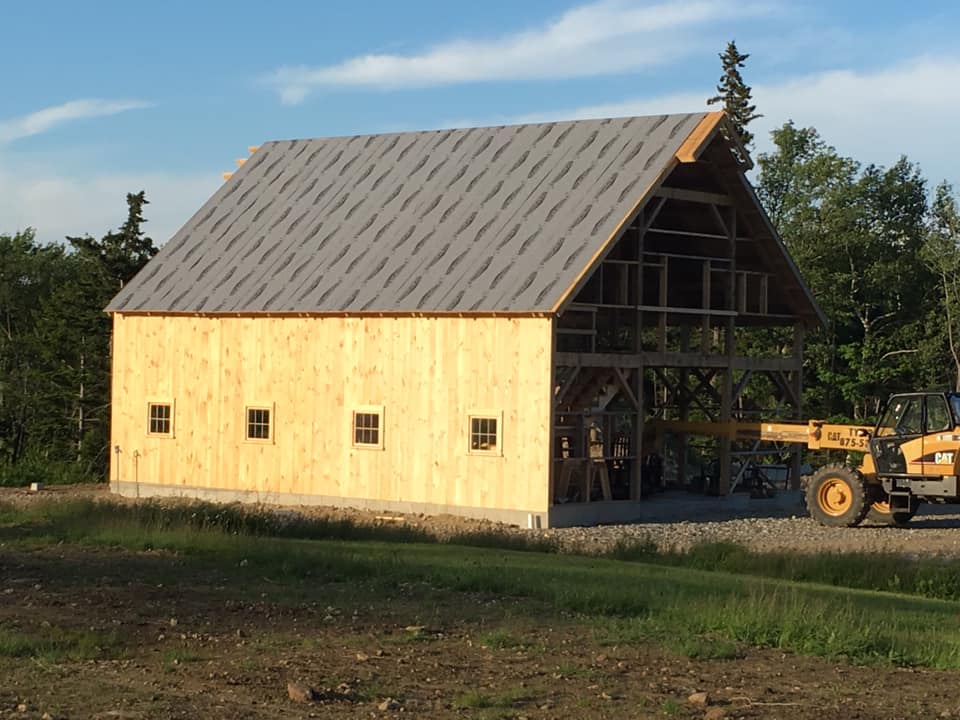
Raise your bents. Using a heavy telescoping forklift raise your bents and place them on the foundation. Nail 2×6 braces to your posts and anchor them to the ground or foundation. Then bolt them in place using your U brackets and foundation bolts.


Step Three
As your bents are raised tie each of them together with 2×6 girts and 3×6 purlins.


Step Four
Nail your roof sheathing and board and batten siding in place.

Step Five
Install your roofing. It is important to get your barn weather proof as soon as possible. If you have chosen to use Ondura roofing this will be an easy process. Your roofing comes in sheets and is light weight. It even comes with its own handy guide on installing your roofing.

Step Six
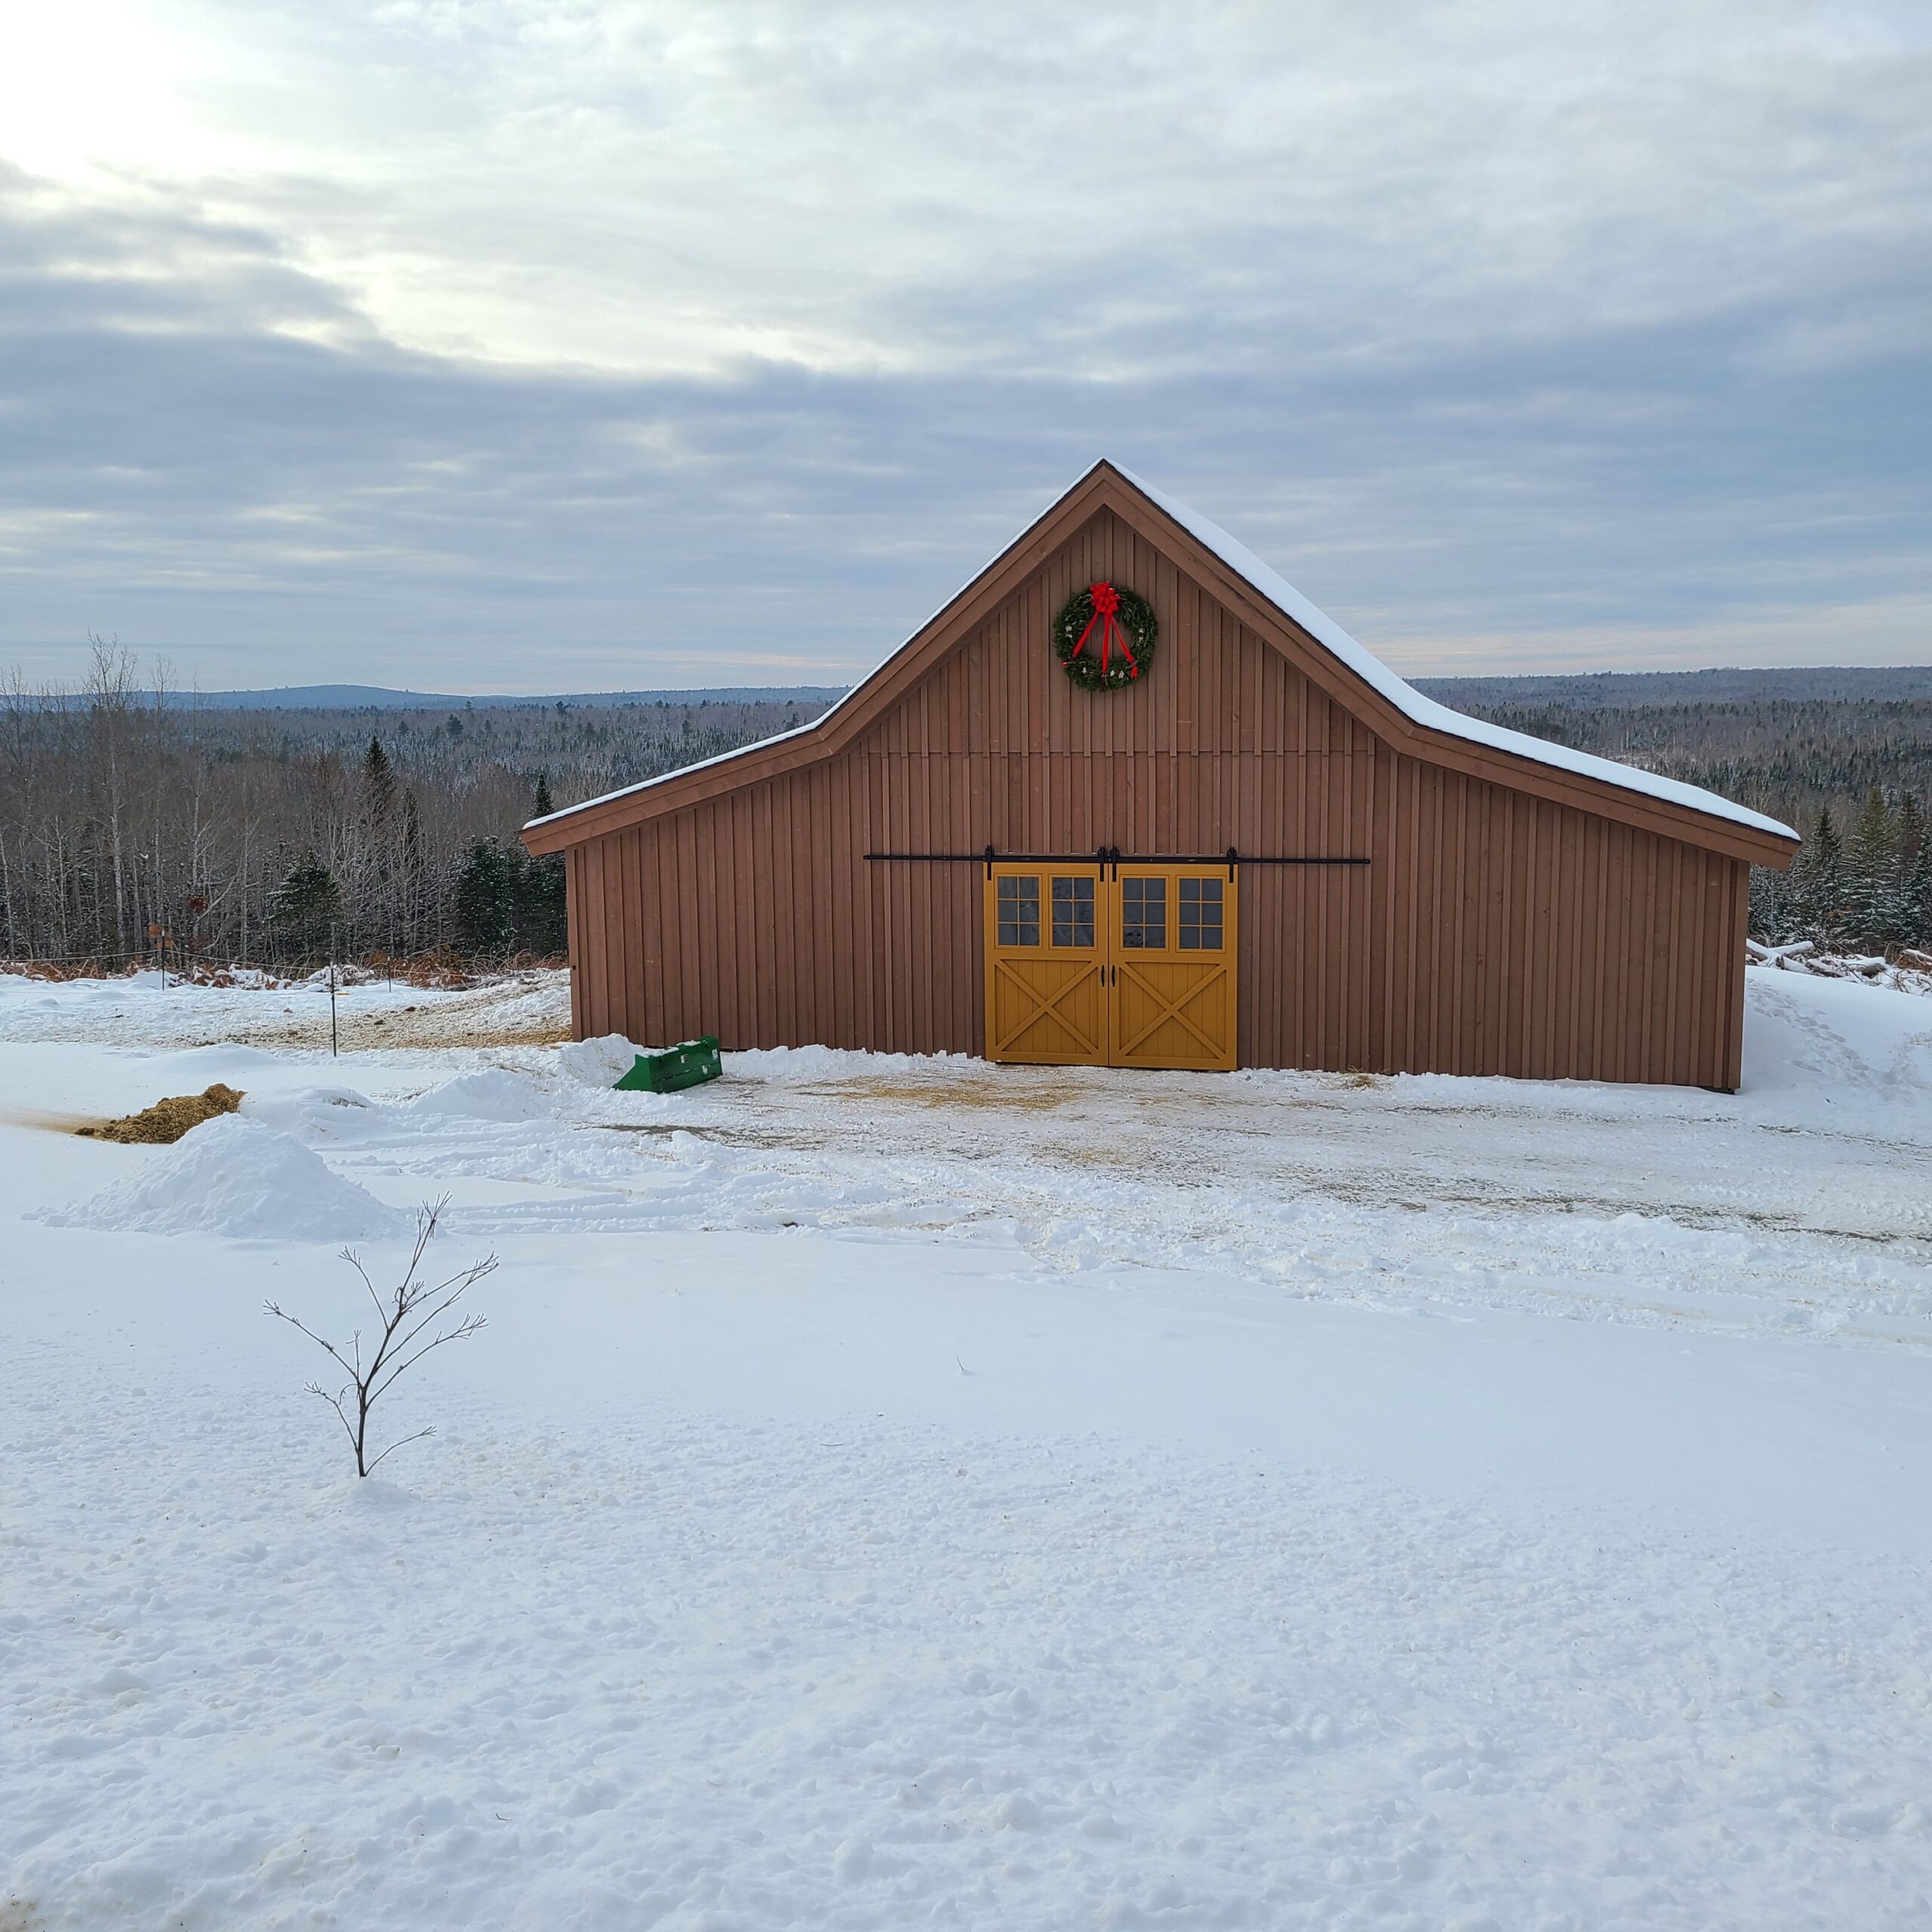
Hang your doors and install your windows. Hanging your doors is easy. You simply bolt your track and hardware in place. Then simply slide your doors rollers into the track. Install the end blocks and your done. Windows are easy to. All you need to do is cut the rough opening, frame with 2×6’s and install your window in the frame. Then trim the windows with some 1×3 battens. The great thing about a post and beam barn is that you can put windows almost anywhere. No need to add headers, a timber frame is self supporting. It doesn’t rely on the walls for support.

Step Seven
Build your loft and stairs. Nail your loft joists 16 inches on center. Then cover them with 1×8 loft decking and nail it in place. Now build your stairs. Follow the step by step instructions for building your staircase.
Step Eight
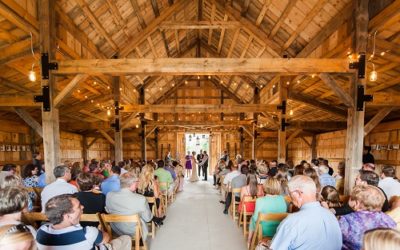
Enjoy your barn and celebrate. Invite friends and family over for a good old fashioned barn raising party. Take lots of pictures and share them with us at www.barngeek.com Upload your pictures and share your story with the world on the web. Send a link to all your friends on Facebook or in your email address book.

Click the Download Button Below to Get these Plans!
The Homesteader
- These Plans that are well suited for the small homesteader with a small amount of livestock.
- Limited to our Barn Plans under 1,000 square feet.
- Chicken Coop Plans Library
- Timer Frame Shed Plans Library
- How to Build a Barn Course
- Chicken Coop Course
- 10% Discount on Hardware and Screws
Most Popular: The D-I-Yer
- Our Complete Library of Barn Plans
- Chicken Coop Plans Library
- Timer Frame Shed Plans Library
- How to Build a Barn Course
- Chicken Coop Course
- 10% Discount on Hardware and Screws
BarnGeek Pro
- Unlimited Phone consultation with Aaron The Barngeek
- Our Complete Library of Barn Plans
- Member-only project walkthroughs
- Priority access to custom design services
- Insider techniques to make your build faster, safer, and stronger
- Chicken Coop Plans Library
- Timer Frame Shed Plans Library
- How to Build a Barn Course
- Chicken Coop Course
- 10% Discount on Hardware and Screws
Read More about Post and Beam Barn Kits below.
How to Save $15,000 Building Your Own Barn: A Complete DIY Guide
40x50 Horse Barn Style Barndominium Building your own barn can save you serious money - we're talking about $15,000 or more in labor costs alone. But before you grab your hammer and start swinging, there are some important realities to consider about DIY barn...
How to Store Lumber to Prevent Warping
Learn how to store lumber effectively to prevent warping, ensuring your wood remains stable and ready for your next project.
How to Use Local Lumber to Cut Barn Costs
Learn how using local lumber for barn construction can save money, reduce environmental impact, and support your community.
Mortise and Tenon vs. Steel Plate Joinery in Timber Frames: What DIY Builders Need to Know
Explore the differences between mortise and tenon joints and steel plate connections in timber framing, focusing on strength, aesthetics, and construction methods.
Checklist for Hiring a Barn Contractor
Learn how to hire the right barn contractor with essential tips on credentials, reputation, bids, and communication for a successful project.
How to start a barn wedding venue business
Learn how to successfully launch a barn wedding venue business, from planning and renovations to legal requirements and marketing strategies.
Is it worth while to have a local sawmill cut some or all of my Barn Lumber or even do it myself?
We have a LOT of eastern red cedars, Tulip Poplars, among other species. If I have a local sawmill cut our pieces for us, would you expect a significant savings overall?
Pride and Accomplishment in Having Built a Barn Myself
Besides the utility of having a barn and the value it adds to our property, having built the barn myself has given me a sense of pride and accomplishment that’s hard to place a value upon.
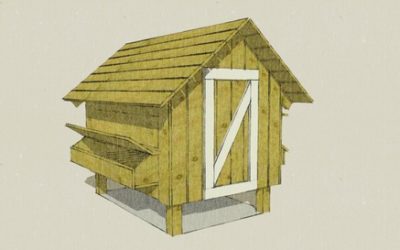
Free Chicken Coop Plans
You can build this hen house with these free chicken coop plans. It is easy to do. All you need is some rough cut lumber, a hammer, nails, and a circular saw. You can even build one with regular dimensional lumber from your local lumber yard. I built one like this for...


