
Hey guys, Barn Geek here.
Building a barn that stands the test of time requires not just skill and determination but also the right approach and materials. As a proud American small business owner specializing in barn plans and hardware kits, I’m here to walk you through a crucial part of the barn construction process: securely installing Post brackets. These components are essential for attaching your posts to the concrete foundation, ensuring your barn has a sturdy base. Let’s dive into the step-by-step process.
Step 1: Understanding the U Bracket
The U bracket is ingeniously designed with six slots, providing you with multiple placement options. This flexibility ensures you can achieve the most secure attachment to your foundation. Remember, the aim is not to use all six slots but to choose the best two for your wedge anchors, offering optimal security and stability.
Step 2: Placement Options
For a standard installation, position your wedge anchors diagonally across from each other in the slots on the U bracket’s tabs. This method provides a balanced, sturdy attachment. When dealing with corners, it’s tempting to modify the U bracket, but there’s a better strategy that preserves its integrity and your barn’s stability.
Step 3: Corner Installation Technique

Instead of cutting the U bracket, extend your girt past the post and attach another girt to the opposite side. This method not only keeps the U bracket intact but also ensures a solid, continuous structure for your barn’s frame.
Step 4: Notching the Girt

When your girt intersects with the U bracket, notch the girt to accommodate the bracket’s plate. This requires a simple adjustment: set your circular saw to a quarter-inch depth and make parallel cuts across the width of the bracket tab. Then, chisel out the notched area to fit around the bracket, allowing for a flush, seamless attachment.
Step 5: Securing the U Bracket
Once your girts are prepared, it’s time to anchor the U bracket to the concrete. Choose the best two slots for your wedge anchors based on the bracket’s position and the foundation’s layout, especially in corners where concrete might be limited. Secure the bracket firmly to the foundation, ensuring it’s clean of debris for the strongest attachment.
Step 6: Final Adjustments and Attachment
With the U bracket in place, finalize the positioning of your posts and girts. Use RSS screws to attach the girts securely to each other and the posts, ensuring everything is level and aligned according to your barn plans.
Installing U brackets correctly is crucial for building a barn that lasts. By following these steps, you can ensure a stable and secure foundation for your structure. Remember, the goal is not just to build a barn but to create a lasting testament to craftsmanship and resilience.
For more detailed guides, tips, and resources on barn building, see our other articles at barngeek.com. Join us in celebrating American craftsmanship with plans and hardware kits made in the USA. Let’s build something great together.
Read More about Post and Beam Barn Kits below.
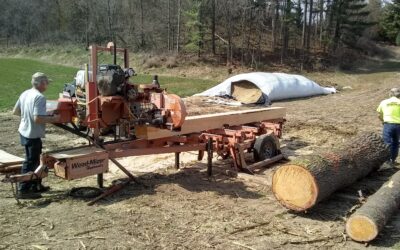
Is it worth while to have a local sawmill cut some or all of my Barn Lumber or even do it myself?
We have a LOT of eastern red cedars, Tulip Poplars, among other species. If I have a local sawmill cut our pieces for us, would you expect a significant savings overall?
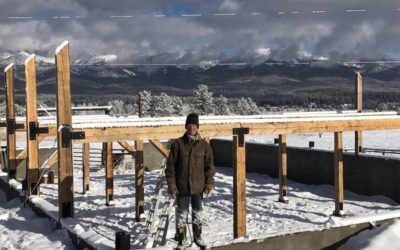
Pride and Accomplishment in Having Built a Barn Myself
Besides the utility of having a barn and the value it adds to our property, having built the barn myself has given me a sense of pride and accomplishment that’s hard to place a value upon.
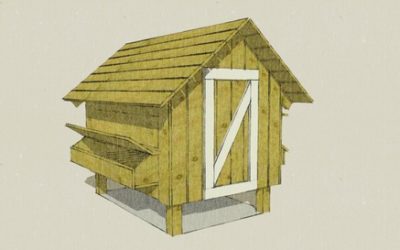
Free Chicken Coop Plans
You can build this hen house with these free chicken coop plans. It is easy to do. All you need is some rough cut lumber, a hammer, nails, and a circular saw. You can even build one with regular dimensional lumber from your local lumber yard. I built one like this for...
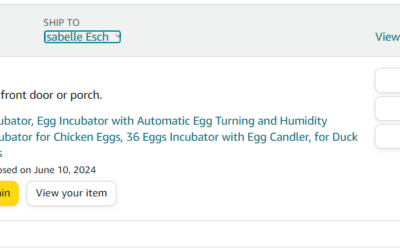
36 egg incubator reveiw. Trying an incubator from amazon.
In may of 2024 my husband and I decided to purchase an incubator in the hopes of hatching some cute silkie chicks for our son to enjoy. We bought eggs from local breeders to hatch along with sticking some layer mixes from our own farm in. As a busy family with my...
Best exterior coating for a barn?
Question asked in the BarnGeeks Facebook Group 4/21/24 Does anybody have any recommendations of the best exterior coating for a 40x60 gambrel? Unfortunately the wood is not rough cut so it won't absorb as well as all of the beams and the frame. I used iron oxide mixed...
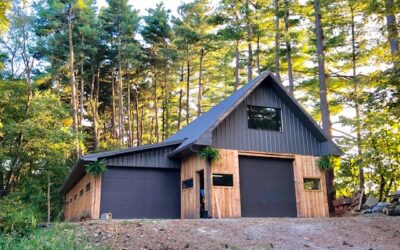
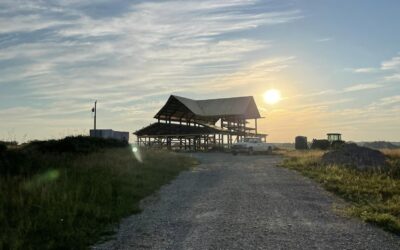
Rebuilding Tradition: A Family’s Journey with BarnGeek’s Gambrel Timber Frame Barn
The old 40 x 60 barn my grandfather built in the forties collapsed in a snowstorm in 2015. I wanted to replace it with a similar style so I chose the 40 x 60 gambrel.
Fall 2019 to Now: The Story of Our 44×60 BarnGeek Barndominium!
We are thrilled to share an inspiring story from one of our Barn Plans Library members. This family embarked on a remarkable journey to transform our BarnGeek 40x50 plan into their dream home. Back in the fall of 2019, they decided to mix a couple of our plans,...
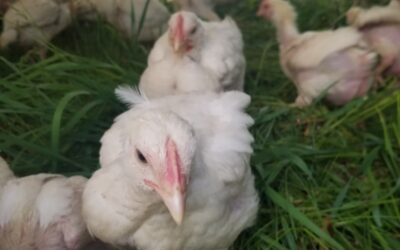
The Best Treats for Your Chickens this Summer
What are the best treats for my chickens? What can I safely feed my chickens? Let's look at some common chicken treats and what makes them good for you (your wallet) and your chickens! 1. Food scraps Low waste, low cost, and tons of fun! What could be better? Chickens...

Barn Kits Available Now!
Full Barn Kits are Back! Have you thought to yourself, “I would sure love to build one of those BarnGeek Barns but I just wish I could get everything I need to build it in one all inclusive kit!” Well, today is your lucky day! We are proud to announce...
Recent Comments