Using local lumber for barn construction is a practical way to save money without sacrificing durability. By sourcing wood from nearby sawmills or even your own property, you can reduce material costs, avoid high transportation fees, and support your community. Here’s what you need to know:
- Cost Savings: You may be able to find your lumber at your local sawmill at a lower price, or cut your own – local rough-sawn lumber is typically 10–30% cheaper than commercially processed wood.
- Environmental Impact: Buying close to home saves on shipping costs and is better for the environment through shorter transportation distances.
- DIY Potential: Just call a local portable sawmill owner, they will come out to your site and custom cut your trees. You could even buy your own portable sawmill and saw your own lumber to further reduce labor costs.
- Legal Compliance: Understanding how to build legally with rough cut lumber ensures your project meets local building codes and permits.
- Material Quality: Check for lumber defects, dimensional accuracy, and structural integrity – especially important when building with green lumber.
Start by finding local rough cut lumber sources or harvesting timber from your land. Pair this with flexible barn plans that can accommodate non-standard lumber sizes. Good barn plans can be a vital tool to help you figure out what the costs of each stage of your barn construction process will be. By combining smart sourcing, thorough planning, and hands-on effort, you can build a durable barn for significantly less.
The Rough Cut Revolution: How to Build Anything Legally with Home Sawn Lumber
How Local Lumber Reduces Construction Costs
Choosing local lumber for your barn project isn’t just an environmentally conscious decision – it can also lead to significant savings that’ll make your wallet happy! By focusing on three main factors – material costs, transportation expenses, and labor – you can make smarter choices that seriously trim down your construction budget. Let’s dive into how these savings stack up and why going local makes sense.
Lower Material Costs by Buying Local
Purchasing lumber locally can help you dodge those annoying extra costs that come with commercial suppliers. When you source directly from nearby sawmills or even harvest on-site, you skip the middleman and all those associated markups that can really add up. This often translates to much more affordable pricing that’ll leave you with more money for other barn essentials.
To get the best deal, compare quotes from local suppliers with online options, but keep in mind that those tempting online prices often don’t include delivery fees – which can be a real budget buster! Building with green lumber from local sources can offer additional savings, though you’ll want to understand the drying process involved.
Reduce Transportation Expenses
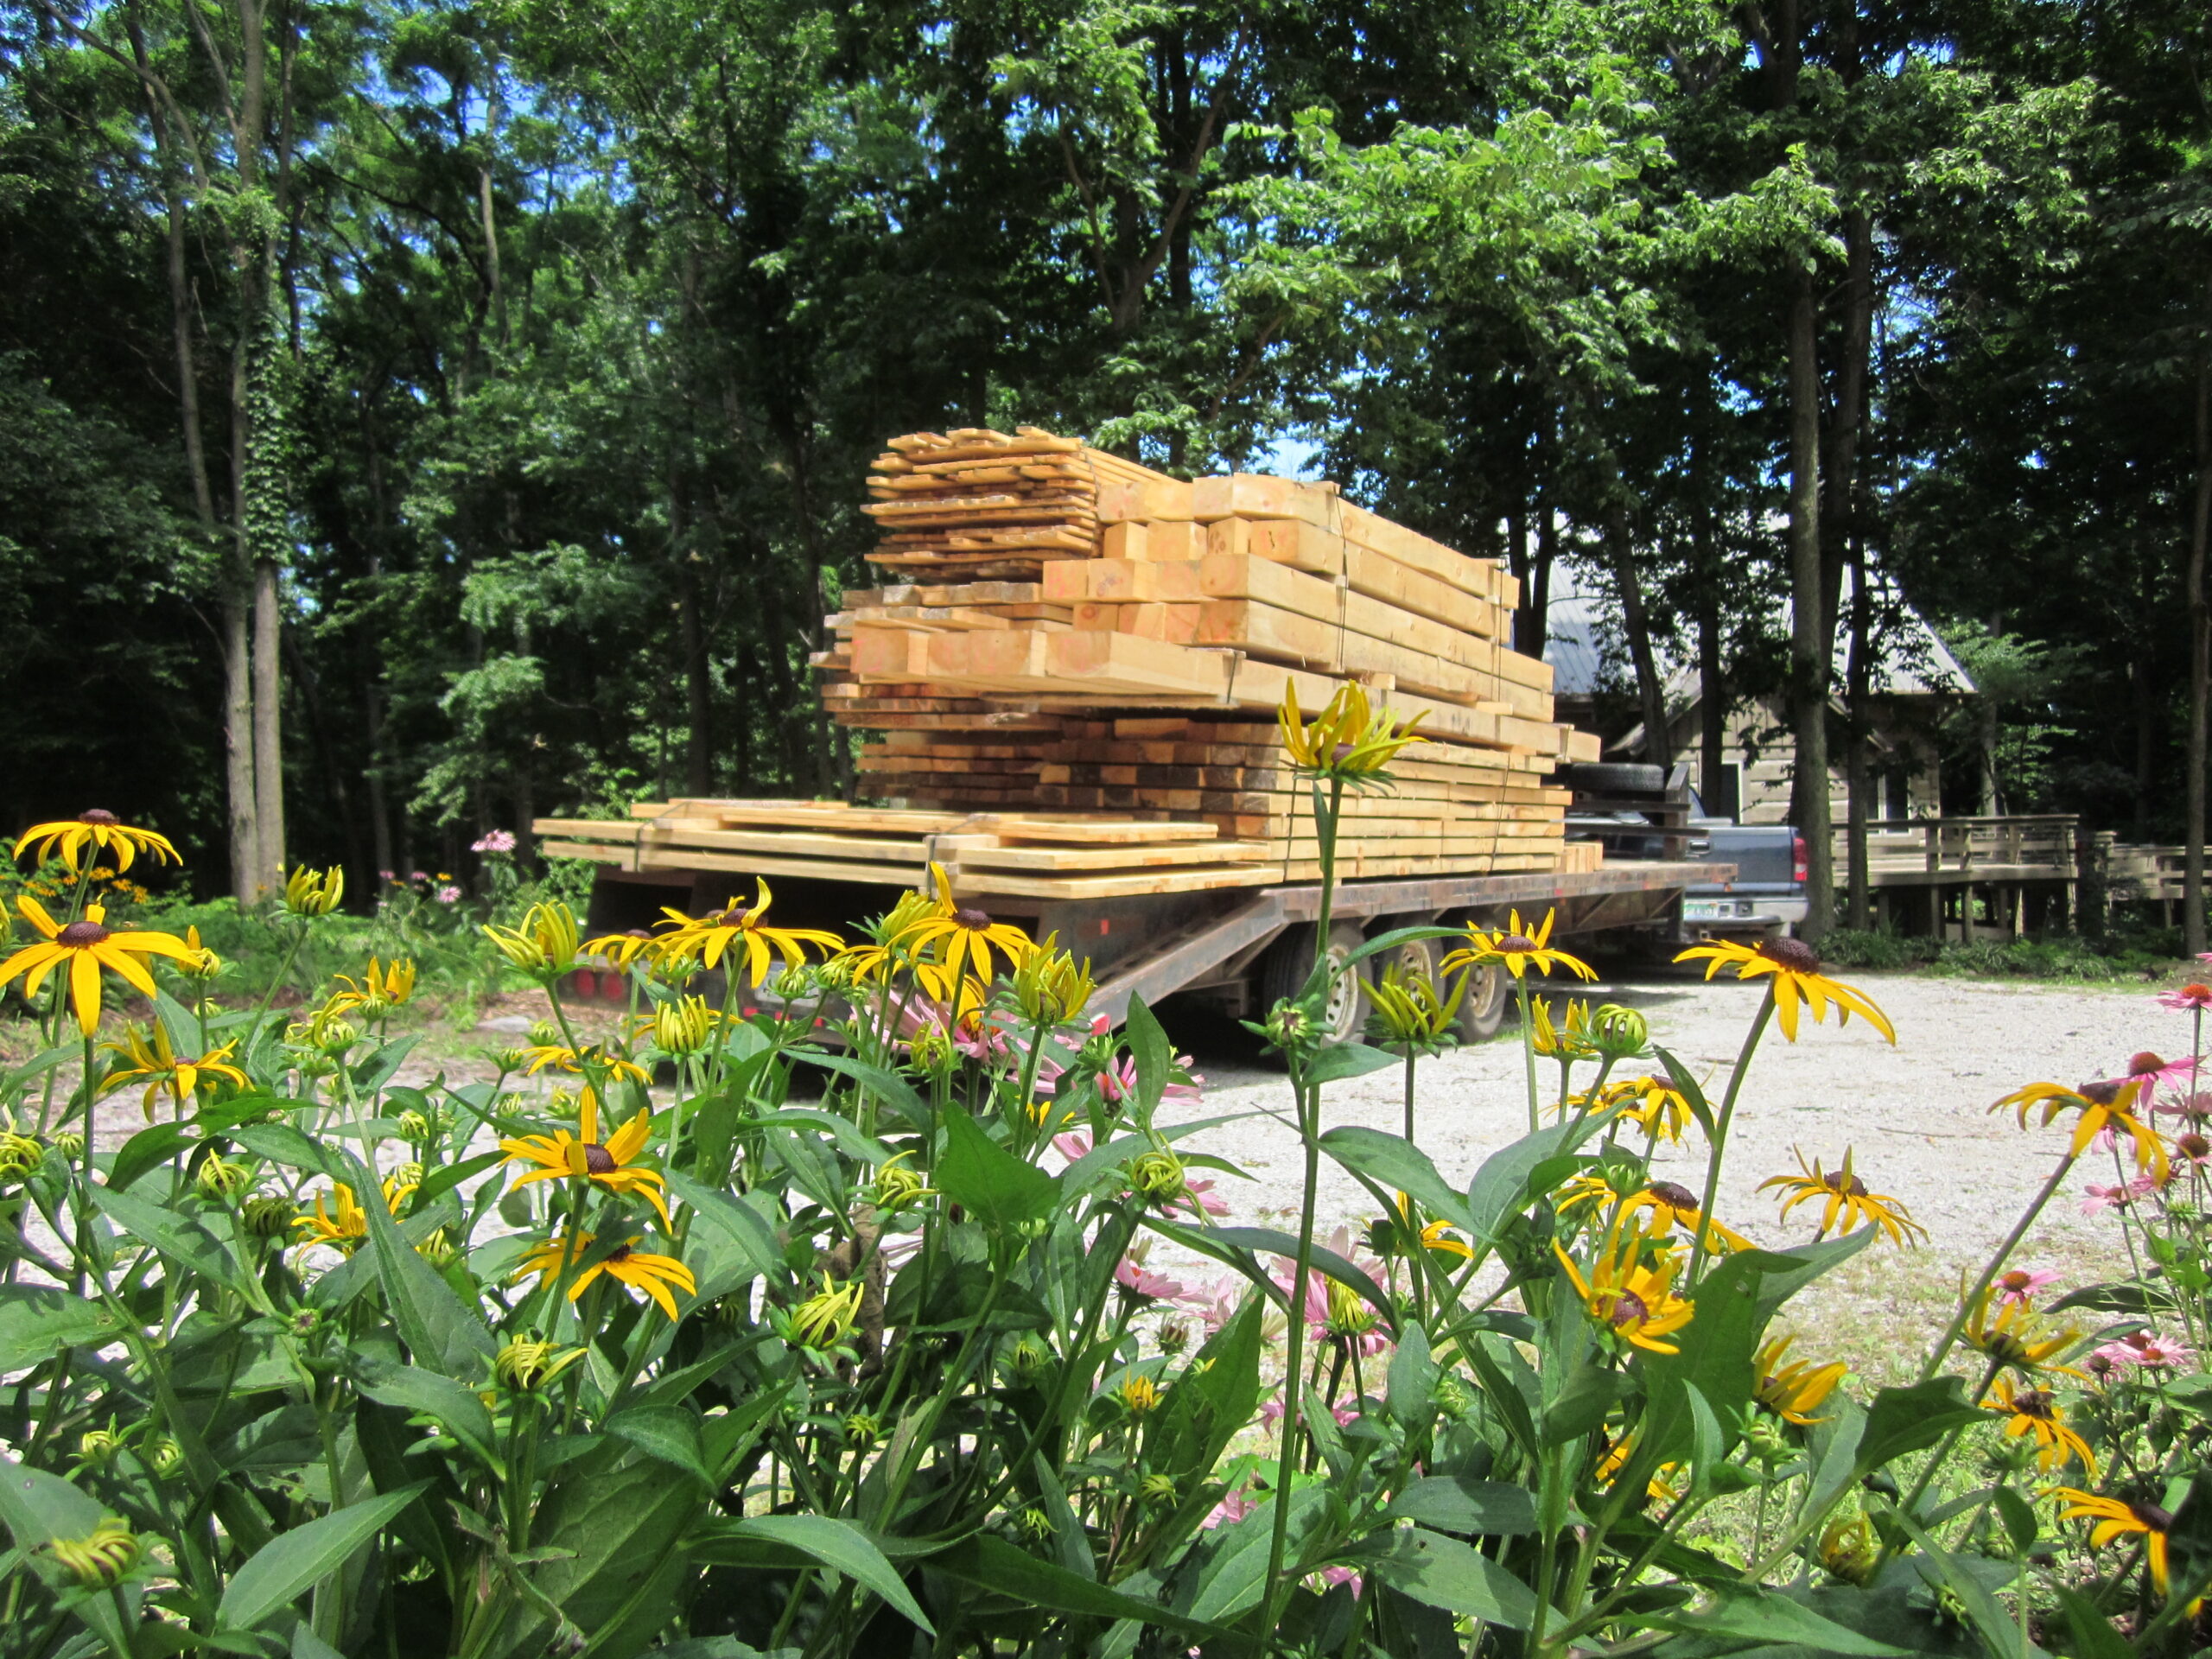
Here’s something that really adds up: the further your materials need to travel, the higher those transportation costs get. Sourcing lumber locally means shorter delivery routes, which can significantly cut down on fuel and shipping expenses. If you’re able to handle transportation yourself (think pickup truck or trailer), you can save even more.
Reach out to nearby sawmills for shipping quotes and seriously consider self-delivery to keep these costs in check. Shorter distances mean more savings for your project – it’s really that simple! Plus, you’ll have more control over when your materials arrive.
Where to Find and Source Local Lumber
Finding quality local lumber doesn’t have to be a challenge if you know where to look and what to inspect. By choosing the right sources, you can save money and still meet the construction standards required for your project. Additionally, understanding legal requirements and ensuring material quality will help keep your barn construction on track.
Local Lumber Sources
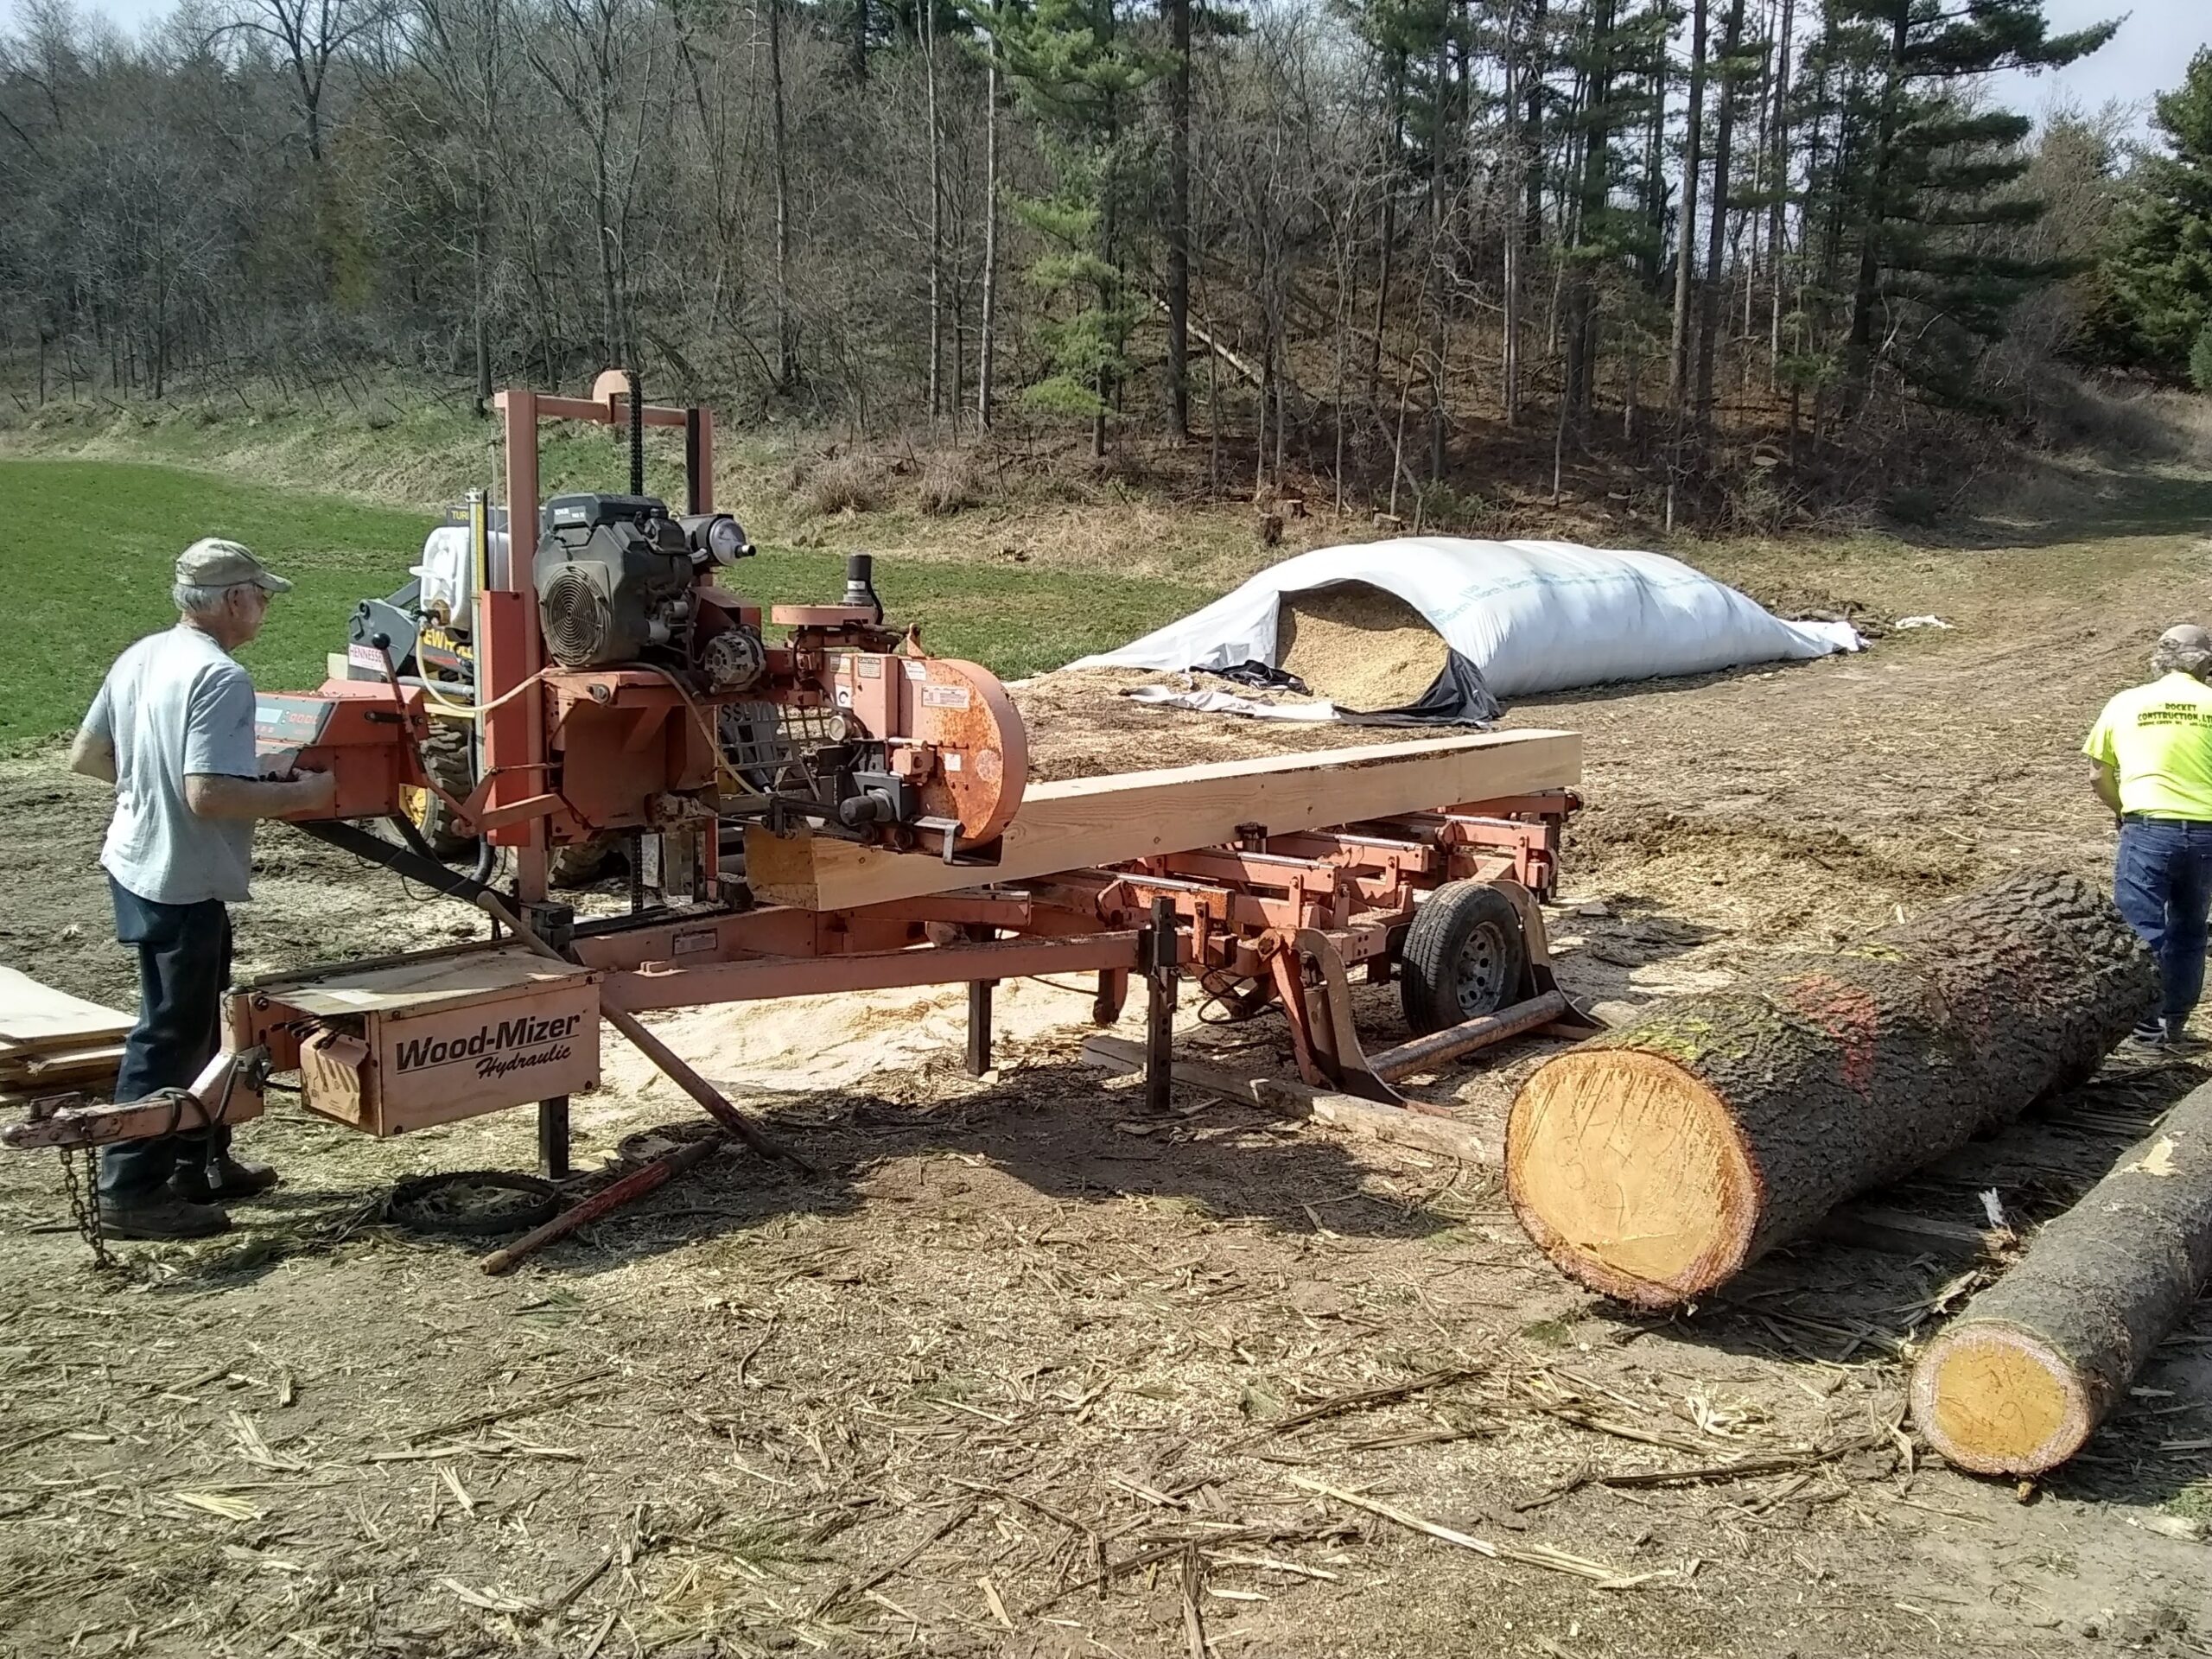
Your local sawmill is honestly one of the best starting points. These businesses often sell directly to customers at prices that’ll beat retail lumber yards every time. Many smaller sawmills focus on wood species native to your area and may even offer custom-cut lumber tailored to your specific needs – talk about convenience!
Another solid option is connecting with local landowners involved in timber harvesting. Forestry professionals and land clearing services in your region might have timber available at competitive prices that work within your budget.
If you own property with mature trees suitable for construction, harvesting your own timber could be the most cost-effective route possible. This approach eliminates material costs entirely, though you’ll need to factor in processing time and equipment. For more guidance on finding affordable options, check out how to find rough cut lumber in your area.
Legal Requirements and Building Codes
Once you’ve sourced your lumber, it’s essential to ensure it complies with local building codes – this protects your investment and keeps your project legal. Start by securing the necessary building permits, and contact your local building official or Authority Having Jurisdiction (AHJ) to confirm specific requirements in your area.
Understanding how to build legally with rough cut lumber is crucial for any barn project. Permit requirements and penalties for non-compliance can vary widely depending on your location. Common permits include building, zoning, and electrical permits, especially if your barn will have wiring.
While rural areas often have fewer regulations, suburban locations may require additional permits for plumbing or electrical work. If you’re uncertain about the process, a local builder can help clarify zoning board requirements and give you an idea of approval timelines. It’s always better to double-check with your local building department rather than assume permits aren’t needed!
How to Check Timber Quality
When evaluating lumber, keep an eye out for defects such as knots, splits, or warping, as these can seriously weaken the lumber’s structural integrity and cause headaches down the road.
Moisture content is another key factor that can make or break your project. It’s good practice to sticker 1x lumber for air drying until it reaches a level between 16% and 19%, which makes it much more stable. In contrast, green lumber often contains over 19% moisture and can shrink by about 7% as it dries, potentially leading to cosmetic issues that nobody wants to deal with.
Depending on the species you use, you may need to season your larger timbers as well. Most are usable green for timber framing, but some definitely aren’t. Cottonwood can be great timber framing material, but it’s important to season it for a year in log form before building with it. Most other species aren’t that unstable – just make sure you research the specific species you’re planning to use.
For structural components, ensure your lumber doesn’t have any major defects that would cause failure. A good rule of thumb: knots and cracks are okay as long as they’re not deeper than 25% or so of the timber’s dimension. When in doubt, don’t use questionable pieces for structural components – you can always use lower-grade material for 1x sheathing or siding instead.
To further ensure quality, get advice from local builders, contractors, or barn construction experts who are familiar with rough cut lumber. This extra step helps guarantee that your lumber not only meets construction requirements but also offers durability and long-term savings on maintenance.
Processing Local Lumber for Construction
Once you’ve sourced and verified your lumber, the next step is turning those raw logs into usable, construction-grade material. This process involves careful planning, the right tools, and proper techniques to ensure the wood meets your barn’s structural needs while staying within budget.
Steps to Process Raw Lumber
Start by preparing your logs properly – this sets the foundation for everything that follows. Cut each sawlog 4–6 inches longer than the final length you need. For example, if you’re aiming for a 16-foot board, cut the log to about 16 feet 6 inches. This extra length allows for trimming and helps account for end checking, giving you flexibility when shaping the final dimensions.
Once prepared, mill the logs into dimensional lumber. A chainsaw mill can work for cutting timbers, while a bandsaw mill is better suited for the job and fairly affordable for what you get. One customer built their horse barn from ash timbers milled by hand with a chainsaw proving it’s definitely doable with the right approach and patience.
After milling, seal the cut ends immediately with paint to prevent cracking or splitting – this simple step can save you from major headaches later. Then comes the drying process, which requires patience but is crucial for quality results.
Drying the lumber is your next step and honestly one of the most important. You can air-dry it, which typically takes about one year per inch of thickness on heavy timbers, or a couple non-winter months for thinner 1x lumber to reach that ideal 19% moisture content. It’s worth the wait for stable, reliable building material.

With your lumber milled, dried, and ready to go, it’s time to gather the barn building tools needed for your construction project.
Processing Local Lumber for Construction
Once you’ve sourced and verified your lumber, the next step is turning those raw logs into usable, construction-grade material. This process involves careful planning, the right tools, and proper techniques to ensure the wood meets your barn’s structural needs while staying within budget.
Required Tools and Equipment
Getting into lumber processing doesn’t have to break the bank, and you’ll be amazed at what you can accomplish with the right setup! If you’re just starting out or working on smaller projects, the Granberg Alaskan Small Chainsaw Log Mill is still a fantastic budget-friendly choice at around $175 – it’s perfect for turning those fallen trees in your backyard into usable lumber.
For larger-scale operations, I’d highly recommend checking out the Wood-Mizer LT15 or LX50START models. Wood-Mizer’s reputation for quality is well-earned, and these mills will handle everything from hobby projects to small commercial operations. If you’re looking at Hudson options, their Homesteader series offers excellent value with models starting around $2,449 – these American-made mills are built to last and perfect for the serious DIYer.
Don’t forget about keeping your blades sharp – it’s one of the most overlooked aspects of successful milling! The Wood-Mizer BMS25 Bandsaw Blade Sharpener ($950) will handle your basic sharpening needs beautifully, while the BMST50 Sharpener & Setter ($2,250) is worth the investment if you’re planning to mill regularly. If you are on a super tight budget, you can sharpen blades with just a bench grinder, and reset them with a small hand held tooth resetting tool. Trust me, sharp blades make all the difference between frustrating, slow cuts and smooth, efficient lumber production.
Safety should always be your top priority (no project is worth an injury!). Invest in quality safety glasses with side screens, sturdy work gloves, and particulate-rated respirators – sawdust might seem harmless, but your lungs will thank you later. Don’t skimp on hearing protection either; those power tools can be surprisingly loud. Ear muffs generally offer better protection than earplugs, though they can feel a bit bulky during long milling sessions.
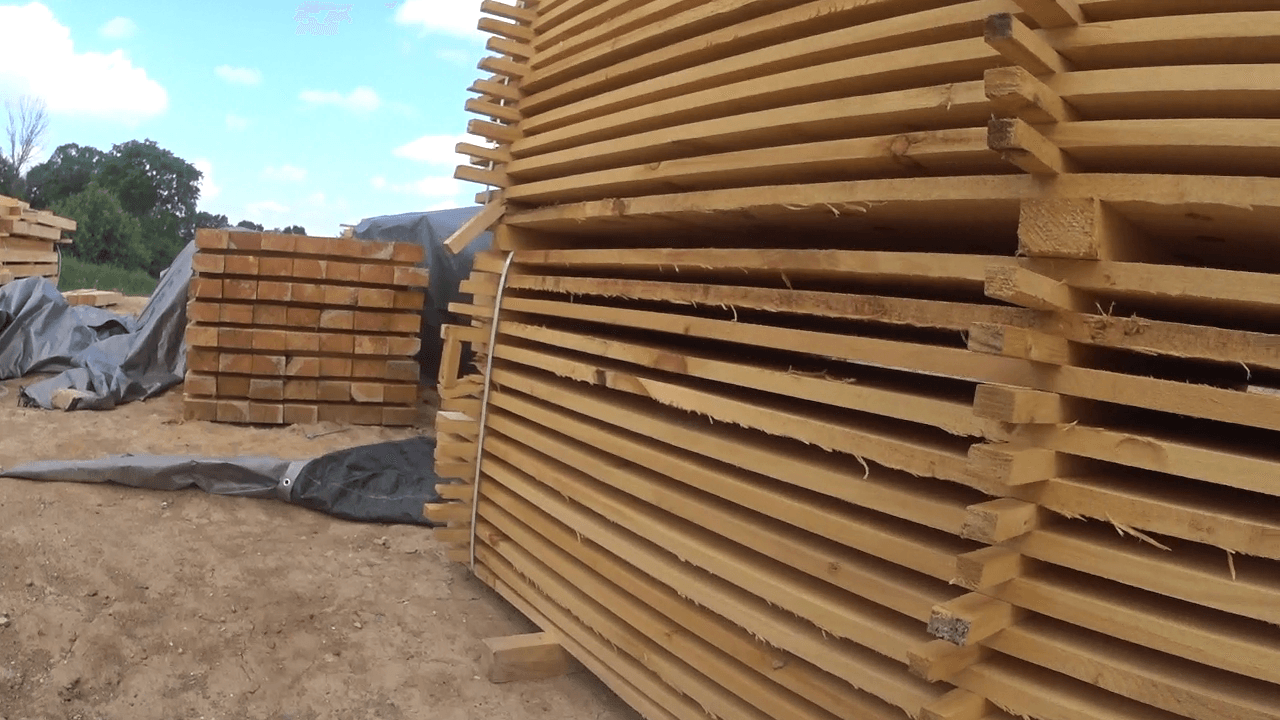
One last pro tip: wooden stickers (thin strips of wood) between your lumber layers during drying are absolute game-changers. They ensure proper airflow and help maintain even moisture levels throughout your stack – it’s a small detail that makes a huge difference in your final results.
Safe Storage and Handling Methods
Your lumber is only as good as how you store it, and trust me, I’ve seen too many beautiful boards ruined by poor storage practices! The enemy here is moisture – whether it’s high humidity or direct water contact, both can lead to mold, decay, and that heartbreaking warping that turns perfectly good lumber into kindling.
The solution is surprisingly simple: get that lumber off the ground! Elevate it on cinder blocks, pallets, or wood spacers, then stack it horizontally with stickers between each layer. This creates the airflow that keeps your lumber happy and healthy. If you’re thinking about building a dedicated storage space, consider checking out our 20×40 gable barn plans – the 14×30 lean-to can even be turned into a nice wood drying kiln with some clear panels on the roof for a solar-powered setup!
Storing lumber outdoors? You’ll need to step up your game a bit. Use breathable, waterproof tarps elevated off the ground (maintaining that crucial airflow), and shield your lumber from direct sunlight with shade structures or UV-resistant covers. This prevents surface checking and uneven drying – lessons learned from building with green lumber where proper drying technique is essential since all the bad things that happen to wood occur because moisture is removed too quickly.
Don’t set it and forget it! Regular inspections are your best friend here. Check for signs of mold, mildew, or insect activity, and rotate your stock periodically to avoid issues like bowing or sagging in the lower layers. Even pressure-treated lumber needs proper elevation and air circulation to maintain its integrity over time. Remember, dealing with mold or fungus after the fact is much harder than preventing it in the first place!
Planning Your Barn Design for Local Lumber
When using local lumber, you’ll quickly discover its unique character – and yes, those irregularities that make it special! Unlike standard store-bought materials, locally sourced wood often comes in non-standard dimensions that’ll keep you on your toes. This means your barn design needs to work with what’s available, but don’t worry – that’s actually part of the charm!
Adjusting Plans for Non-Standard Lumber Sizes
Here’s the reality: local lumber rarely conforms to exact measurements of commercially available materials. Your sawmill might produce wood with slightly different thicknesses, widths, or lengths, and honestly, that’s perfectly normal. These differences just make careful planning absolutely essential for success.
Start by measuring each piece of lumber carefully – note its thickness, width, and length. Once you know what you’re working with, revisit your barn plans to determine where adjustments are necessary. Think of it as customizing your project to work perfectly with your unique materials!
If your lumber comes in longer lengths, consider adjusting your design to minimize waste and reduce costs – this is actually a great opportunity to get more bang for your buck. Substituting materials is also an option, but keep quality differences in mind when making these decisions.
It’s smart to collaborate with your construction team and local building inspectors to ensure any changes meet safety standards. These adjustments will help you align your barn design with the resources at hand, creating something truly custom.
BarnGeek’s barn plans are specifically designed to accommodate these kinds of adjustments. These post and beam barn plans are designed to utilize full size rough cut lumber. You can download your favorite set of plans and send a cut list to your local sawmill.
This flexibility means you’re not stuck with rigid specifications that don’t match your materials – what a relief!
With the Barn Plans Library, you get material cut lists, so that you know EXACTLY what size timbers you need, and how many of each timber to buy.
Plus, BarnGeek’s 3D CAD models allow you to experiment with design changes before construction begins. This level of visualization helps you avoid costly mistakes that nobody wants to deal with!
For example, in December 2023, Michelle Johnson successfully adapted BarnGeek’s 30×46 Gambrel barn plan to use locally milled rough-cut Douglas fir – proving it’s definitely doable with the right approach and planning.
To kick off your project, share your cut list with local sawmills to get quotes. Alternatively, you can hire a portable sawmill to process timber directly from your land. This approach not only saves money but also ensures you get the exact dimensions you need.
Post and Beam: The Ideal Choice for Local Lumber
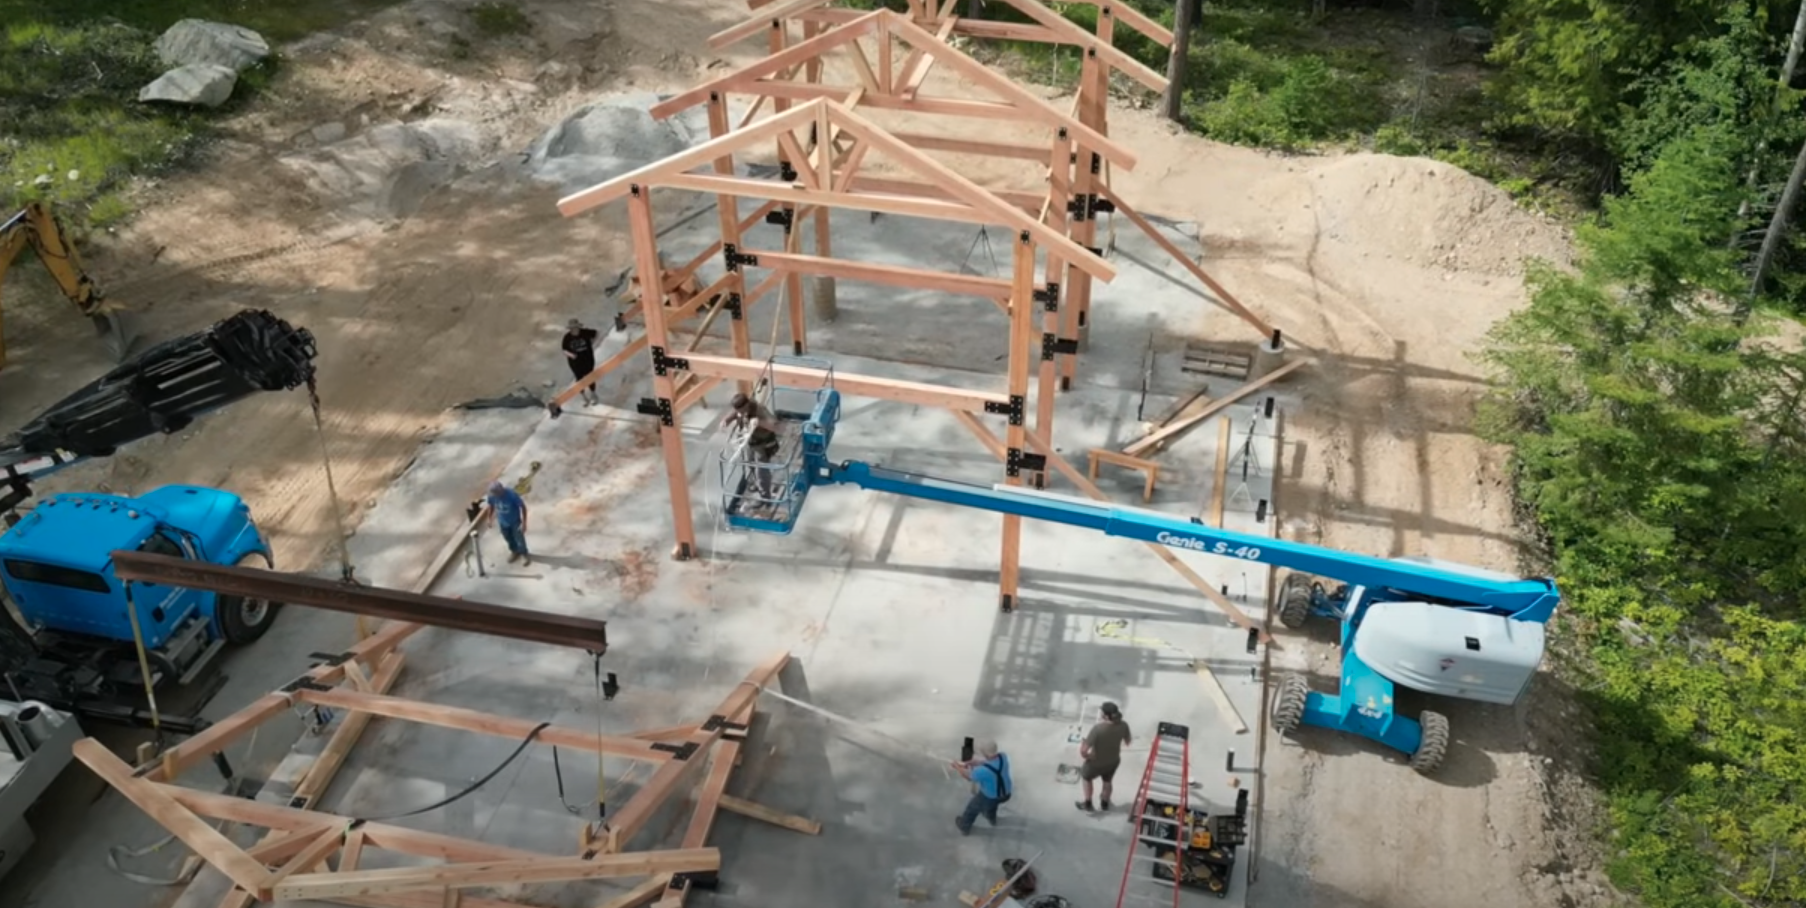
Post and beam construction is particularly well-suited for local lumber because it handles size variations much better than other building methods – it’s honestly a match made in heaven!
This straightforward design relies on large timbers to carry loads directly to the foundation. It’s a strong and simple method that works beautifully with local rough cut lumber, embracing those natural variations rather than fighting against them. There are even timber frame buildings that have been in use for over 1,000 years!
Budget-Friendly Building Methods
Building your barn can be a fantastic way to save money, especially when you combine local materials with smart construction techniques. Using nearby lumber already helps cut down on material and transportation costs, but you can stretch your budget even further by adopting cost-effective building methods that really work.
One of the biggest opportunities for savings lies in labor, particularly if you’re willing to roll up your sleeves and handle much of the construction yourself. Trust me, the satisfaction you’ll get is worth it!
DIY Building and Getting Help
Taking the DIY route can significantly lower your barn construction costs – we’re talking serious savings here! In fact, building it yourself can save you more than $15,000 compared to hiring contractors, especially if you rely on tried-and-true techniques that have been proven to work.
The key is being realistic about your carpentry skills and knowing when to ask for assistance. There’s no shame in getting help when you need it!
For example, one family managed to build a 24×40 barn for under $3,000 by using discounted local lumber and second-hand tools. Their success story highlights how resourcefulness and hands-on effort can lead to huge savings that’ll make your wallet smile.
Another clever way to reduce labor costs is by bartering with skilled individuals in your community. You could trade farm products, equipment use, or even promise future help on their projects in exchange for their expertise. This collaborative spirit not only reduces costs but also builds a sense of community, making the process even more rewarding.
Using BarnGeek’s Support Resources
If you’re looking to make your DIY efforts even more efficient, BarnGeek offers resources that can seriously simplify your project. The free Barn Building Master Class is a fantastic starting point, showing you how to locate local lumber and potentially saving you thousands of dollars.
BarnGeek also provides access to an exclusive Community where you can connect with experienced builders who’ve been where you are. This peer network can help you navigate challenges like working with local lumber or avoiding common mistakes that can cost time and money.
Another standout feature is our step-by-step video tutorials, which guide you through each phase of barn construction. These videos can cut your building time in half, giving you the confidence to handle tasks that might otherwise require hiring specialists.
Creative Ways to Save Money
Aside from DIY labor, there are plenty of clever ways to reduce your barn-building expenses that’ll surprise you. One option is phased construction, where you spread costs over time by starting with the basic structure and adding features like doors or interior partitions later.
Metal siding or roofing often costs less than wood while offering better durability – and it can look fantastic too! Some builders have even scored amazing deals on metal components by shopping at carport factories.
You can also save by sharing tools with neighbors or negotiating bulk discounts with suppliers. Local sawmills may offer lower prices for bulk orders or cash payments, and building strong relationships with suppliers can lead to better deals and access to higher-quality materials.
Simple design tweaks can also make a big difference in your budget. For instance, keeping the structure rectangular rather than opting for complex shapes reduces both material and labor costs without sacrificing functionality one bit.
If you have lots of timber on your property, consider investing in a small manual band sawmill for about $4,000. Not only can this pay for itself quickly by allowing you to process your own lumber, but you could also offer milling services to your neighbors to generate extra income – talk about a win-win!
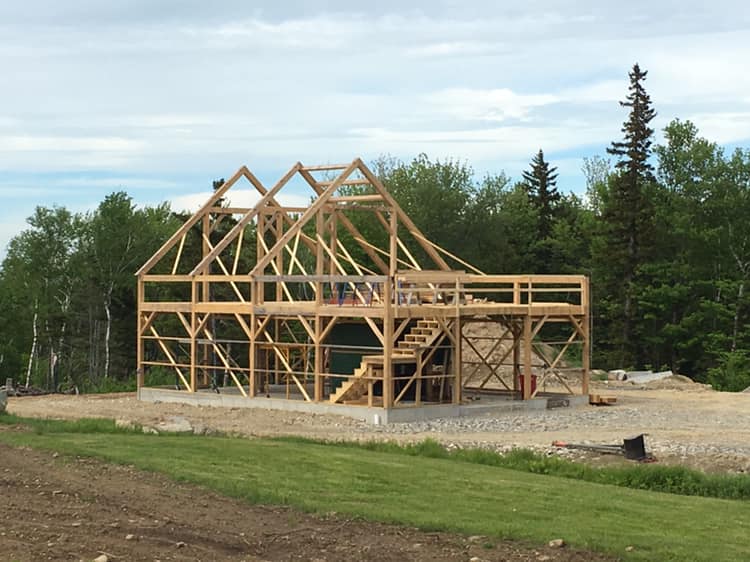
Conclusion: Build Your Barn for Less with Local Lumber
Choosing local lumber can make a huge difference in your construction budget – the kind of difference that lets you sleep better at night! Builders typically save 10–30% on material costs, which could mean savings of $11,000–$33,000 on a 1,600 sq ft pole barn project. When you add in eliminated transportation costs and the potential for DIY construction, those savings can climb even higher.
But the benefits of local lumber go way beyond just saving money. You gain access to unique wood species and non-standard sizes that aren’t available with mass-market lumber. This opens the door to more traditional or customized barn designs without breaking the bank, plus you’re making a choice that’s genuinely better for the environment.
To make the most of these advantages, BarnGeek’s resources are specifically tailored to help you succeed. Your barn plans also come with a complete construction e-guide that details the whole building process 20×30 Gambrel Barn Plans – Barngeek.com
, and the adaptable barn plans work beautifully with various lumber sizes and species, making it much easier to use locally sourced materials.
Whether you’re using timber from your own land, working with a nearby sawmill, or repurposing salvaged wood, combining local lumber with smart building strategies can significantly lower your costs. With careful planning, quality materials, and the right guidance, building your dream barn for less isn’t just a possibility – it’s a proven approach that countless builders have already embraced successfully.
Start by researching local sawmills and timber suppliers in your area. Then, pair your findings with flexible barn plans and expert advice to bring your vision to life. Not only will your wallet thank you, but your community will also benefit from your choice to use local resources – and that feels pretty good too!
FAQs
What legal steps should I take before using local lumber to build a barn?
Legal Considerations for Using Local Lumber in Barn Construction
Before diving into your barn construction project with local or self-sourced lumber, there are a few legal matters you need to address to keep everything on track:
- Building permits: Reach out to your local building authority to find out if permits are required for your barn. Permit requirements differ depending on your location, and starting construction without proper approval could lead to fines or project delays.
- Zoning laws: Double-check that your property is zoned for agricultural use or barn construction. Some areas have strict rules about building size, placement, or intended use that could impact your plans.
- Building codes: Make sure your construction plans and materials meet local and state building codes. This is especially critical if you’re working with rough-cut or self-sourced lumber, as these materials may have specific requirements.
Addressing these legal aspects upfront will help you sidestep potential complications and ensure your barn is built safely and up to code.
How can I make sure locally sourced lumber is strong and safe for building a barn?
To make sure your locally sourced lumber is reliable and safe for building a barn, Take a close look at the wood to spot any defects, such as cracks, warping, or evidence of pest damage, as these issues can weaken the material.
If the lumber hasn’t been graded, it’s a good idea to consult with a local sawmill or a professional who can evaluate its quality. They can test for density and durability or check if it aligns with industry standards. Choosing reputable suppliers or ensuring the wood is responsibly harvested can also help guarantee both quality and ethical sourcing.
How can I adjust barn plans to work with non-standard lumber sizes?
Adapting barn plans to fit non-standard lumber sizes is a smart way to cut costs and make good use of locally available materials. To get started, take a close look at your barn plans and pinpoint where specific lumber dimensions are listed. From there, you can adjust the sizes of beams, posts, and other structural elements to align with the lumber you have on hand – just make sure the changes don’t compromise the barn’s safety or strength.
If you’re working with traditional barn plans, such as those offered by BarnGeek, you might find helpful tips for tweaking designs to suit custom lumber sizes. Tools like 3D models and material cut lists can also be a big help, giving you a visual representation of your updates and helping you calculate precise adjustments. And remember, double-check all measurements and consult a professional if you have any questions about the structure’s integrity.

The local sawmills here don’t cut White pine, which is what the plans call for on the 24×30 dairy barn that I want to build.
They DO cut lots of white oak, but they said that might be too heavy of a wood to use as beams.
Would White Oak be a good substitute if white pine is not available, or are there any other species you would recommend?
Thanks!
White Oak would be a great substitute. It will be heavier, but it is also stronger. There are many other species that would work fine as well, my advice is to use what is available to you. Just research the qualities of your chosen species and work within it’s characteristics.