

Project by Deb in Antelope Valley, CA
When I told my husband we were getting chickens, he just groaned … lol
This is a first for both of us but they have been such fun and our granddaughter loves them. They lived in the house for about 3 to 4 weeks as it was still cold and they were still quite young but then they HAD to go out to the barn…
OM Gosh, they stink!
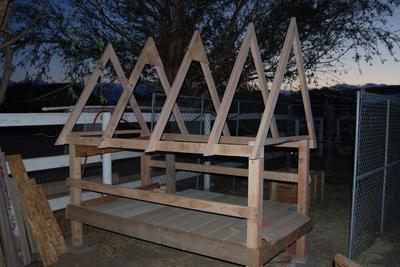
We built our coop from the plans here and as he says
“For an Electrician, I can build a pretty good Coop!”.
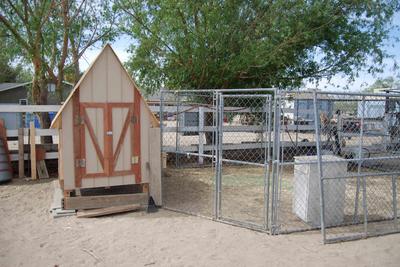
Yes you can Honey, and the girls (all of us) are very happy. We still need to get the top wire up over their yard area (3 labs keep all the big birds away during the day), and attach the back door to keep them in at night, but I moved them all in their new home today and they are lovin it.
We will probably make minor changes as we go, but the plans were easy to follow and as we have been remodeling our home for the past five years, we had plenty of left over lumber to work with.
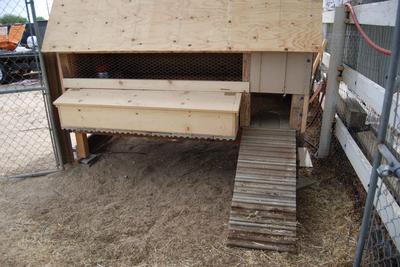
For the floor we re-used the composite decking from the deck we took apart at the old house. And inverted, it works great for the ramp to the back door! We also raised it about 2′ for shade in the summer months. But the whole area has shade from our trees as well.
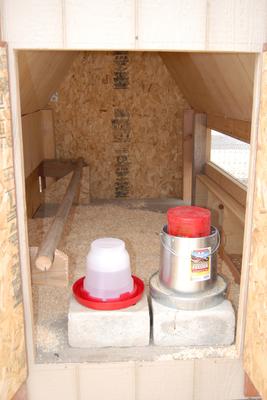
We did insulate the roof (snow here sometimes and we get freezing temps in the winter) and will add the wall insulation before winter.
And of course there will be a light installed (the electrician… remember:) and left over composite roofing to weather proof the roof. And finally paint.
We stayed with only 4 nesting boxes even though we have 8 ladies. Everything I’ve read says they will share. And if they don’t we have plenty of room on the other side to add more.
The molding on the door is left over redwood fencing and will also cover each corner of the coop (girls like pretty). But for now, the girls love their new home. Now I have to clean out the stall in the barn they’ve been in for the past month…ugh 😉
Thank You for these easy to follow plans!

Great job on your new Chicken coop! I noticed it looks a bit longer than the plans call for and it has a side ramp which is a nice feature. I like it! Thanks for sharing and enjoy your chicken coop!