

Project by Owain Elliott-Sowaal in Pacifica, CA, USA
The Plans were great. I started it with my 3 year old daughter, trying to involve her. It was quite a fun project, but I pretty much did it alone.
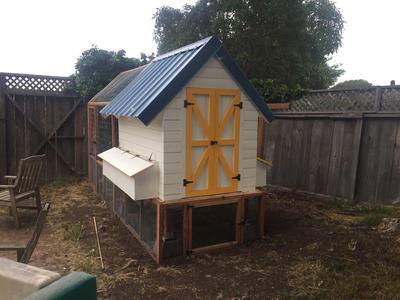
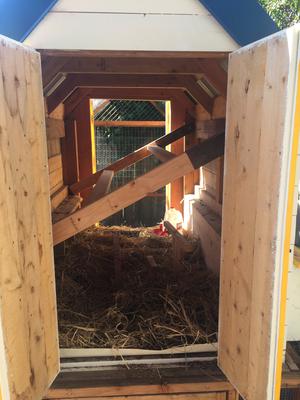
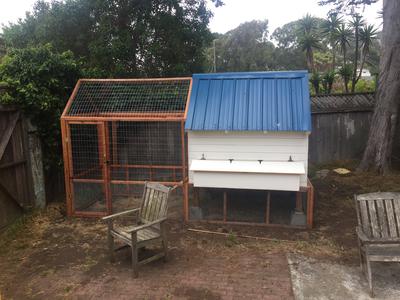
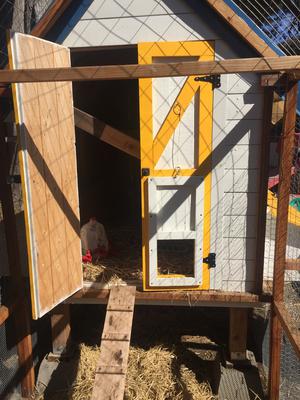
I did modify the plans a bit. I wanted the coop to be taller. I turned the back side nesting boxes into one big storage box. I used ship lap for the outside of the coop.
I made tons of mistakes, changed my mind a lot, but eventually came out with a coop and run that I love.
It’s a really nice, easy design that I am getting so many compliments on. We just had a 4th birthday for my daughter with 30 children and the chickens were a hit.

Thank you for sharing your project, Owain! We are so glad that you are enjoying your new coop.