Attention Chicken Peeps!!!
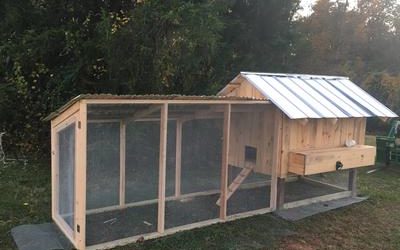
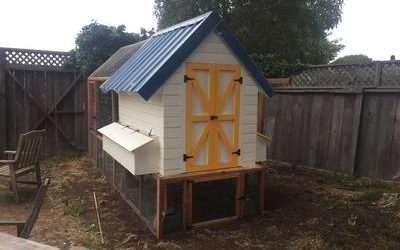
“How to Build the Perfect Backyard Chicken Coop
Without Spending a Fortune on a Pre Made Coop”
Watch the video below and I will explain the designs and why I started designing chicken coops…
“I didn’t know how to build anything before I got chickens…so it was nice to have simple plans and a cordless screw gun.. and it worked!” -Andy
Get An Entire Library of Chicken Coop Plans…
Right Now For Free!!!
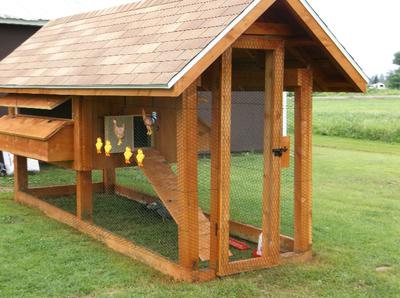
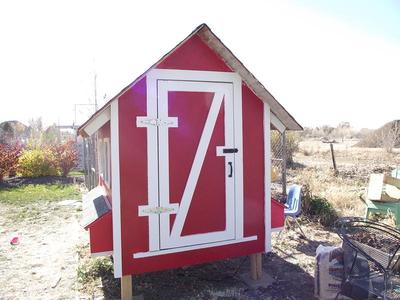
Here is what some of our customers have said about us…..
Dan Orasi
Ryan E
Thanks for the plans!
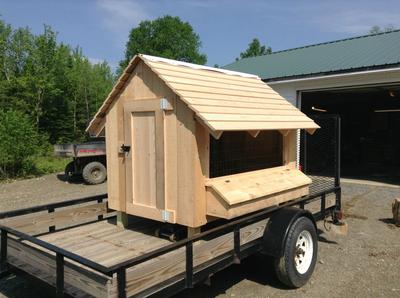
Alan (Maine)
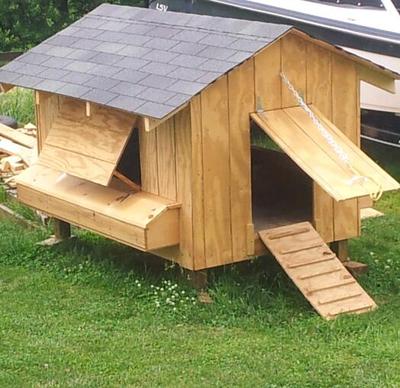
Bill (Virginia)
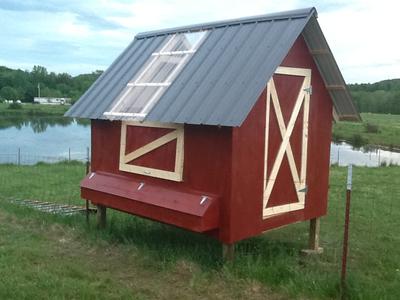
Tom n Barb (Tennessee )
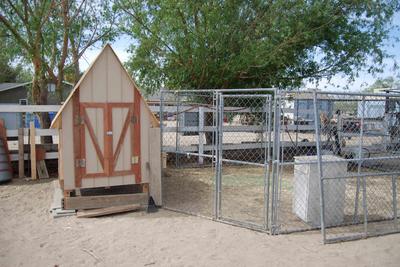
Deb (Antelope Valley, CA)
The molding on the door is left over redwood fencing and will also cover each corner of the coop (girls like pretty). But for now, the girls love their new home. Now I have to clean out the stall in the barn they’ve been in for the past month…ugh 😉
A wise man once said, “If you fail to plan, you plan to fail”
If you can cut small boards with a hand saw, drive screws with a power screwdriver, and swing a hammer then you can build your own Chicken Coop with these plans.
7 Chicken Coop Plans For free!
Plus, access to the How To Build a Barn course!
Here is what you get in the Chicken Coop Plans Library…
- Video How to Guides: that will help you learn certain techniques and secret tricks that will help save you time, frustration, and most importantly money, while you are building your new chicken coop.
- The Plans: 7 complete sets of Chicken Coop plans that you can print as many times as you need. There is enough information on the plans for you to build your Chicken Coop from scratch. You will know exactly what size lumber you need, where to make your cuts.
- Materials Lists: No unnecessary trips to the hardware or lumber yard. Each Chicken Coop Plan includes a detailed materials list so that you will know exactly what materials you need to build that chicken coop.
Chicken Coop Plans Library
Free Chicken Coop Plans
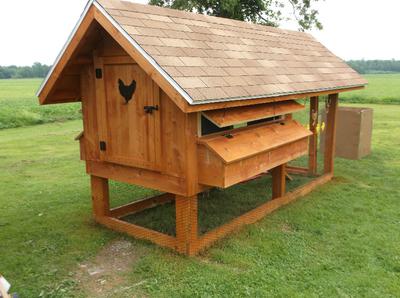
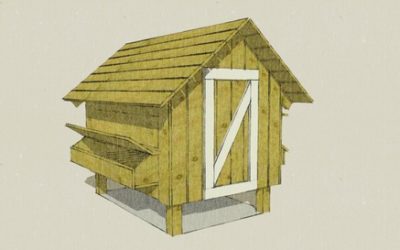
You can build this hen house with these free chicken coop plans. It is easy to do. All you need is some rough cut lumber, a hammer, nails, and a circular saw. You can even build one with regular dimensional lumber from your local lumber yard. I built one like this for...
36 egg incubator reveiw. Trying an incubator from amazon.
In may of 2024 my husband and I decided to purchase an incubator in the hopes of hatching some cute silkie chicks for our son to enjoy. We bought eggs from local breeders to hatch along with sticking some layer mixes from our own farm in. As a busy family with my...
The Best Treats for Your Chickens this Summer
What are the best treats for my chickens? What can I safely feed my chickens? Let's look at some common chicken treats and what makes them good for you (your wallet) and your chickens! 1. Food scraps Low waste, low cost, and tons of fun! What could be better? Chickens...
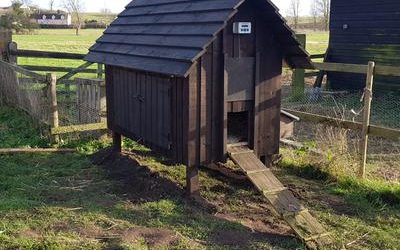
3×4 chicken coop with solar power
Built this coop from the free plan - reduced the size a bit. It can be moved around the yard - has wheels on a single axle in the centre. Light activated door is operated with solar power
Best Chicken Feed
The Best Chicken Feed by Isabelle EschWelcome to my guide on choosing the Best Chicken Feed for your chickens, an article in my series Raising Chickens for Beginners. In this article we are going over a few different ways save money feeding your chickens, as well as...
Chicken Coops and Care
Plush house for the girls
Project by Karen in Suffolk, england I found your plans and decided to use them for my new chicken house, as they seemed so simple. I changed the width and used old scrap wood for most of the build, mainly an old shed and some fencing I had sitting around. The only...
Chicken coop in Virginia
Project by Dan in Virginia I followed these plans and the coop turned out great. I made a few modifications. I skipped the windows, and made the legs about another half foot taller so the chickens would have plenty of room underneath. went with the metal roof. Really...
Plans were Great! Love our Coup.
Project by Owain Elliott-Sowaal in Pacifica, CA, USA The Plans were great. I started it with my 3 year old daughter, trying to involve her. It was quite a fun project, but I pretty much did it alone. I did modify the plans a bit. I wanted the coop to be taller. I...

