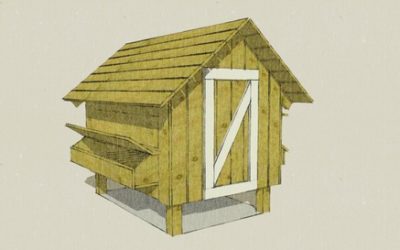
6×10 or 6×8 Mobile Chicken Tractor Plans
These Free Chicken Tractor Plans are Inspired by Joel Salatin’s Pastured Poultry Coop. These 6×10 Chicken Coop Designs, are for raising fast growing chickens for homestead meat production.

Here is a video showing my kids and I building this awesome Chicken Tractor Design
You can raise 25 to 30 chickens in this Chicken Tractor.
It’s perfect for homestead meat production all the way to market size. It is perfect for someone with a small piece of property to raise their own meat. Your Chickens will have plenty of room to grow, and be in constant contact with the ground. It is best to move this tractor everyday so that the chickens have fresh clean ground to scratch.
Producing your own chicken meat in this way, gives you the best tasting chicken you could possibly imagine. So much better than the flavorless chicken you can buy at the grocery store.
When I first saw this Chicken Tractor, that Joel Salatin was using for his pastured poultry I was impressed by it’s simplicity of design, light weight, and ease of use.
I just had to build one myself, so I searched the internet for plans…
But, alas, I didn’t find any that suited my needs. I was looking for a smaller version. Joel said his tractor held 75 chickens up to butcher. I didn’t need anywhere near that many chickens at one time! I was just raising chickens for our own family. I wanted to raise 2 batches of meat birds per year, 25 in each batch. So I set out to design my own version, and after using this chicken coop for one season.. I can tell you that I am very happy with this design.
It really is a brilliant design! It is low to the ground and wide, so it isn’t easily lifted by the wind, even though it is light weight . That was my first concern with this Chicken Coop Design, but it held up through some very strong winds this year and didn’t budge.
Even though it resists the wind, it is still light enough to move very easily. My 7 year old daughter can move this chicken tractor by herself! Be careful when you move the chicken coop though, you can easily catch a chicken foot under the back panel. It is best to have a helper, on the following side to clap their hands and keep the chickens moving.
So lets get to building this awesome Chicken Tractor!
First I started by gathering some materials. I had lot’s of 1×3’s laying around from a previous project, so I decided to use those. If you don’t happen to have 1×3’s laying around, you can get some at a local sawmill or lumberyard. Often you can find 1×3 furring strips for a very reasonable price.
Here is the materials list.
4 1×3 10′ You could make this 8′ long as well in that case you would need 8 foot long 1×3 instead. The one I built in the video is 8′ long and holds 25 chickens
15 1×3 6′ This is for the end panels and roof of your chicken coop
12 1×3 2′ upright supports, or posts.
4 1×3 18” with 45 degree beveled ends for bracing the corners.
1 50′ roll of 24 inch heavy duty wire fencing.
5 lbs 1 5/8” deck screws galvanized
1 lb of small fencing staples
3 hinges
1 hook style latch
3 5′ long sheets of pole barn steel or an 8×8 tarp with loop bungees
Then, I cut the pieces I needed for this project. And laid them out to build the 4 panels I would need to make the main frame of the structure.


Sandwich the wire fencing between the long 1×3’s and the short 1×3’s and screw the 1×3’s together securing the wire fencing as shown in the video.
Do the same with the 2 end panels, they should look like this when you are done.

Now it is time to screw all of the panels together to form a rectangle like this.

Next, attach the 4 corner braces like this.

Now, it’s time to add the roof support and build the access door. Lay the 8 1×3 6′ that you have left on the top of the frame like this.

Making sure to place the 2 center 1×3’s right next to each other. This will form the one side of the door and the hinge board. Install 3 hinges at this intersection. Cover the half of the roof that will be the access door with more fencing wire. Then attach 2 1×3’s to the tops of these in a similar fashion as you did the side panels. Like this.

Be sure to leave a set back, so the top boards don’t interfere with the operation of the door swing.

When you’re finished with this step, your Chicken Tractor should look and operate like this. Use your last remaining 6′ 1×3 as a prop for the door. Install your hook and loop latch on the door. Screw the eye bolt into the door and the hook bolt into the top board of the end panel.

Next you can cover the other end of the Chicken Coop with a tarp attached with loop style bungees as seen in the video, or you may install the pole barn steel roofing pieces over the 1×3 roof supports. You may want to build up the center 1×3 next to the door to raise one end of the roof, so that the roof goes on at an angle. That way the water will run off the coop to the rear and away from your chickens.
Now all you need to do is add a chicken feeder, and a chicken waterer and you are ready to start growing your own backyard poultry!
Read More about Post and Beam Barn Kits below.
How to start a barn wedding venue business
Learn how to successfully launch a barn wedding venue business, from planning and renovations to legal requirements and marketing strategies.
Is it worth while to have a local sawmill cut some or all of my Barn Lumber or even do it myself?
We have a LOT of eastern red cedars, Tulip Poplars, among other species. If I have a local sawmill cut our pieces for us, would you expect a significant savings overall?
Pride and Accomplishment in Having Built a Barn Myself
Besides the utility of having a barn and the value it adds to our property, having built the barn myself has given me a sense of pride and accomplishment that’s hard to place a value upon.
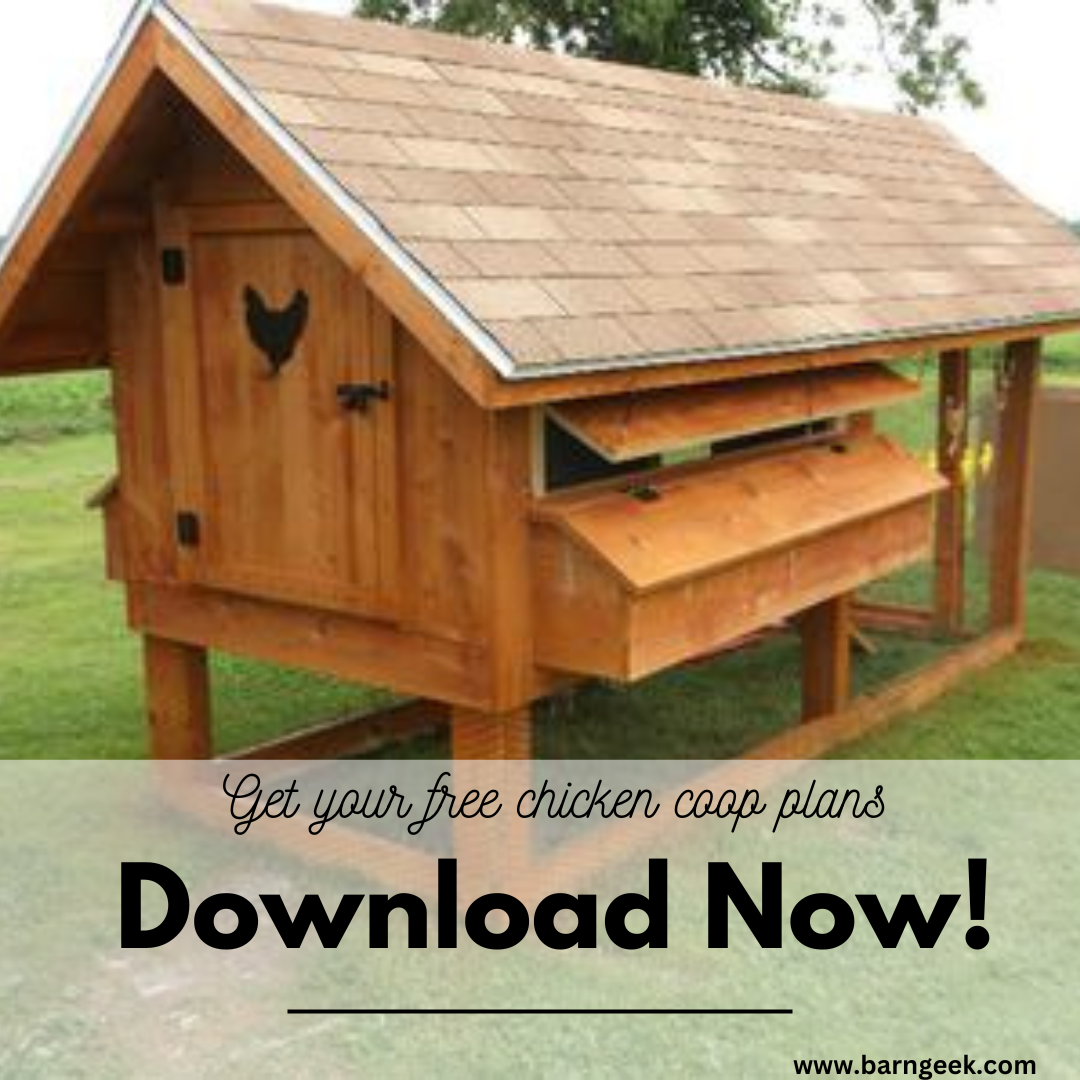
Free Chicken Coop Plans
You can build this hen house with these free chicken coop plans. It is easy to do. All you need is some rough cut lumber, a hammer, nails, and a circular saw. You can even build one with regular dimensional lumber from your local lumber yard. I built one like this for...
36 egg incubator reveiw. Trying an incubator from amazon.
In may of 2024 my husband and I decided to purchase an incubator in the hopes of hatching some cute silkie chicks for our son to enjoy. We bought eggs from local breeders to hatch along with sticking some layer mixes from our own farm in. As a busy family with my...
Best exterior coating for a barn?
Question asked in the BarnGeeks Facebook Group 4/21/24 Does anybody have any recommendations of the best exterior coating for a 40x60 gambrel? Unfortunately the wood is not rough cut so it won't absorb as well as all of the beams and the frame. I used iron oxide mixed...
Rebuilding Tradition: A Family’s Journey with BarnGeek’s Gambrel Timber Frame Barn
The old 40 x 60 barn my grandfather built in the forties collapsed in a snowstorm in 2015. I wanted to replace it with a similar style so I chose the 40 x 60 gambrel.
Fall 2019 to Now: The Story of Our 44×60 BarnGeek Barndominium!
We are thrilled to share an inspiring story from one of our Barn Plans Library members. This family embarked on a remarkable journey to transform our BarnGeek 40x50 plan into their dream home. Back in the fall of 2019, they decided to mix a couple of our plans,...
The Best Treats for Your Chickens this Summer
What are the best treats for my chickens? What can I safely feed my chickens? Let's look at some common chicken treats and what makes them good for you (your wallet) and your chickens! 1. Food scraps Low waste, low cost, and tons of fun! What could be better? Chickens...

